Anchor Point Selection
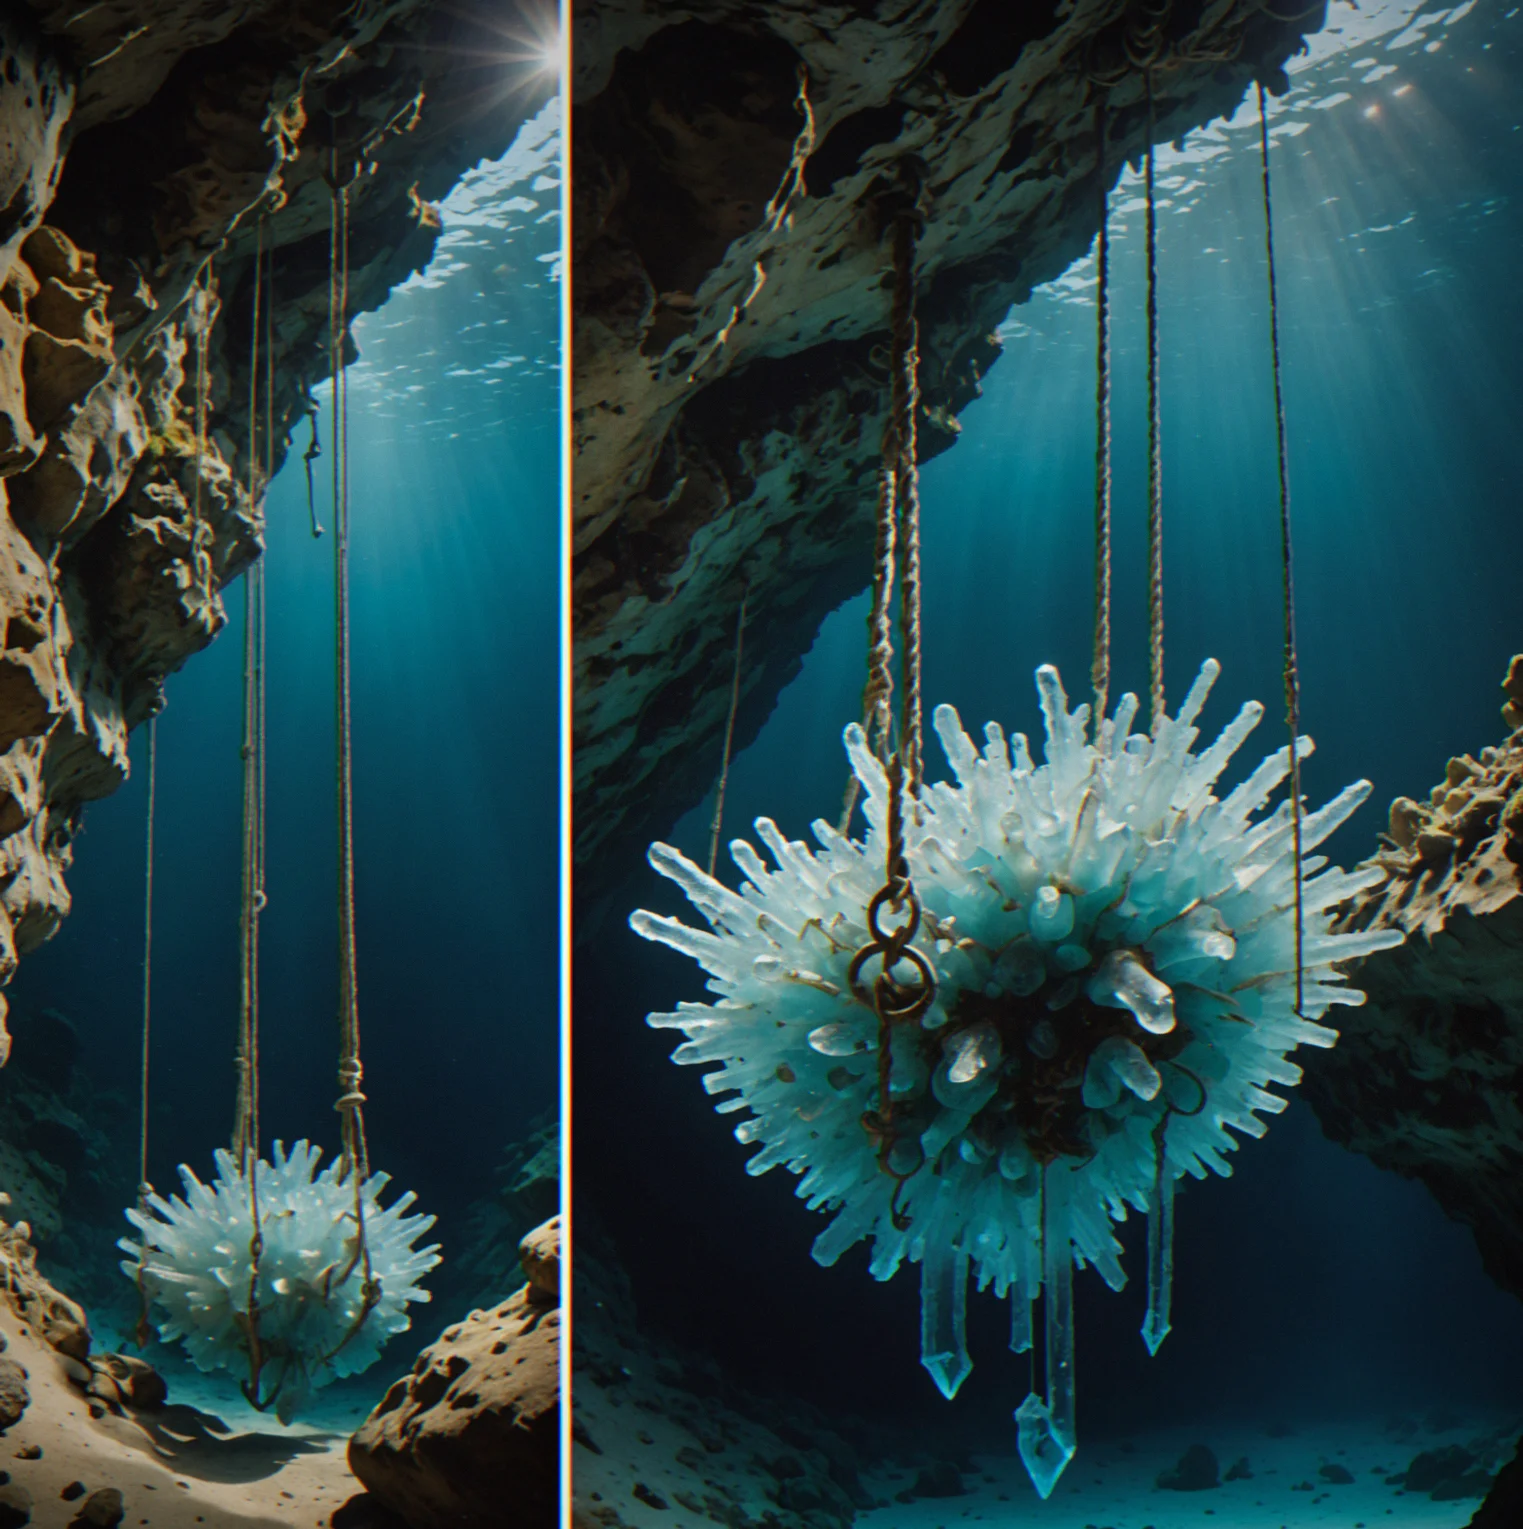
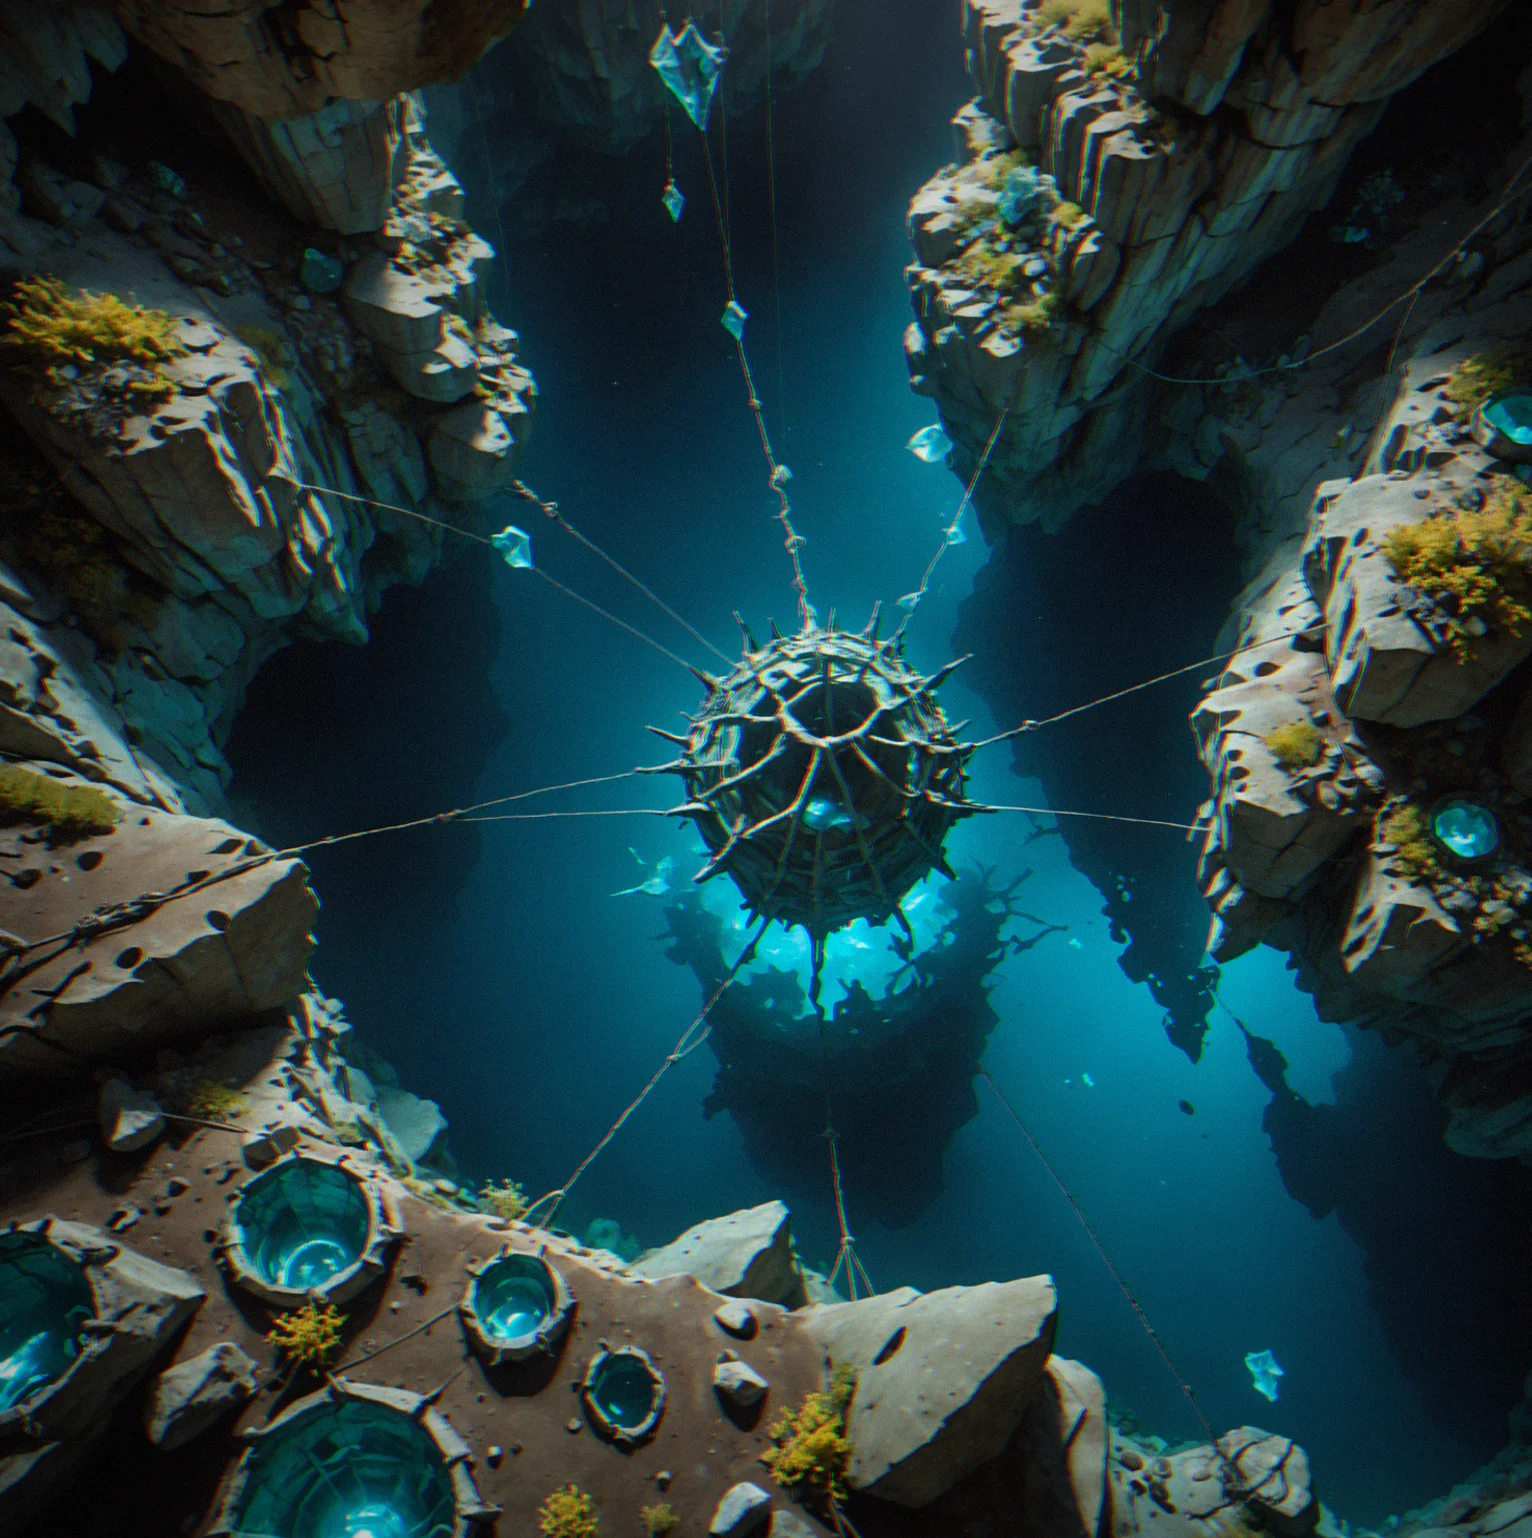
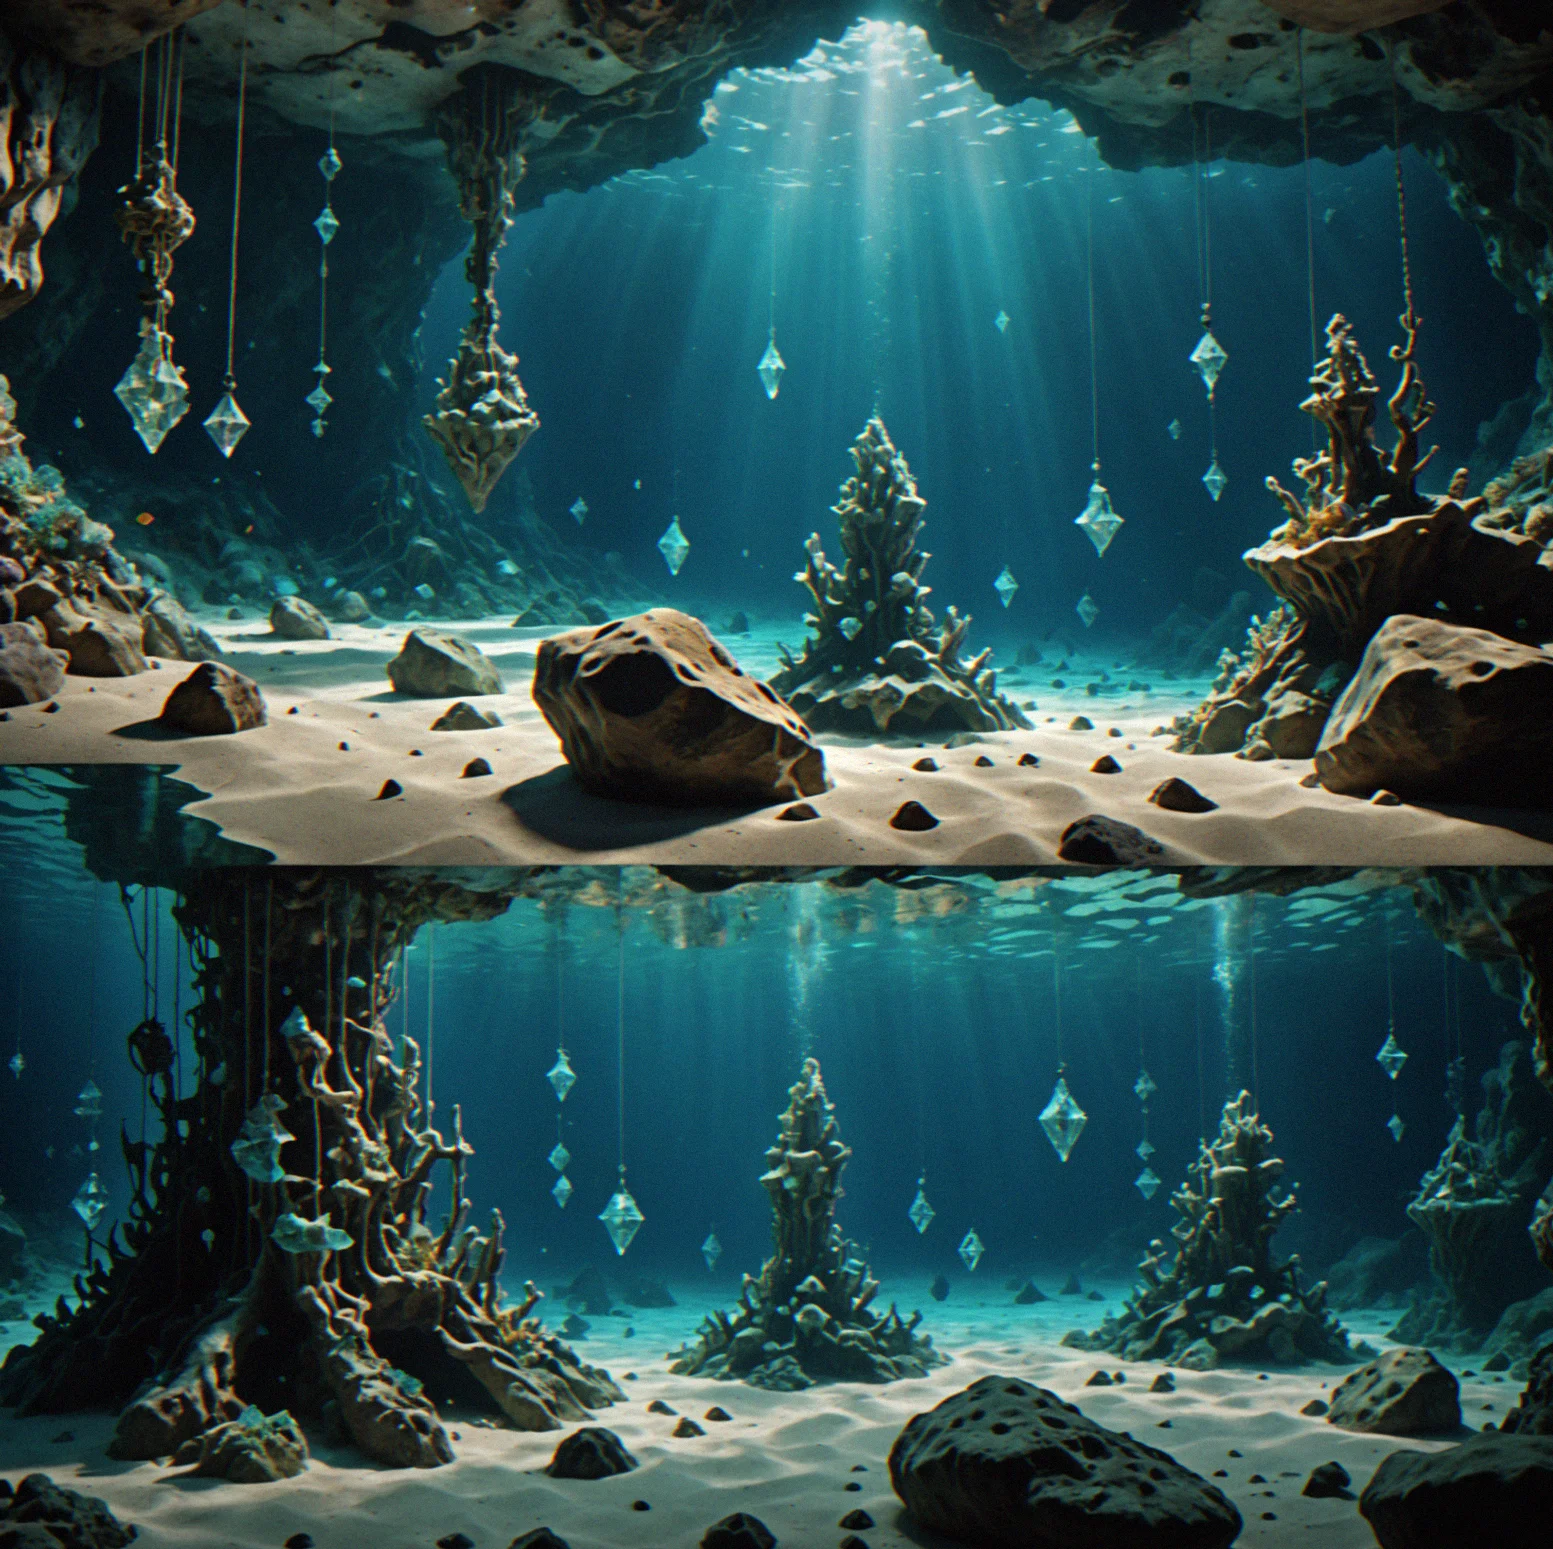
Not every formation holds the same load. Crystal density, angle, how exposed it is to current—all of it affects whether you're safe. You learn to read the cavern and pick placements that won't fail when you're deep in a dive.

Crystalanchor actually simulates the physics you deal with in underwater cave navigation. There are 14 different cavern layouts, and each one teaches you something about anchor rigging, managing your line and understanding decompression zones. These are the same techniques real cave divers rely on. The caverns stay the same but how you tackle them changes every time. If you've been learning dive rigging or you're working toward cave certification, this was built with you in mind.
The mechanics that matter in Crystalanchor

Not every formation holds the same load. Crystal density, angle, how exposed it is to current—all of it affects whether you're safe. You learn to read the cavern and pick placements that won't fail when you're deep in a dive.

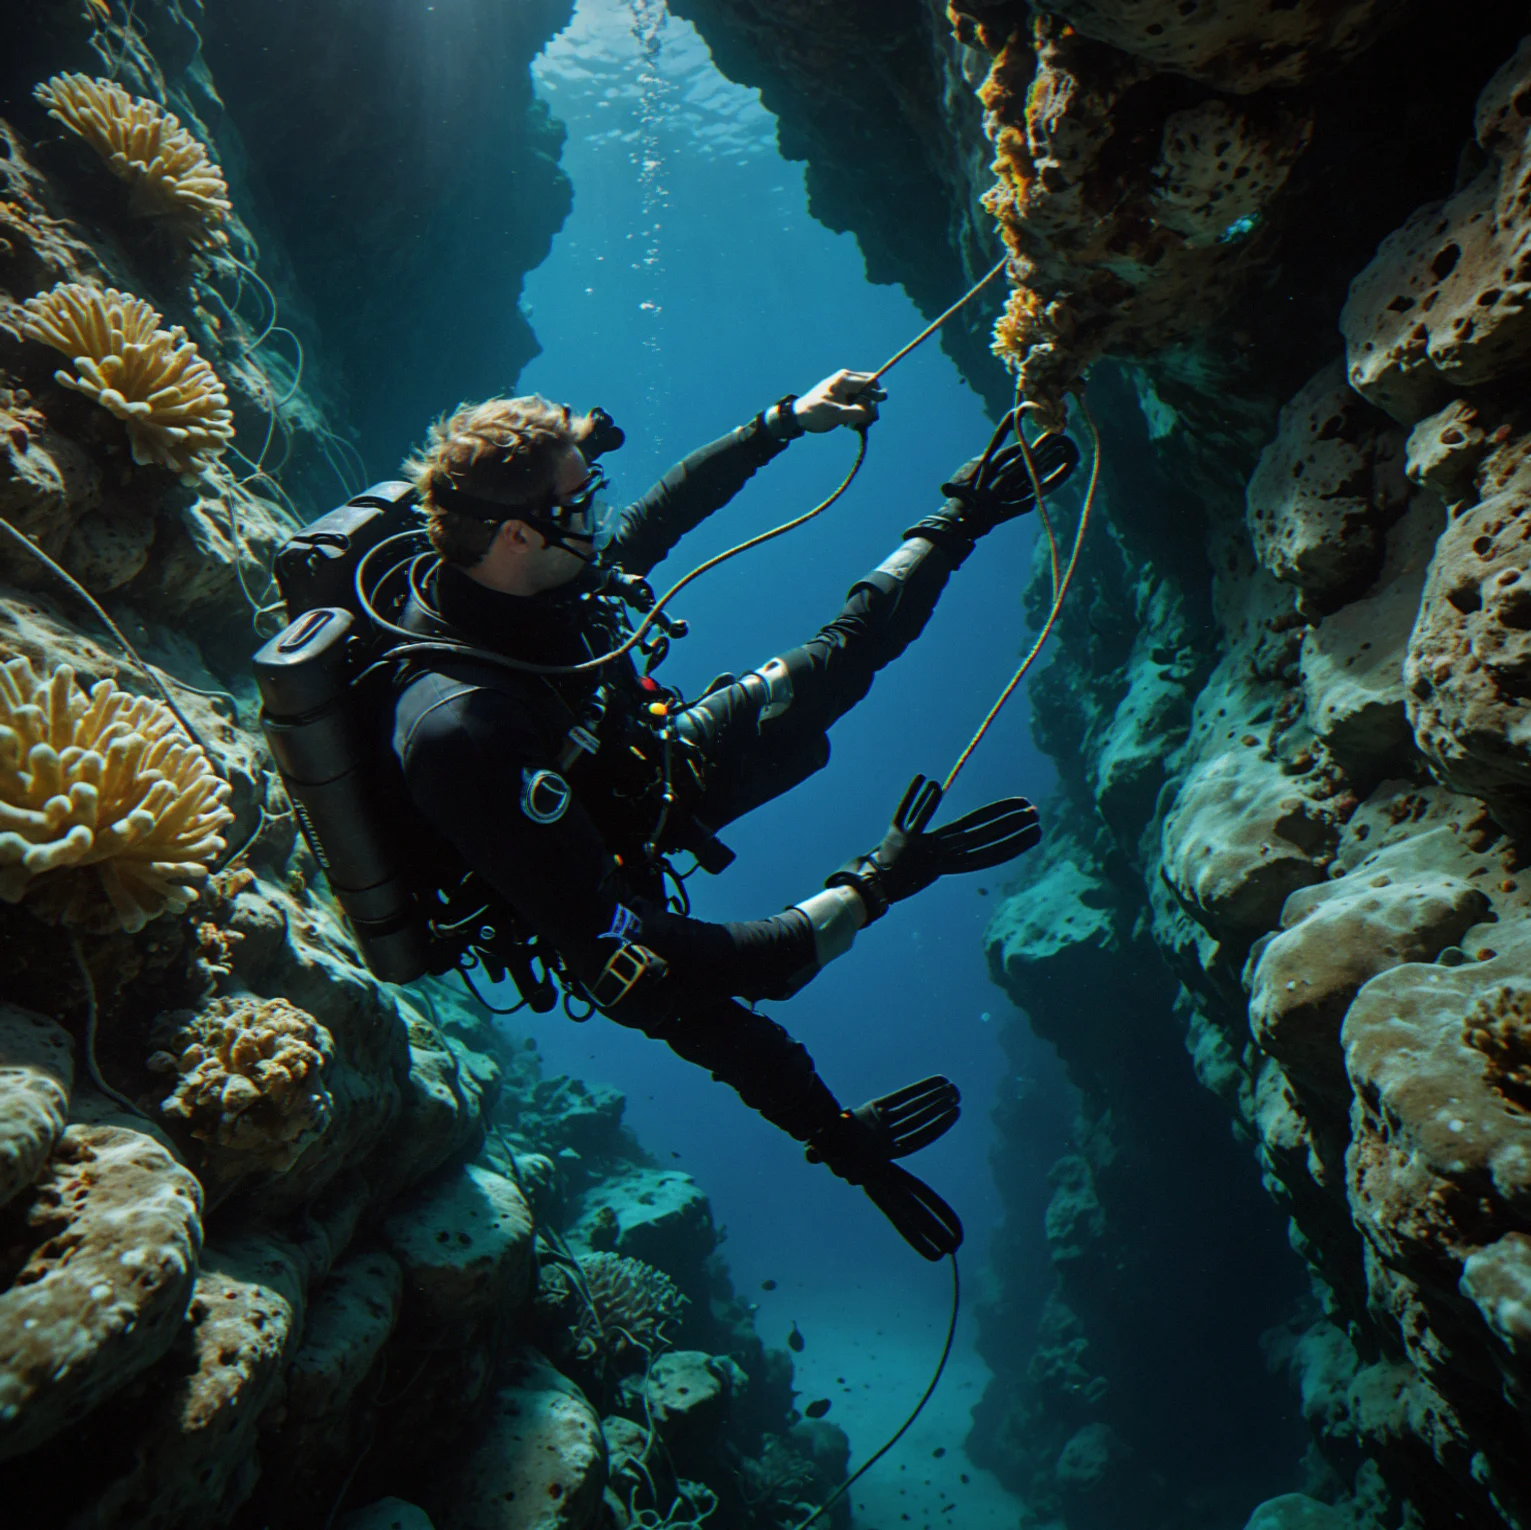
Rope angle matters more than you'd think. A 45-degree descent loads differently than straight down. Crystalanchor calculates the actual tension based on where your anchor sits, the angle you're descending at and how much the diver weighs. Watch the rope—it tells you what's working.

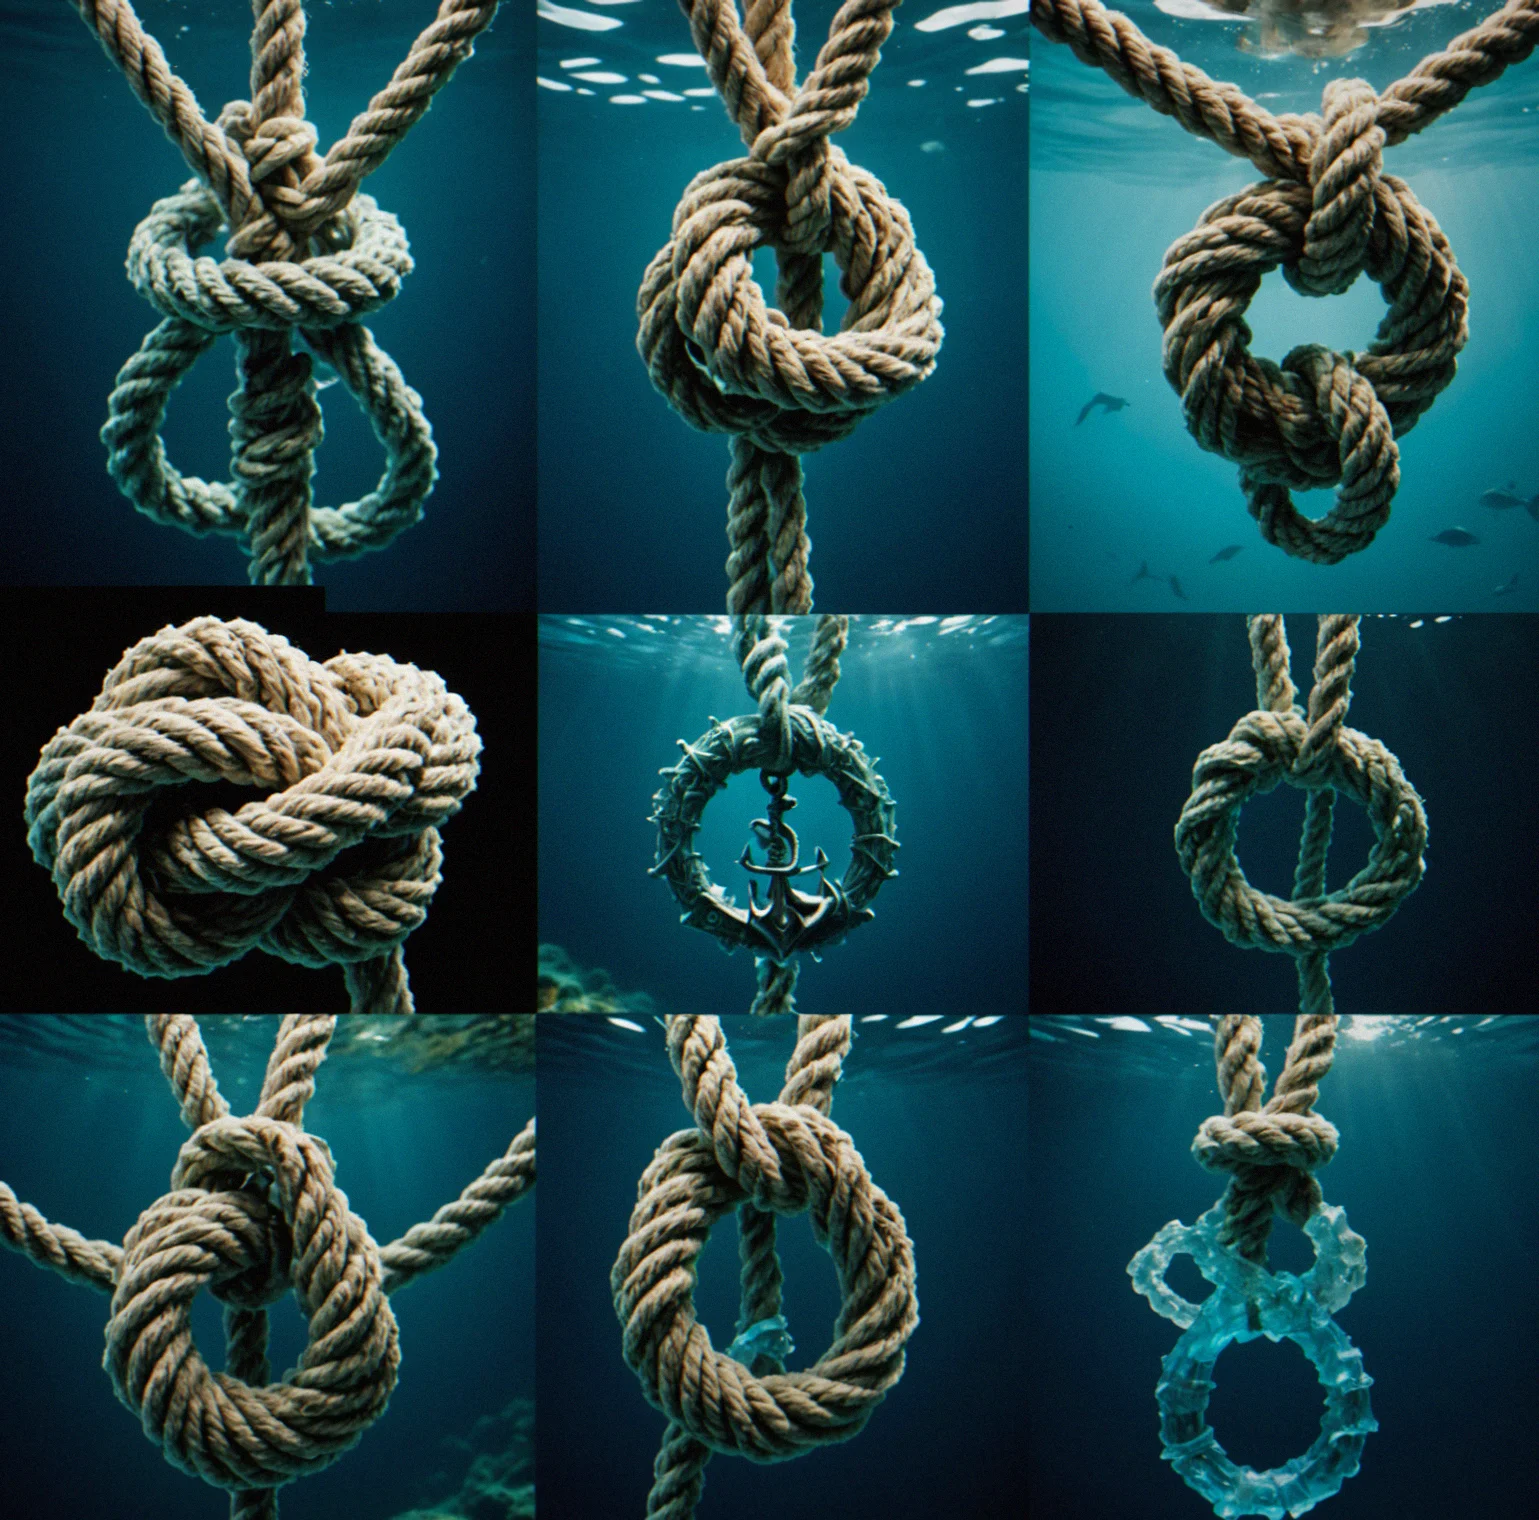
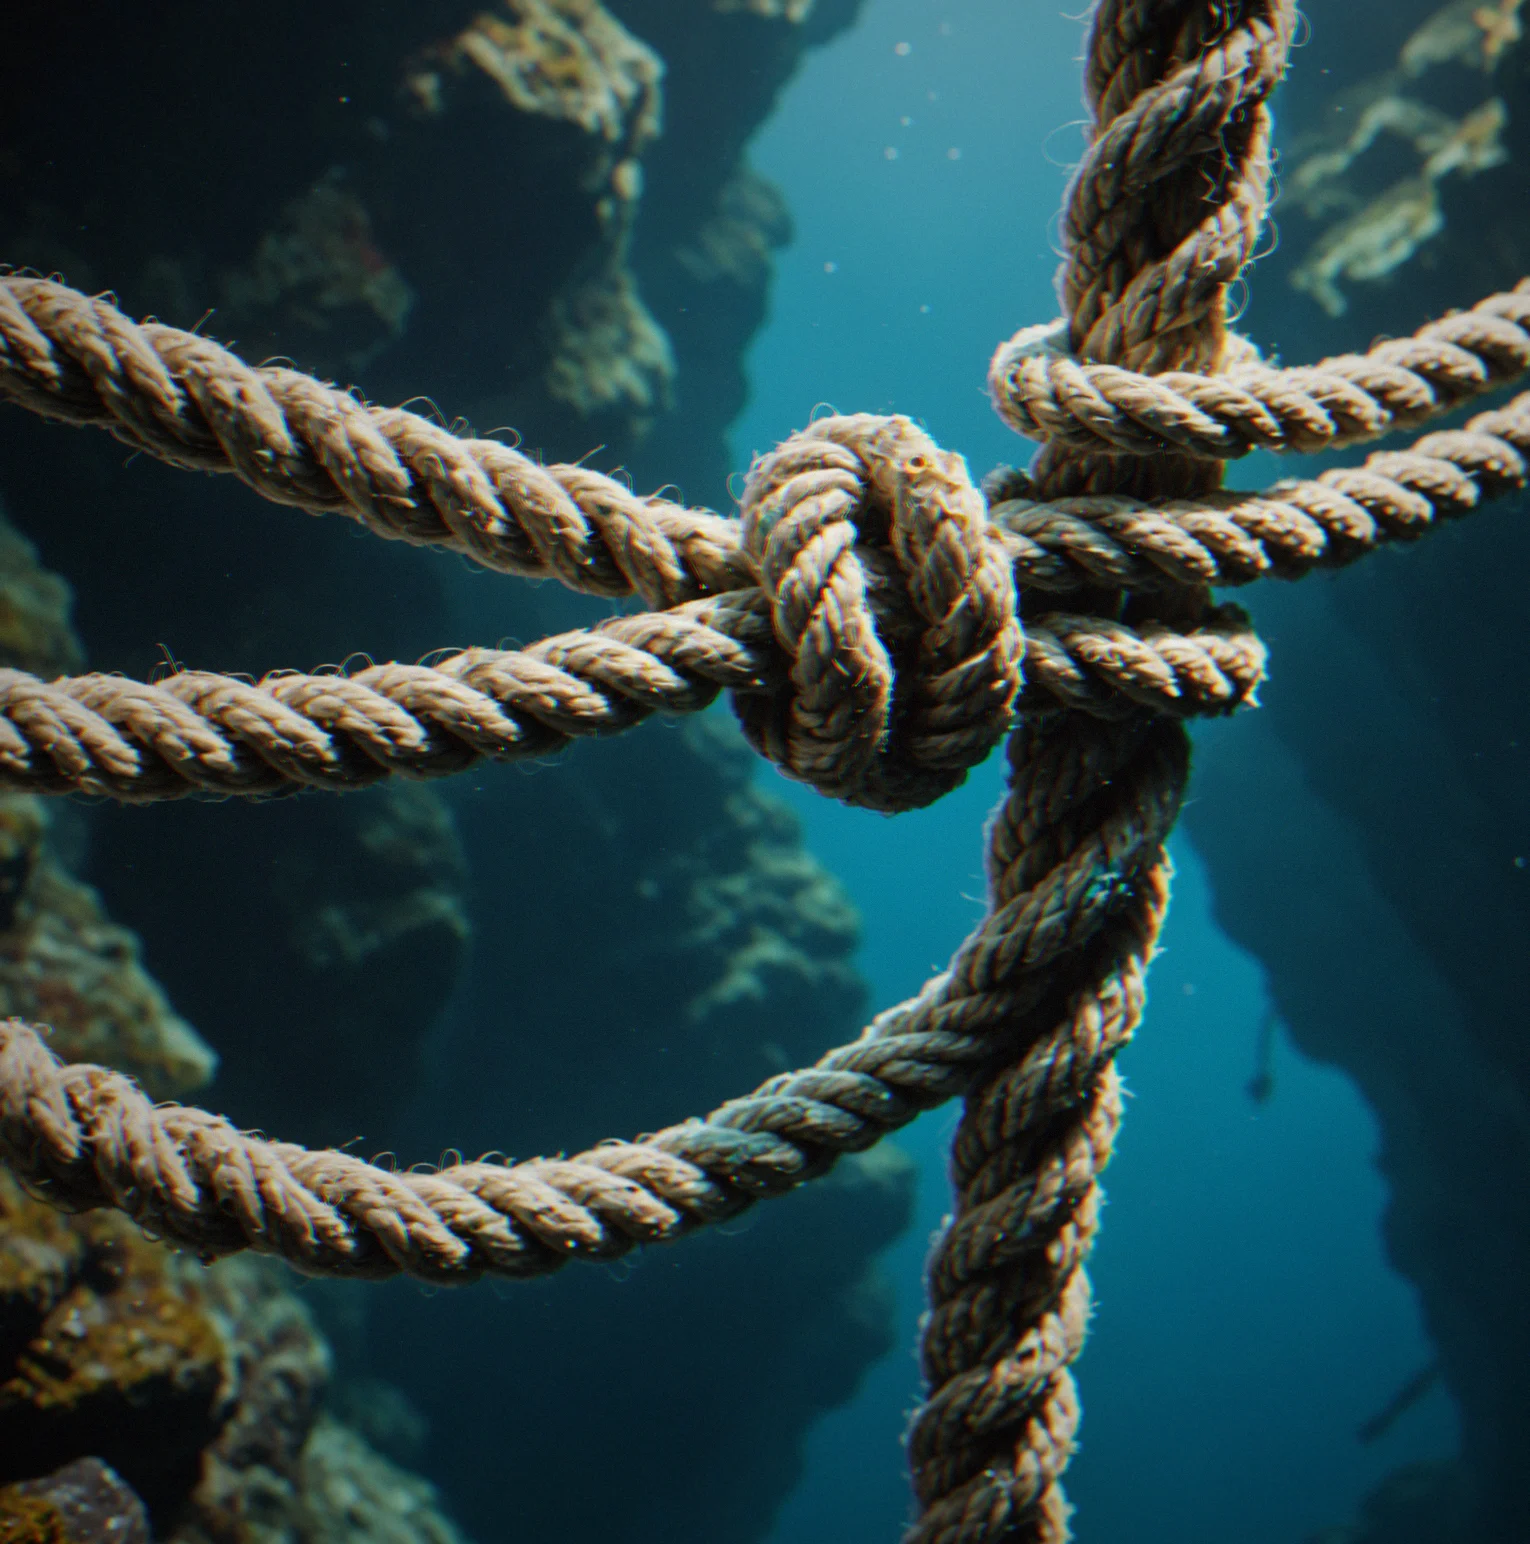
Different knots hold differently. Some preserve most of the line's strength, maybe around 95 percent. Others drop it down closer to 80. You pick based on what the formation can handle and what kind of load you're expecting.

Tight passages, narrow chimneys, side branches that all look the same. You navigate by memory and rope feedback. One wrong turn means untangling yourself. The cavern layouts are hand-designed, not random—each one teaches a specific spatial skill.

You're working with a primary line that stretches just under 100 meters. Managing the slack, keeping tension right, routing it so it doesn't snag—that's the actual skill. Slack catches on formations. Tight line strains the hardware. You need balance.

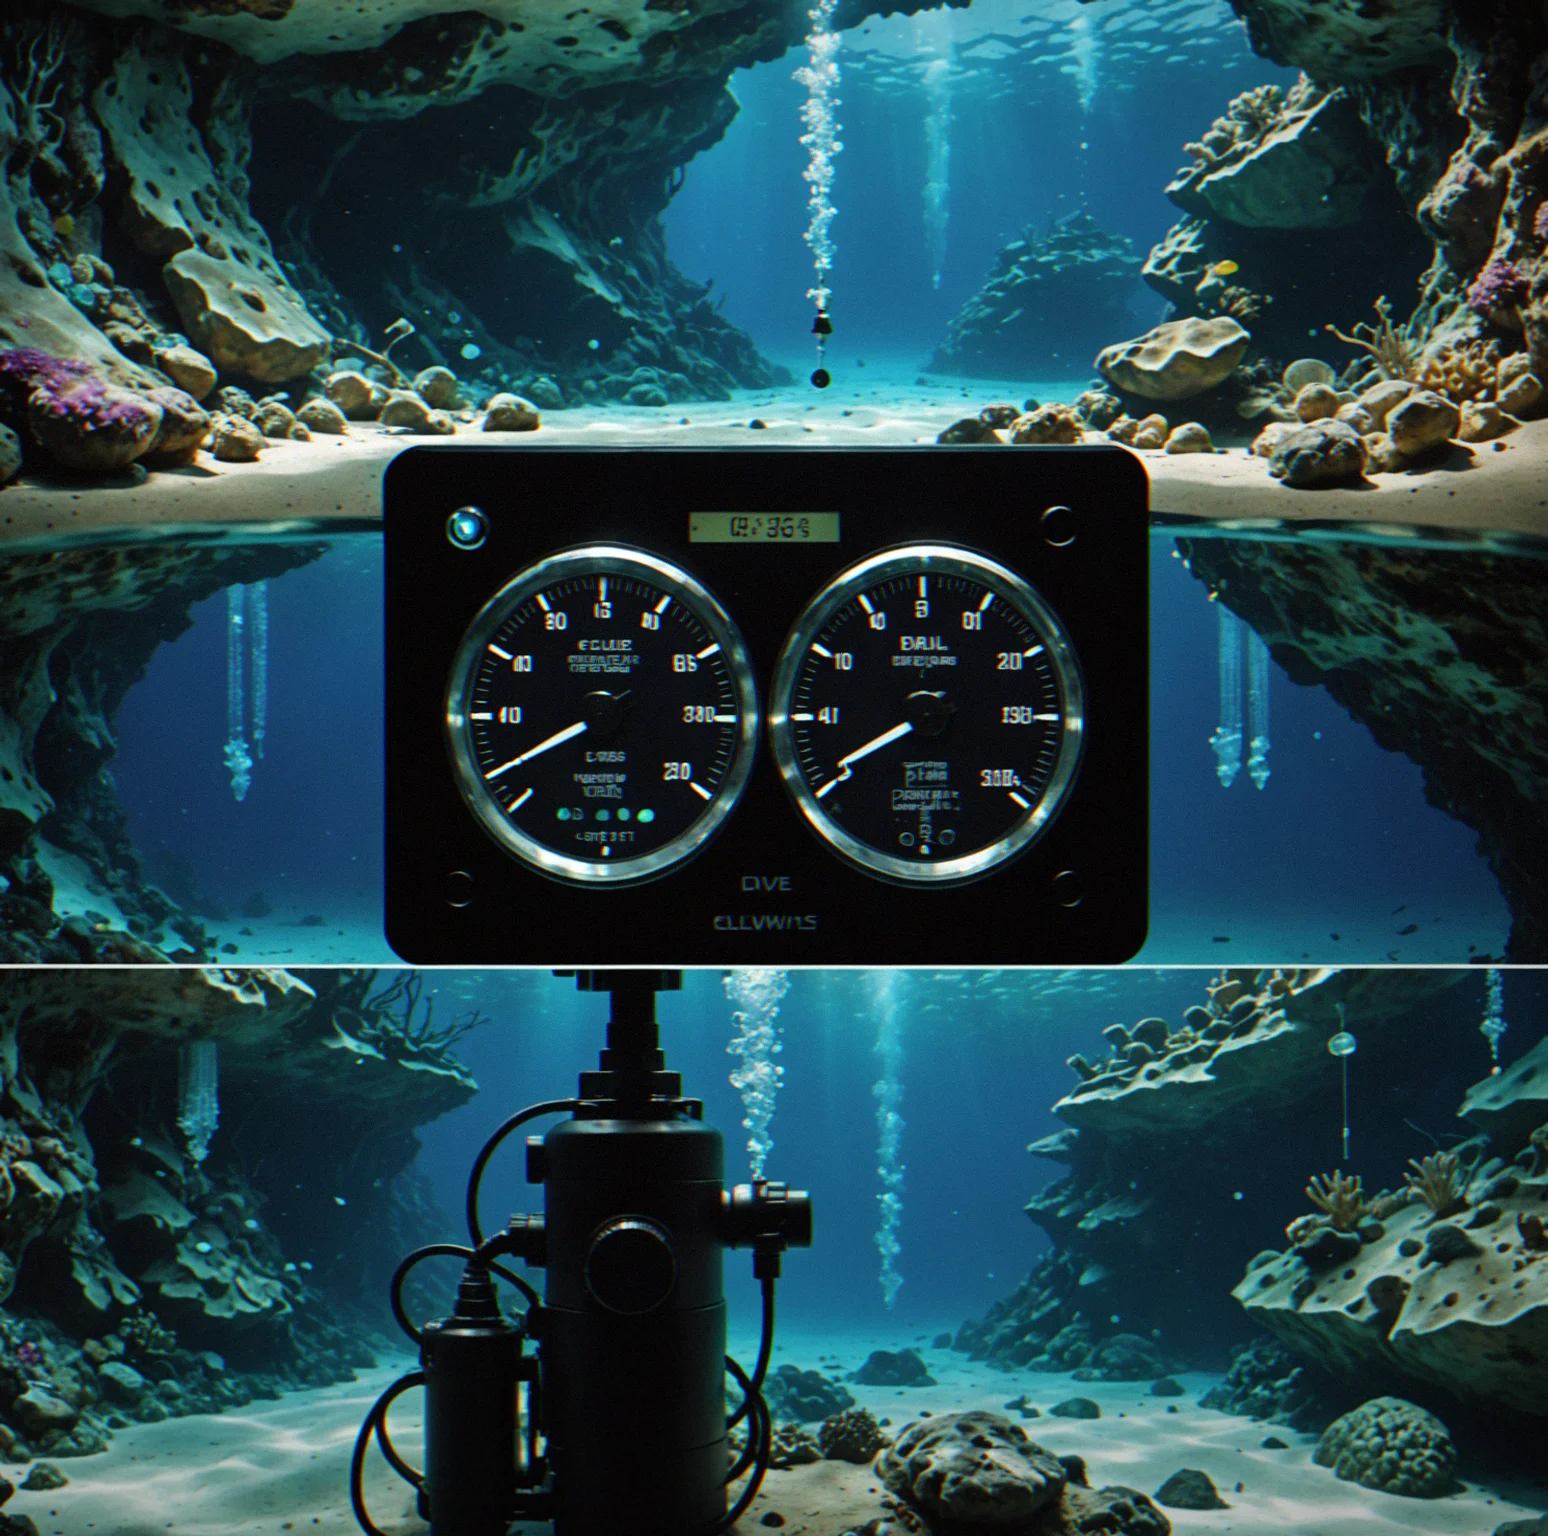
You hit wider chambers where mandatory stops happen. You have to hold your position while managing how much gas you're using. Skip these stops and your diver passes out. The depth and duration of your dive determine how long you stay.

Fourteen hand-designed systems. The core layouts stay consistent. Environmental details shift slightly each time. Your approach can't just be following a script.

You have a limited air supply. Longer dives burn through it faster. If you plan your route poorly, you run out. Precision gets you through efficiently.
crystalanchor-gameplay-carousel
Total Slides: 8

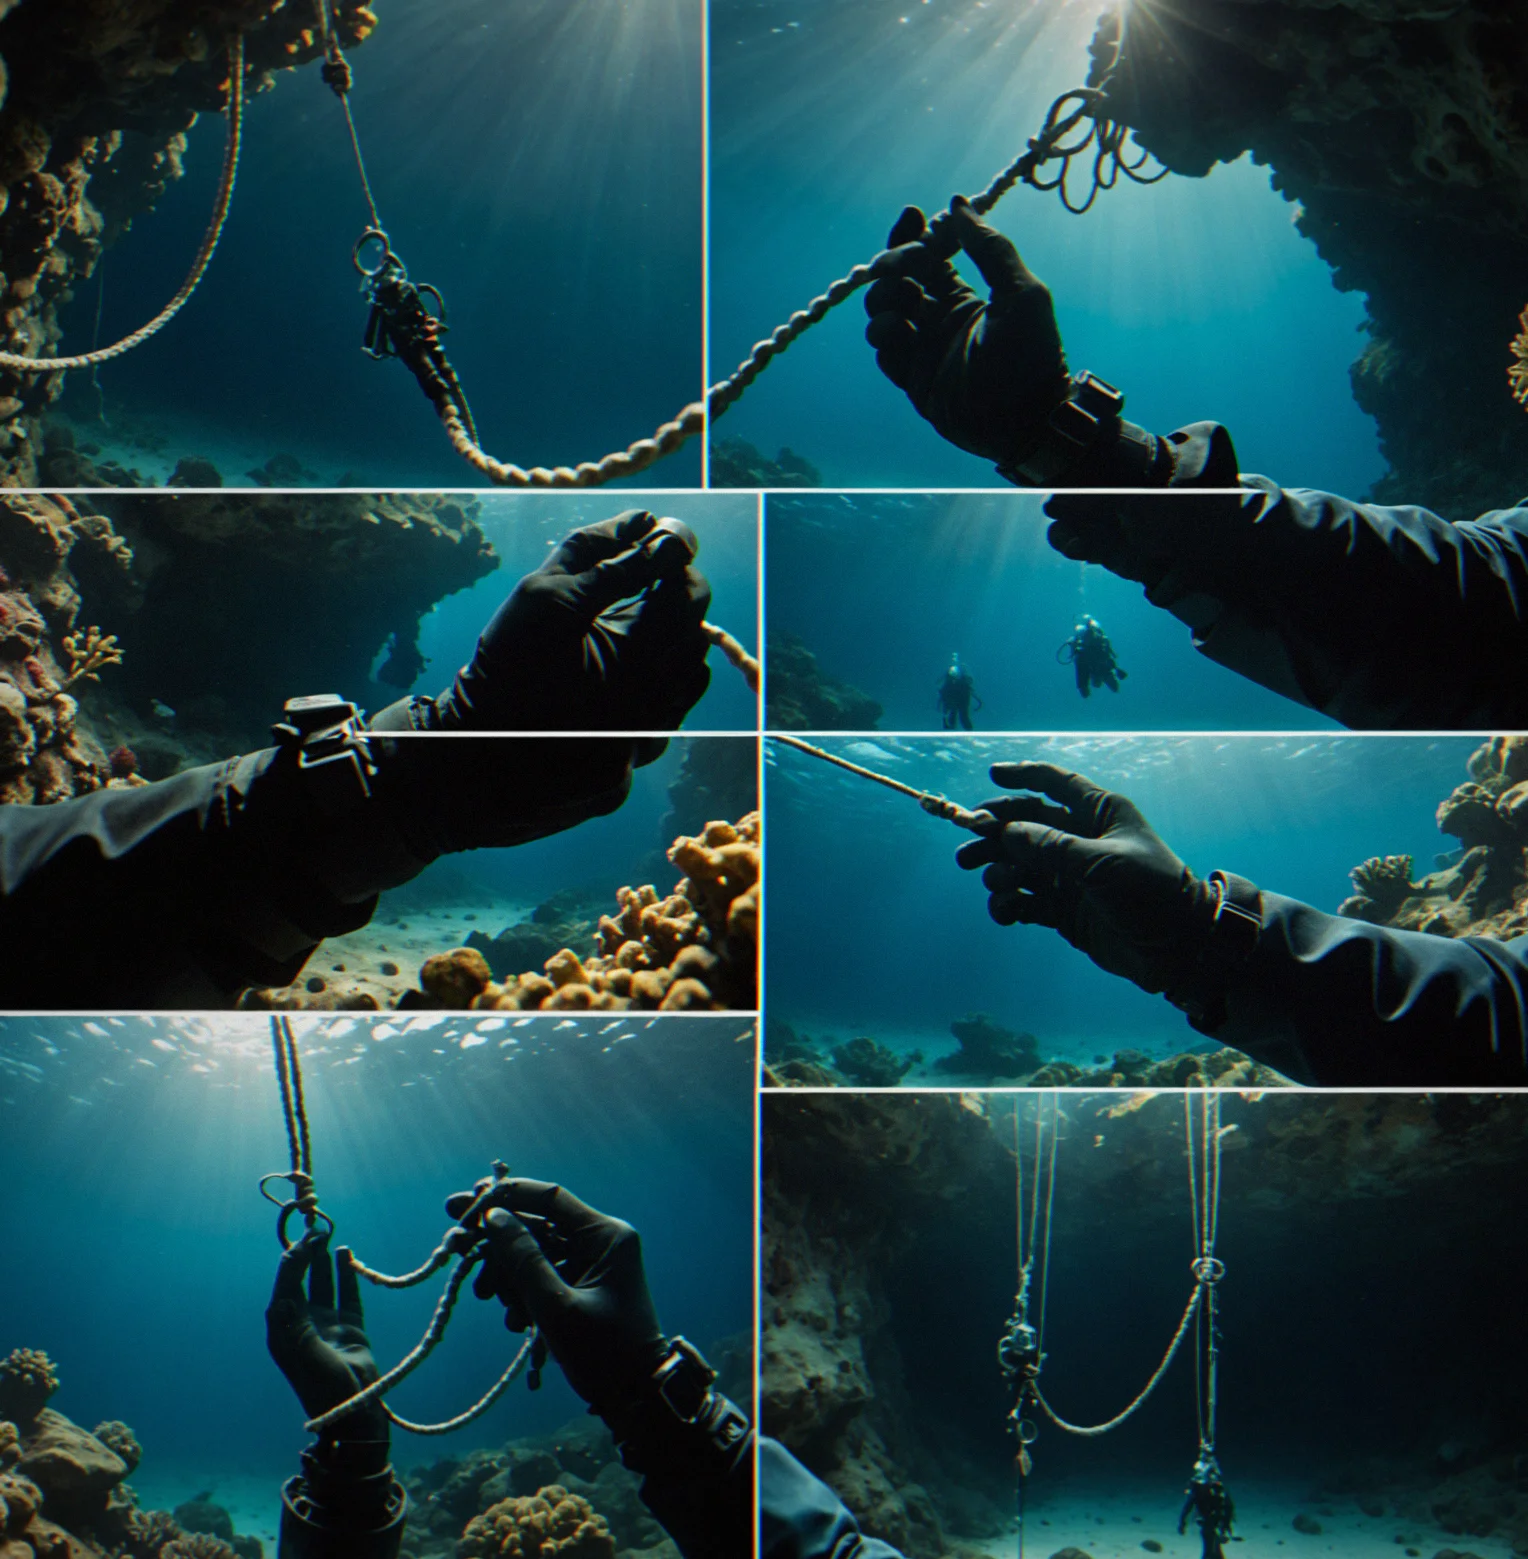
SEQUENCE 1
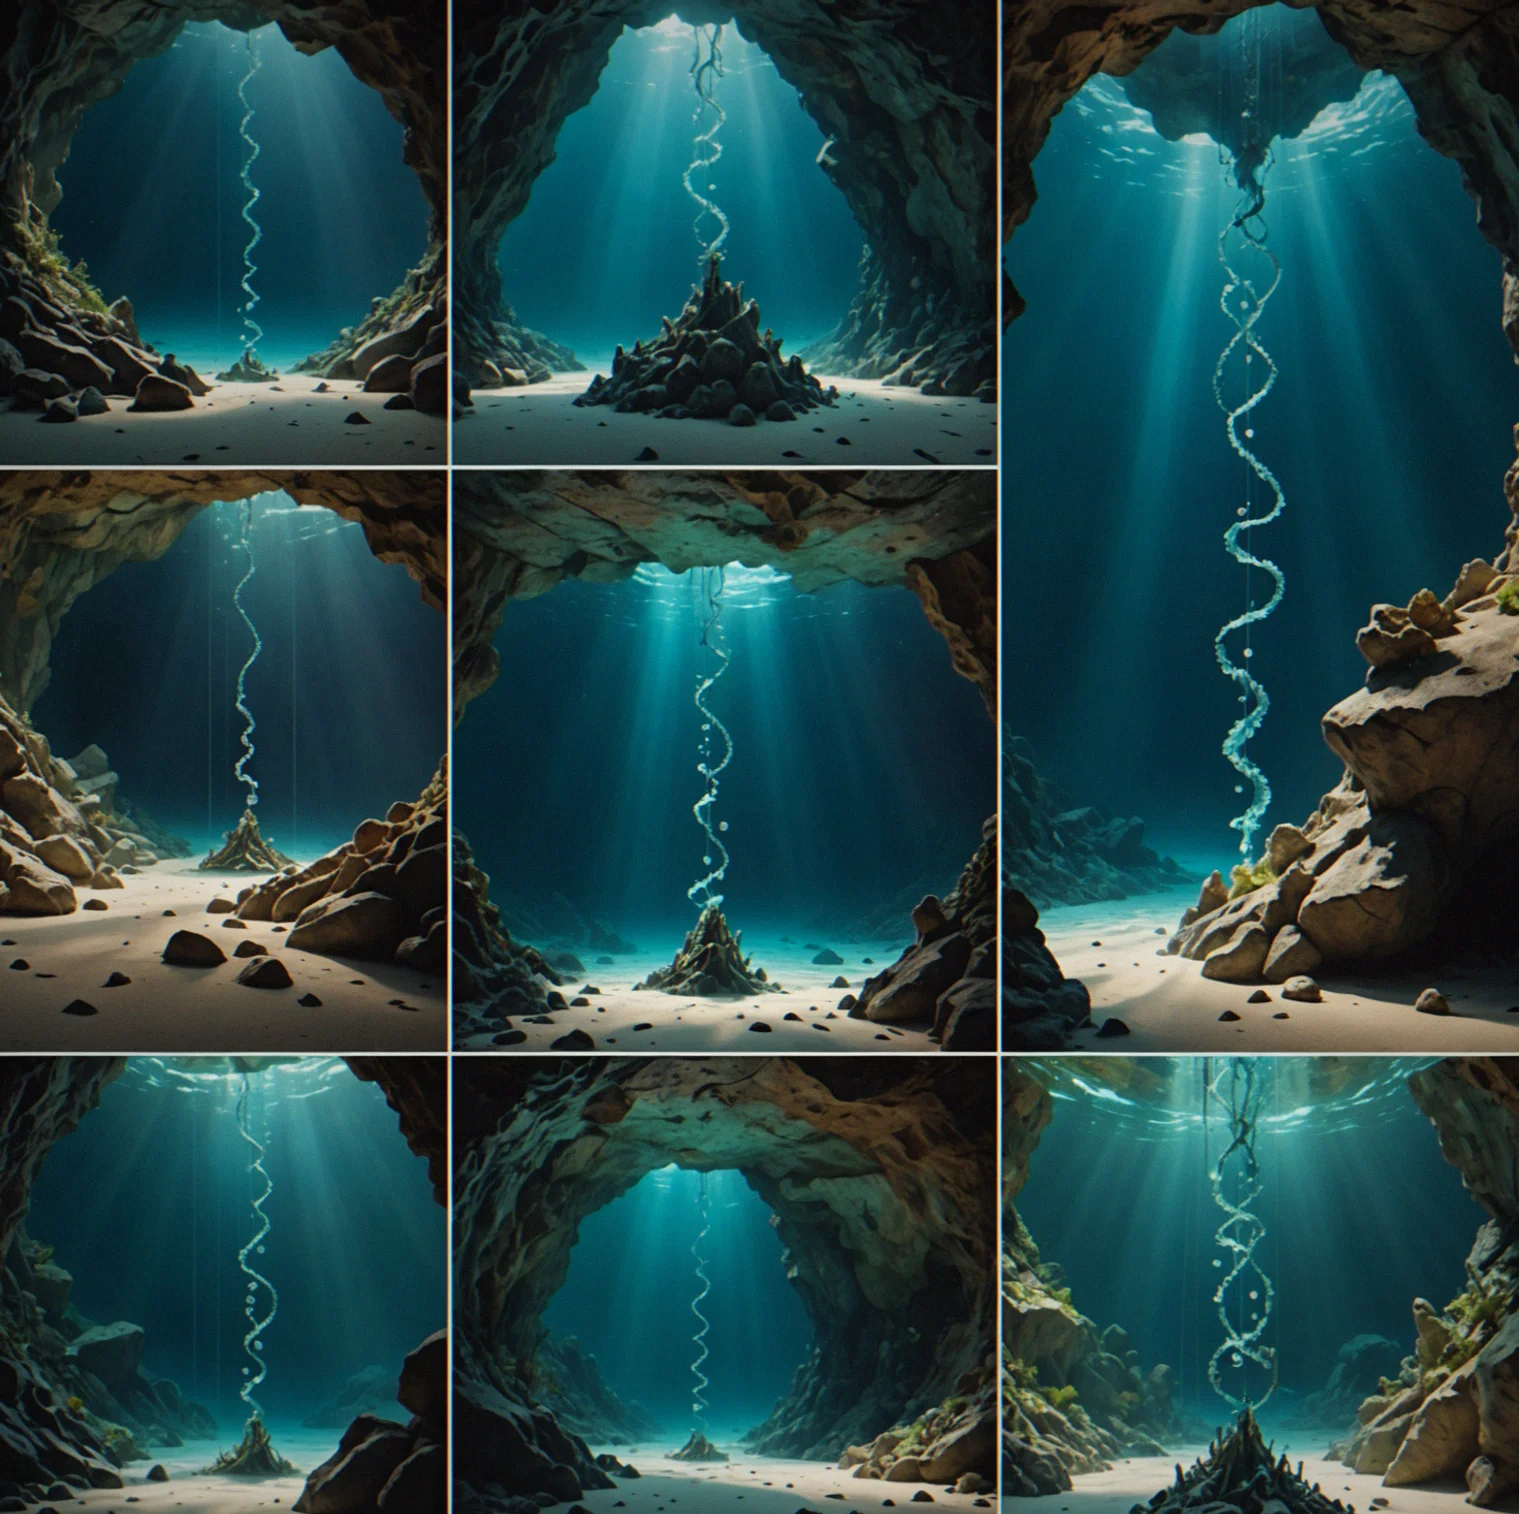
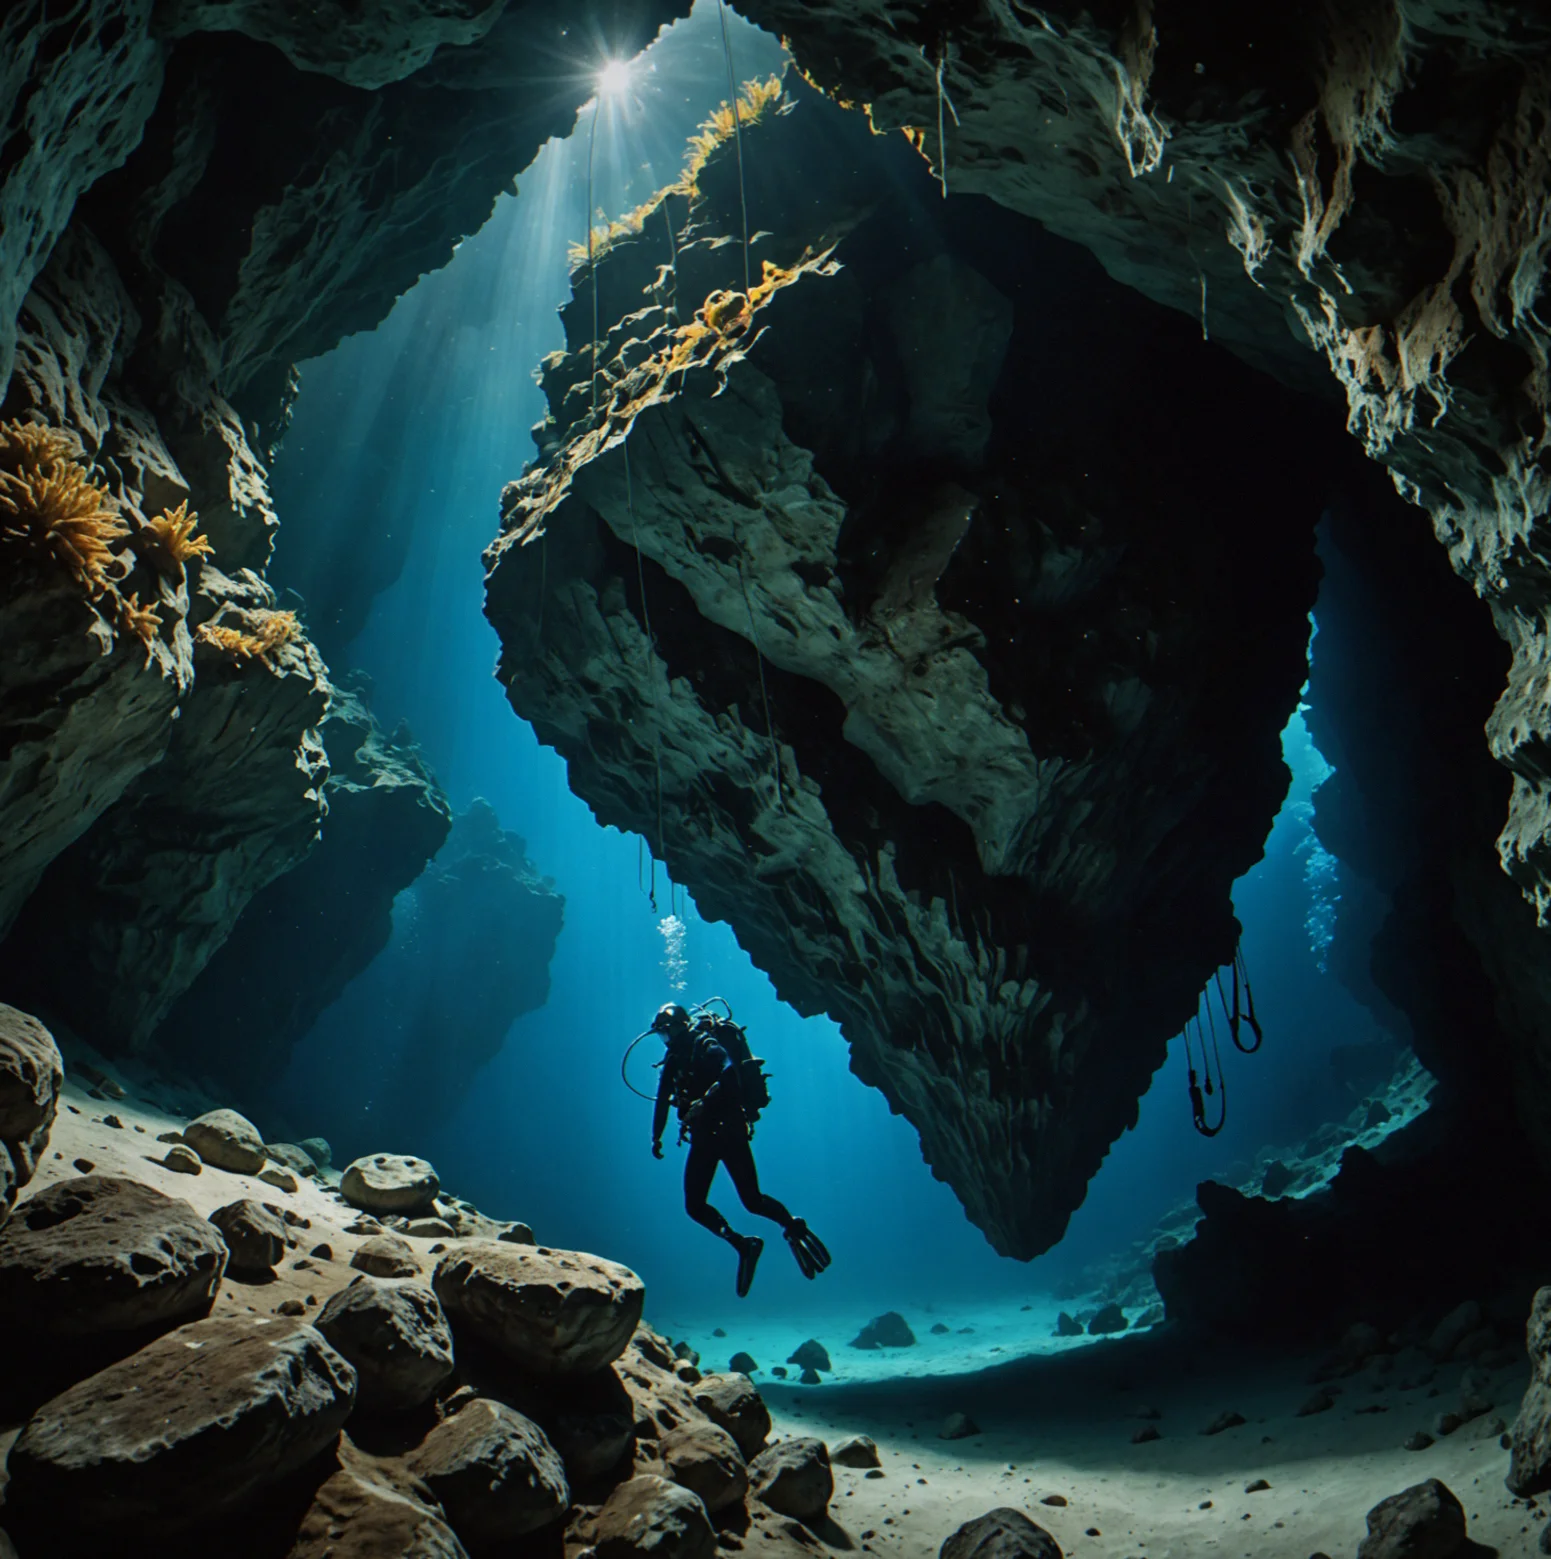
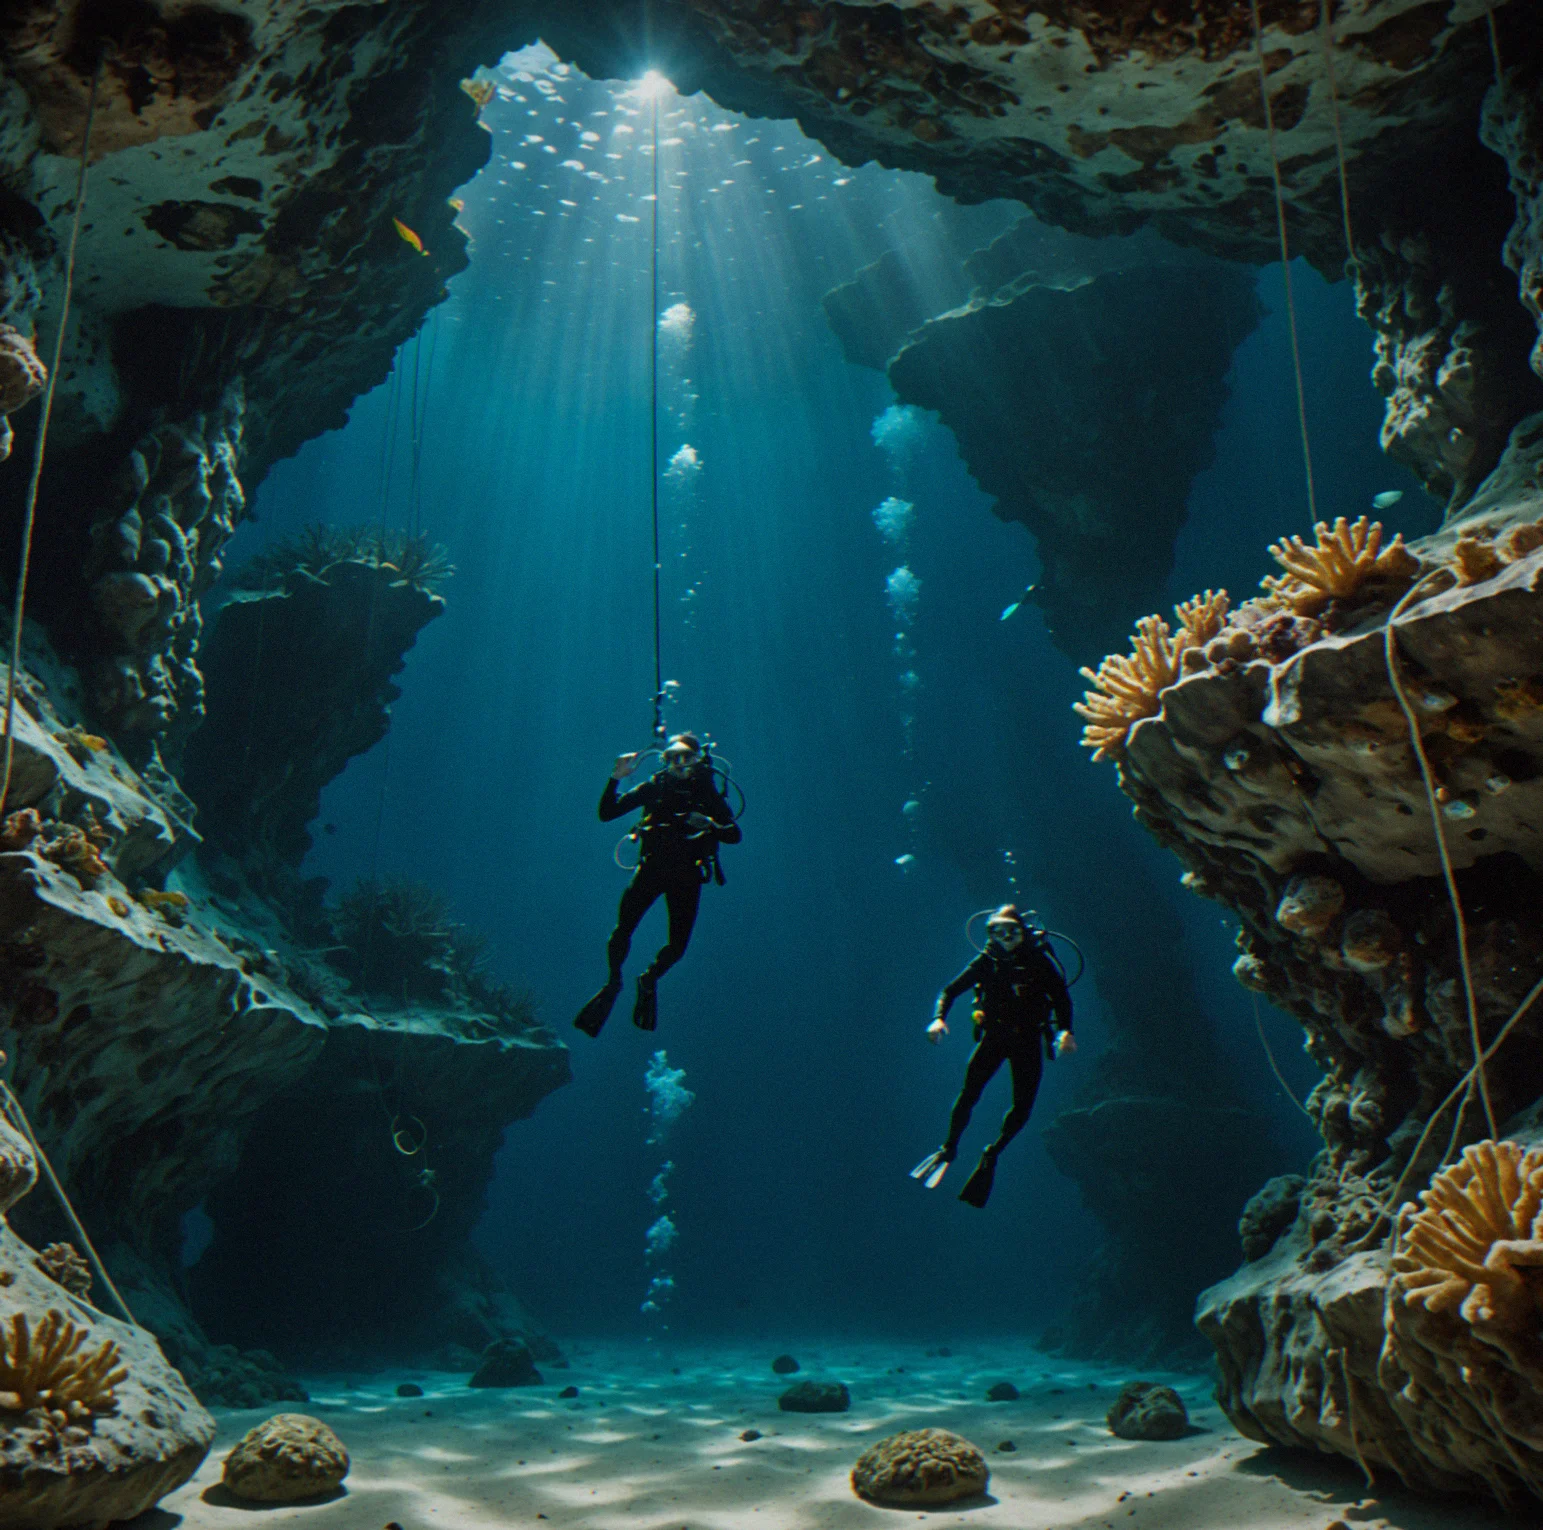
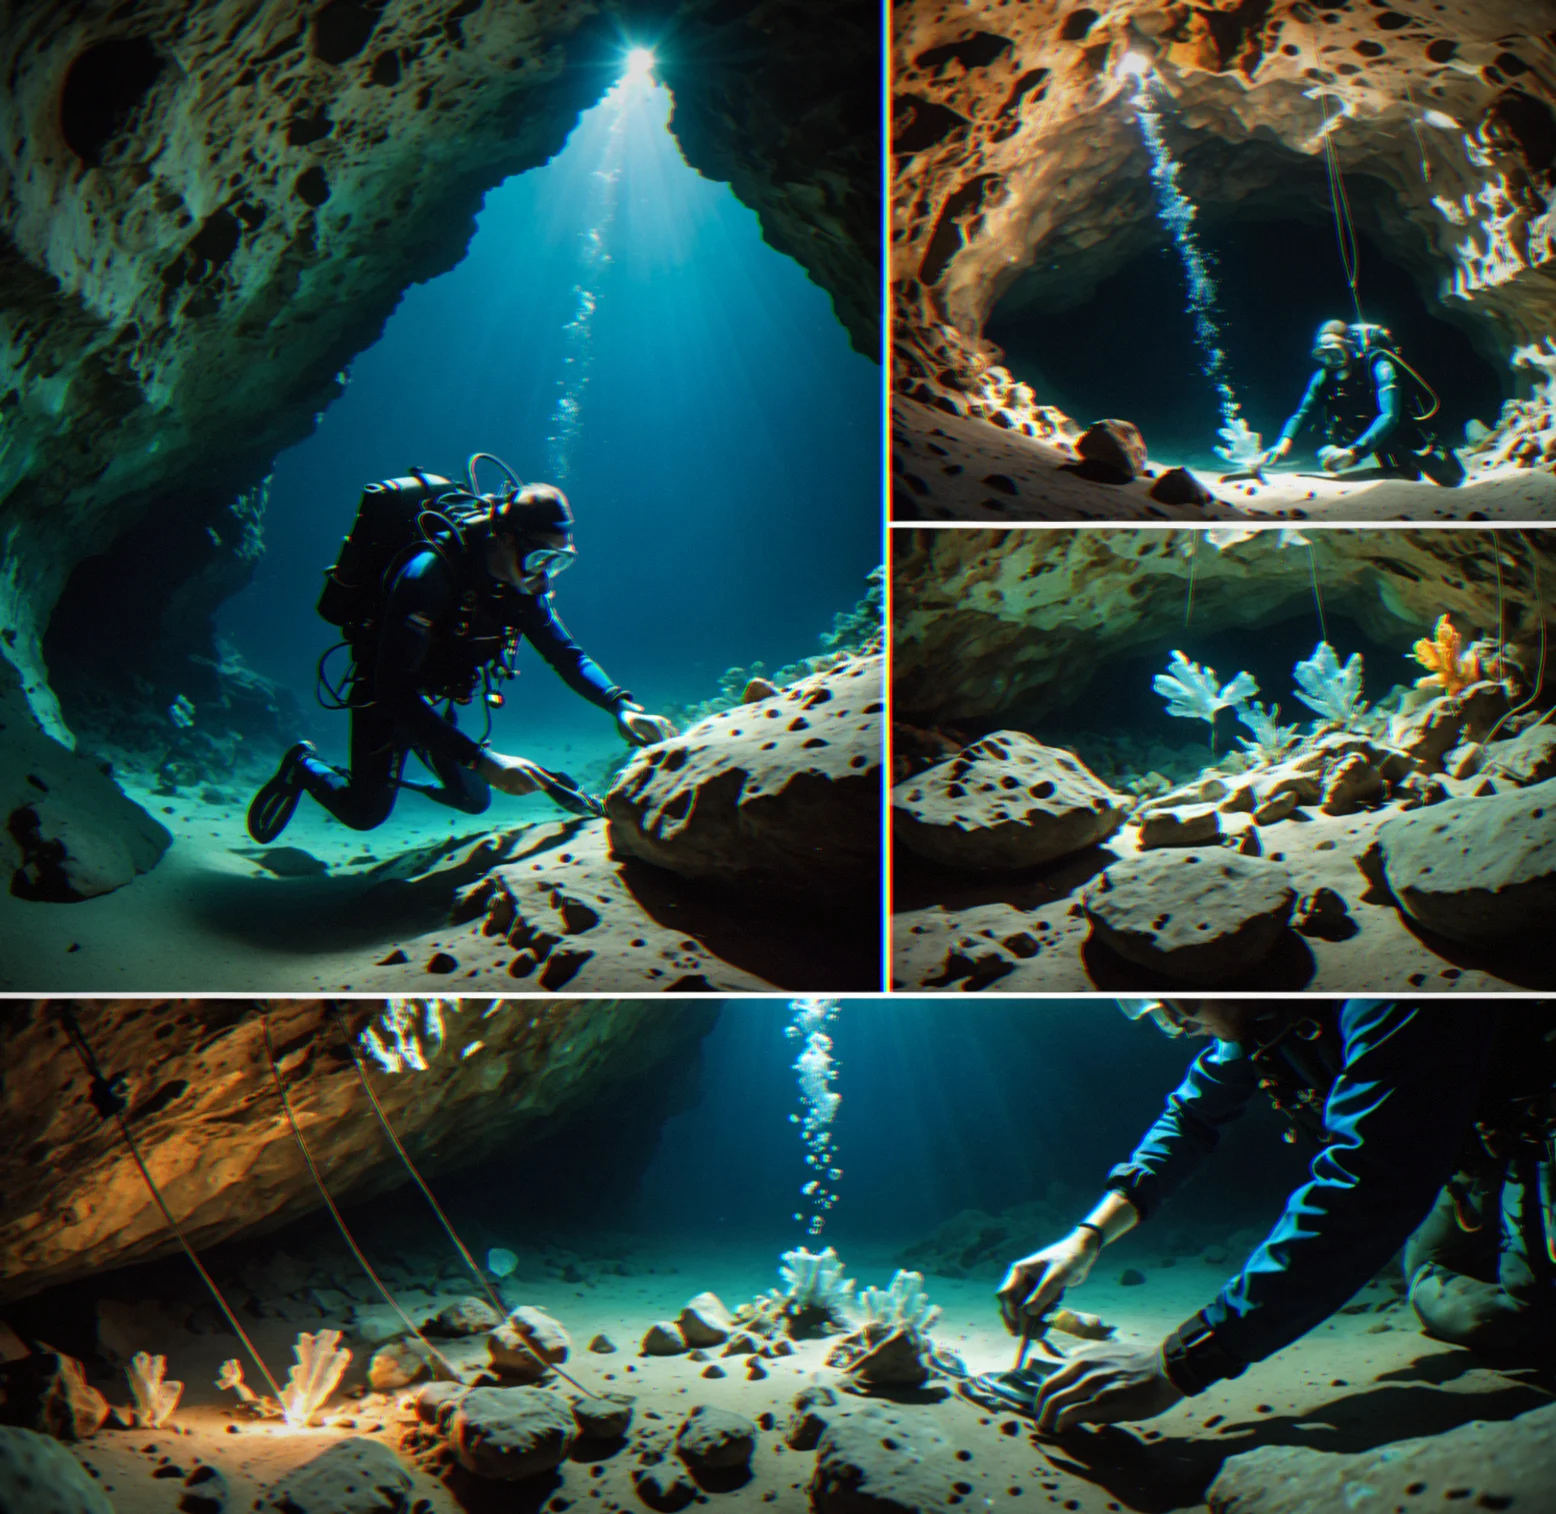
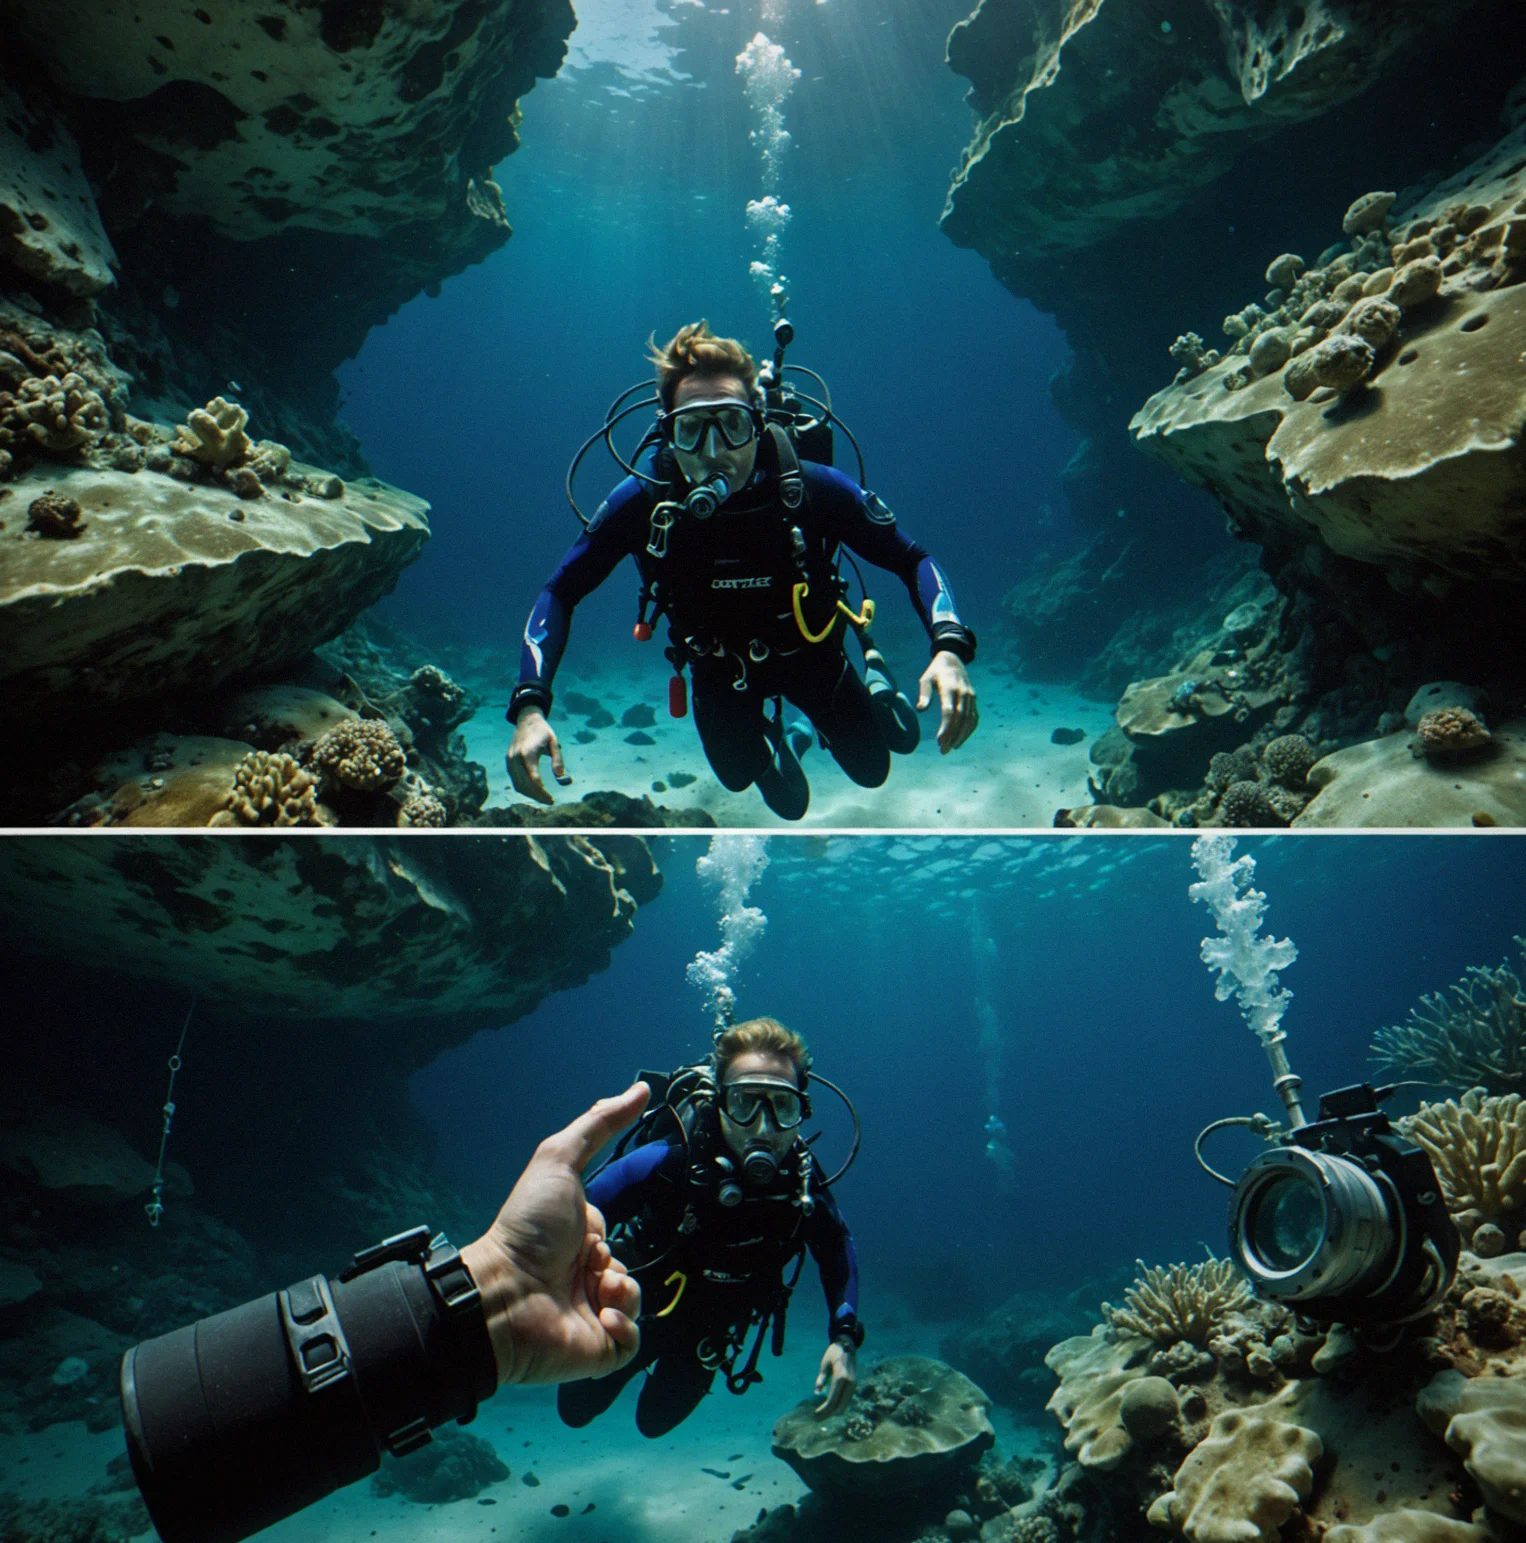
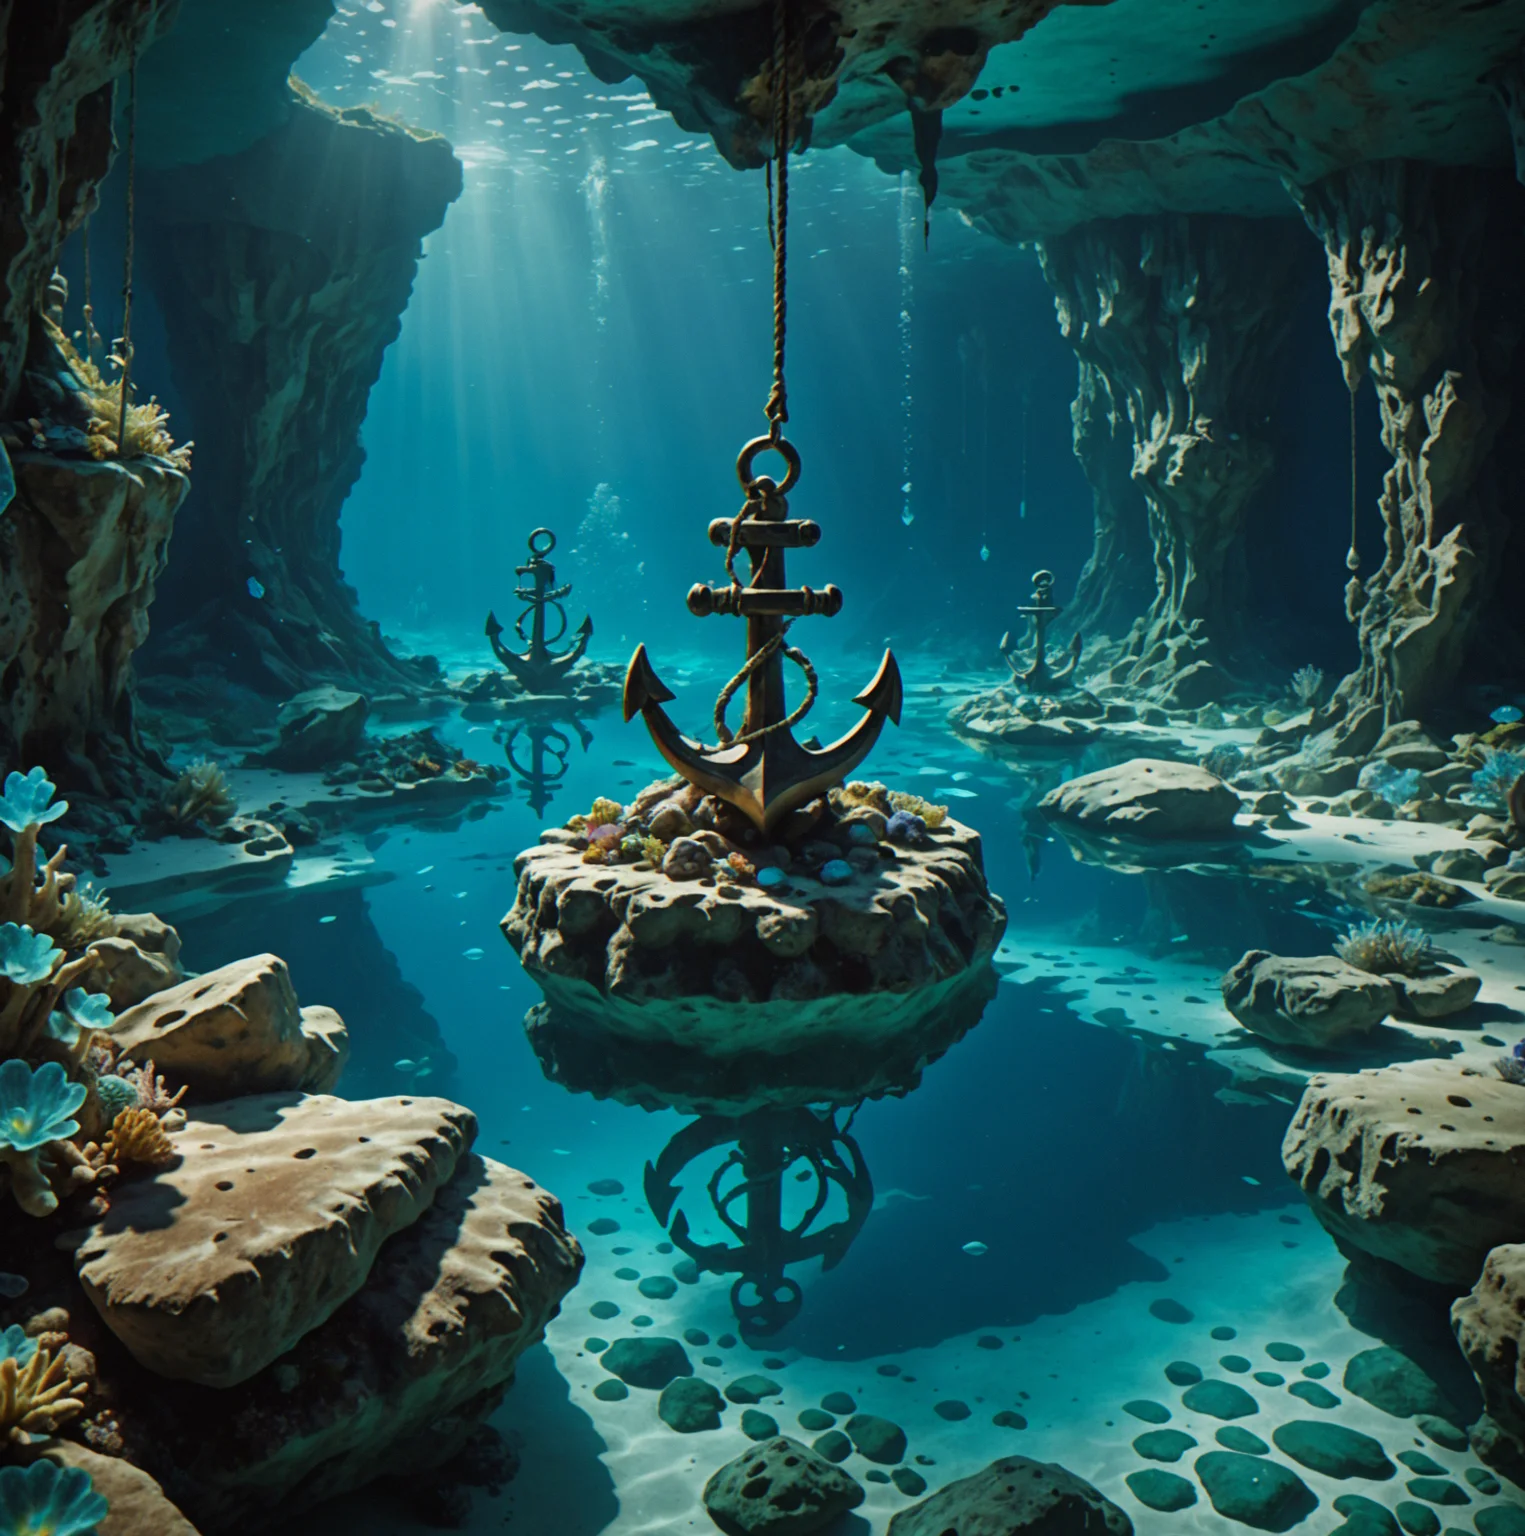
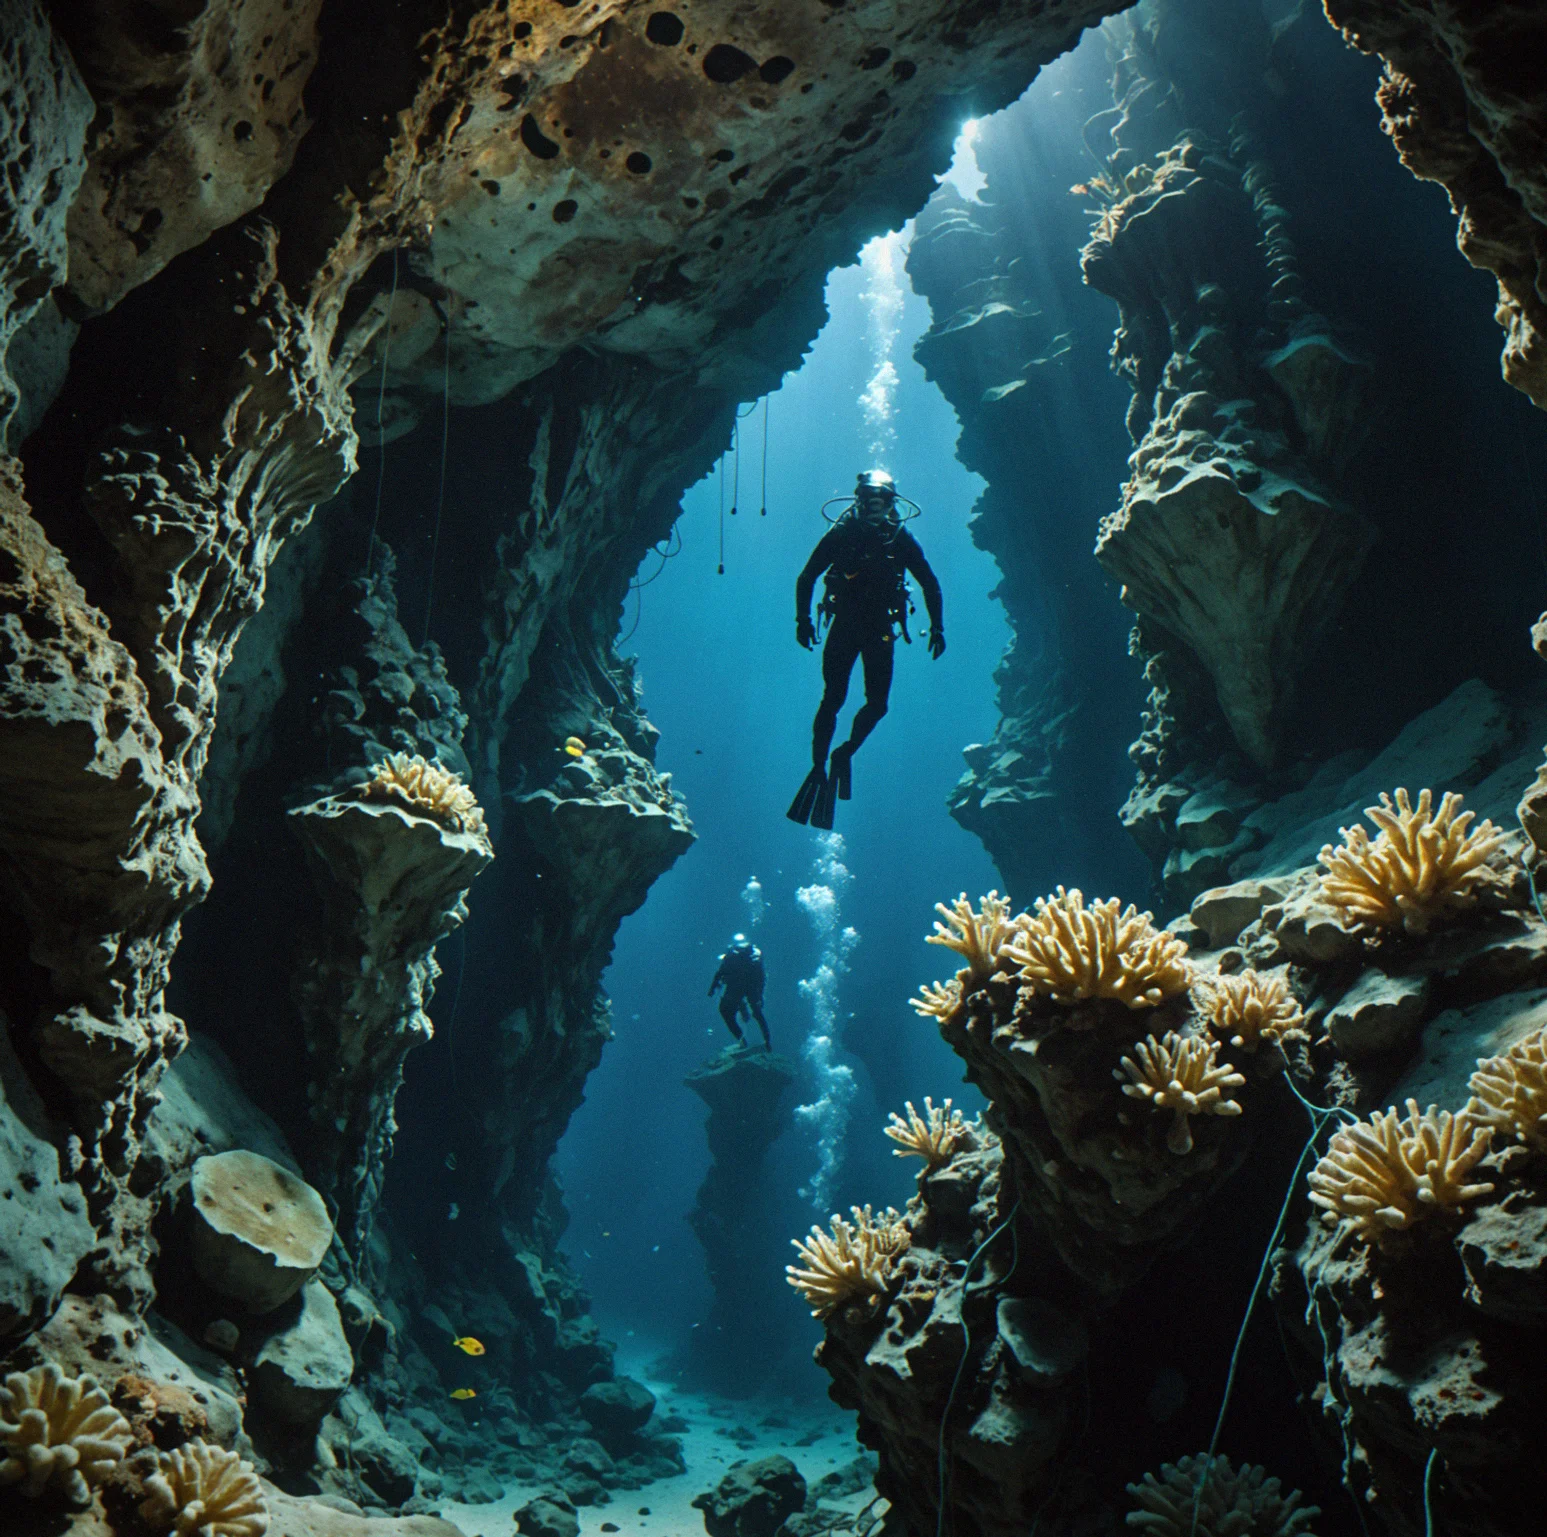
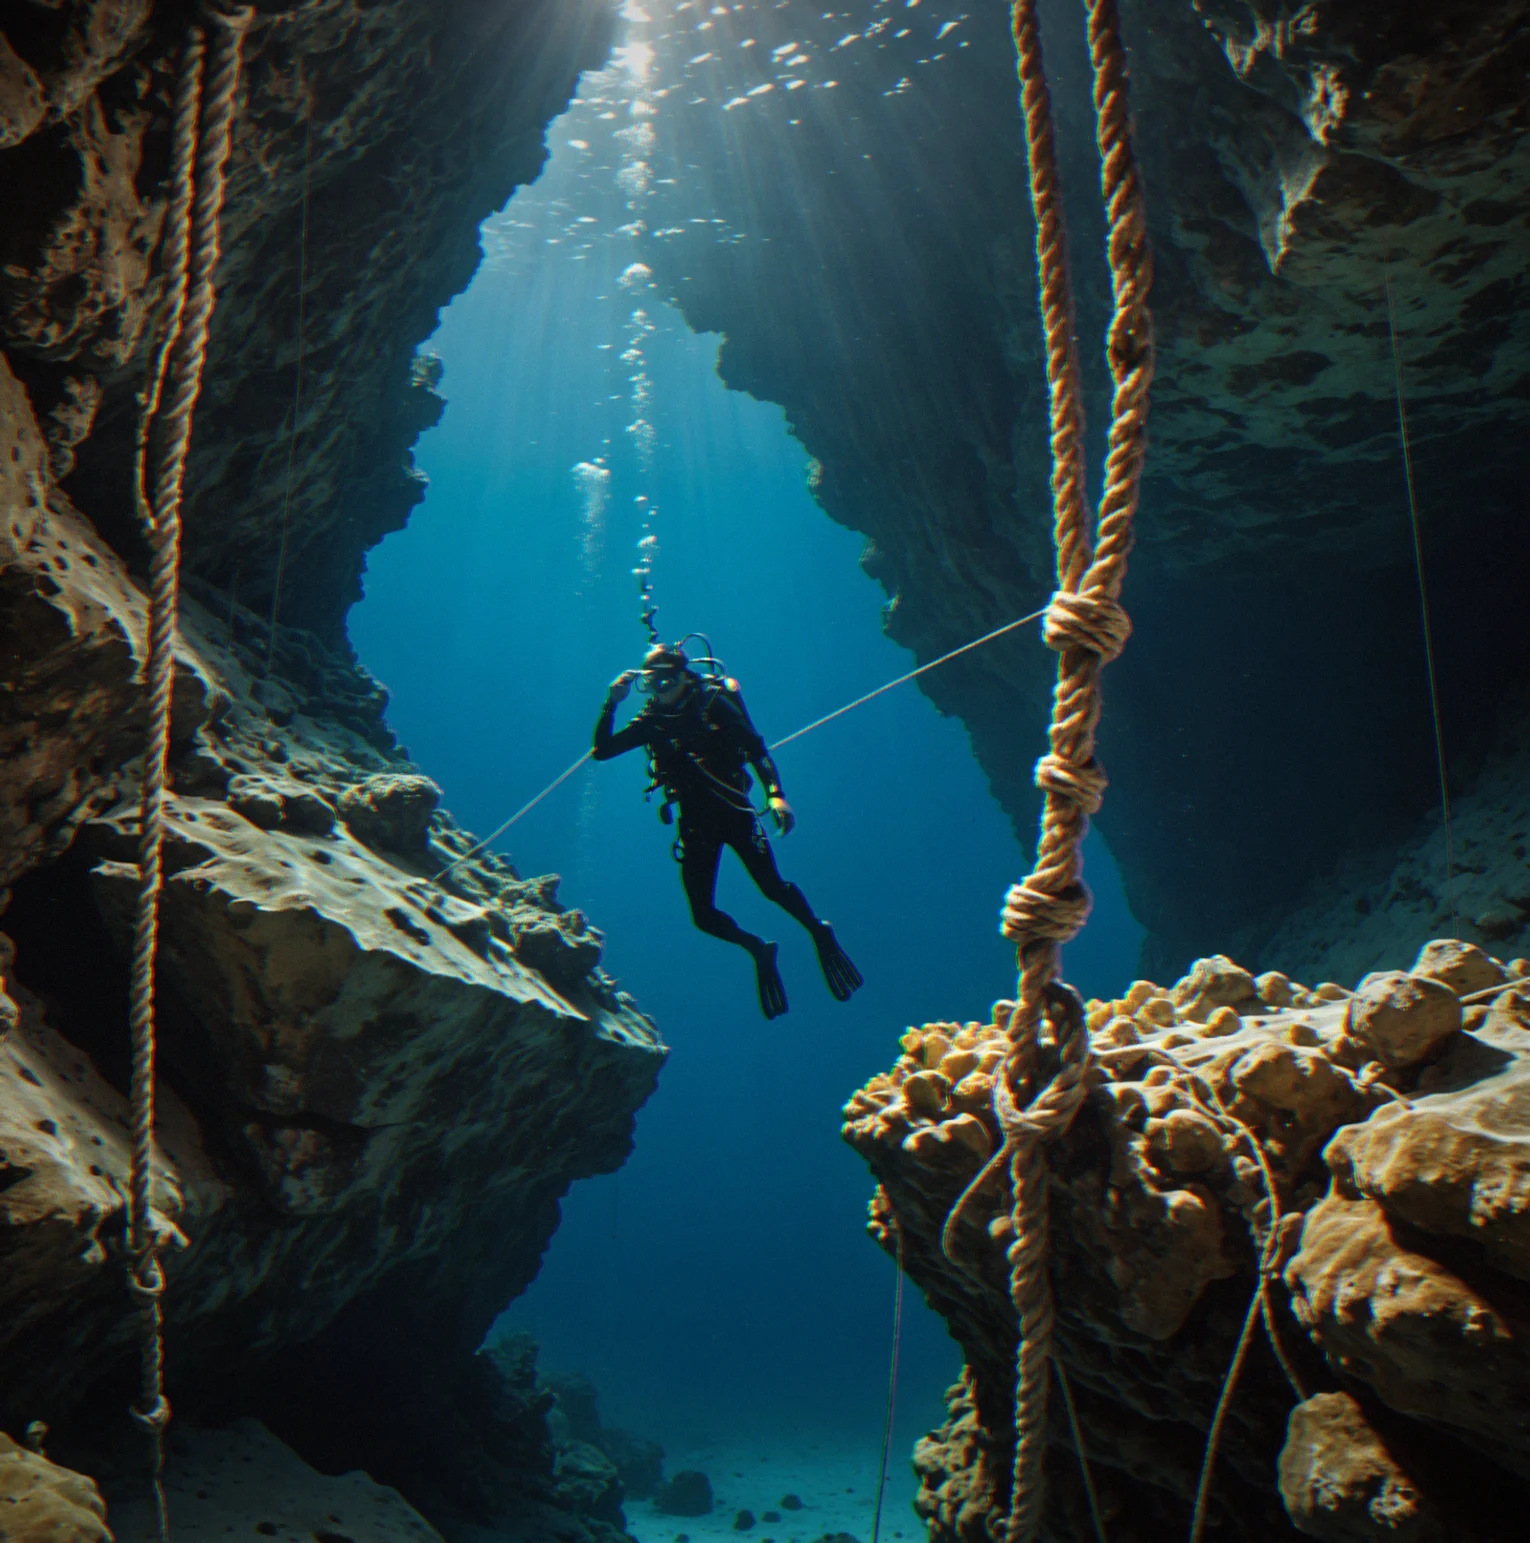
A diver heads down into a tight crystal cavern, with an anchor point you can see on a formation up and to the right

SEQUENCE 2
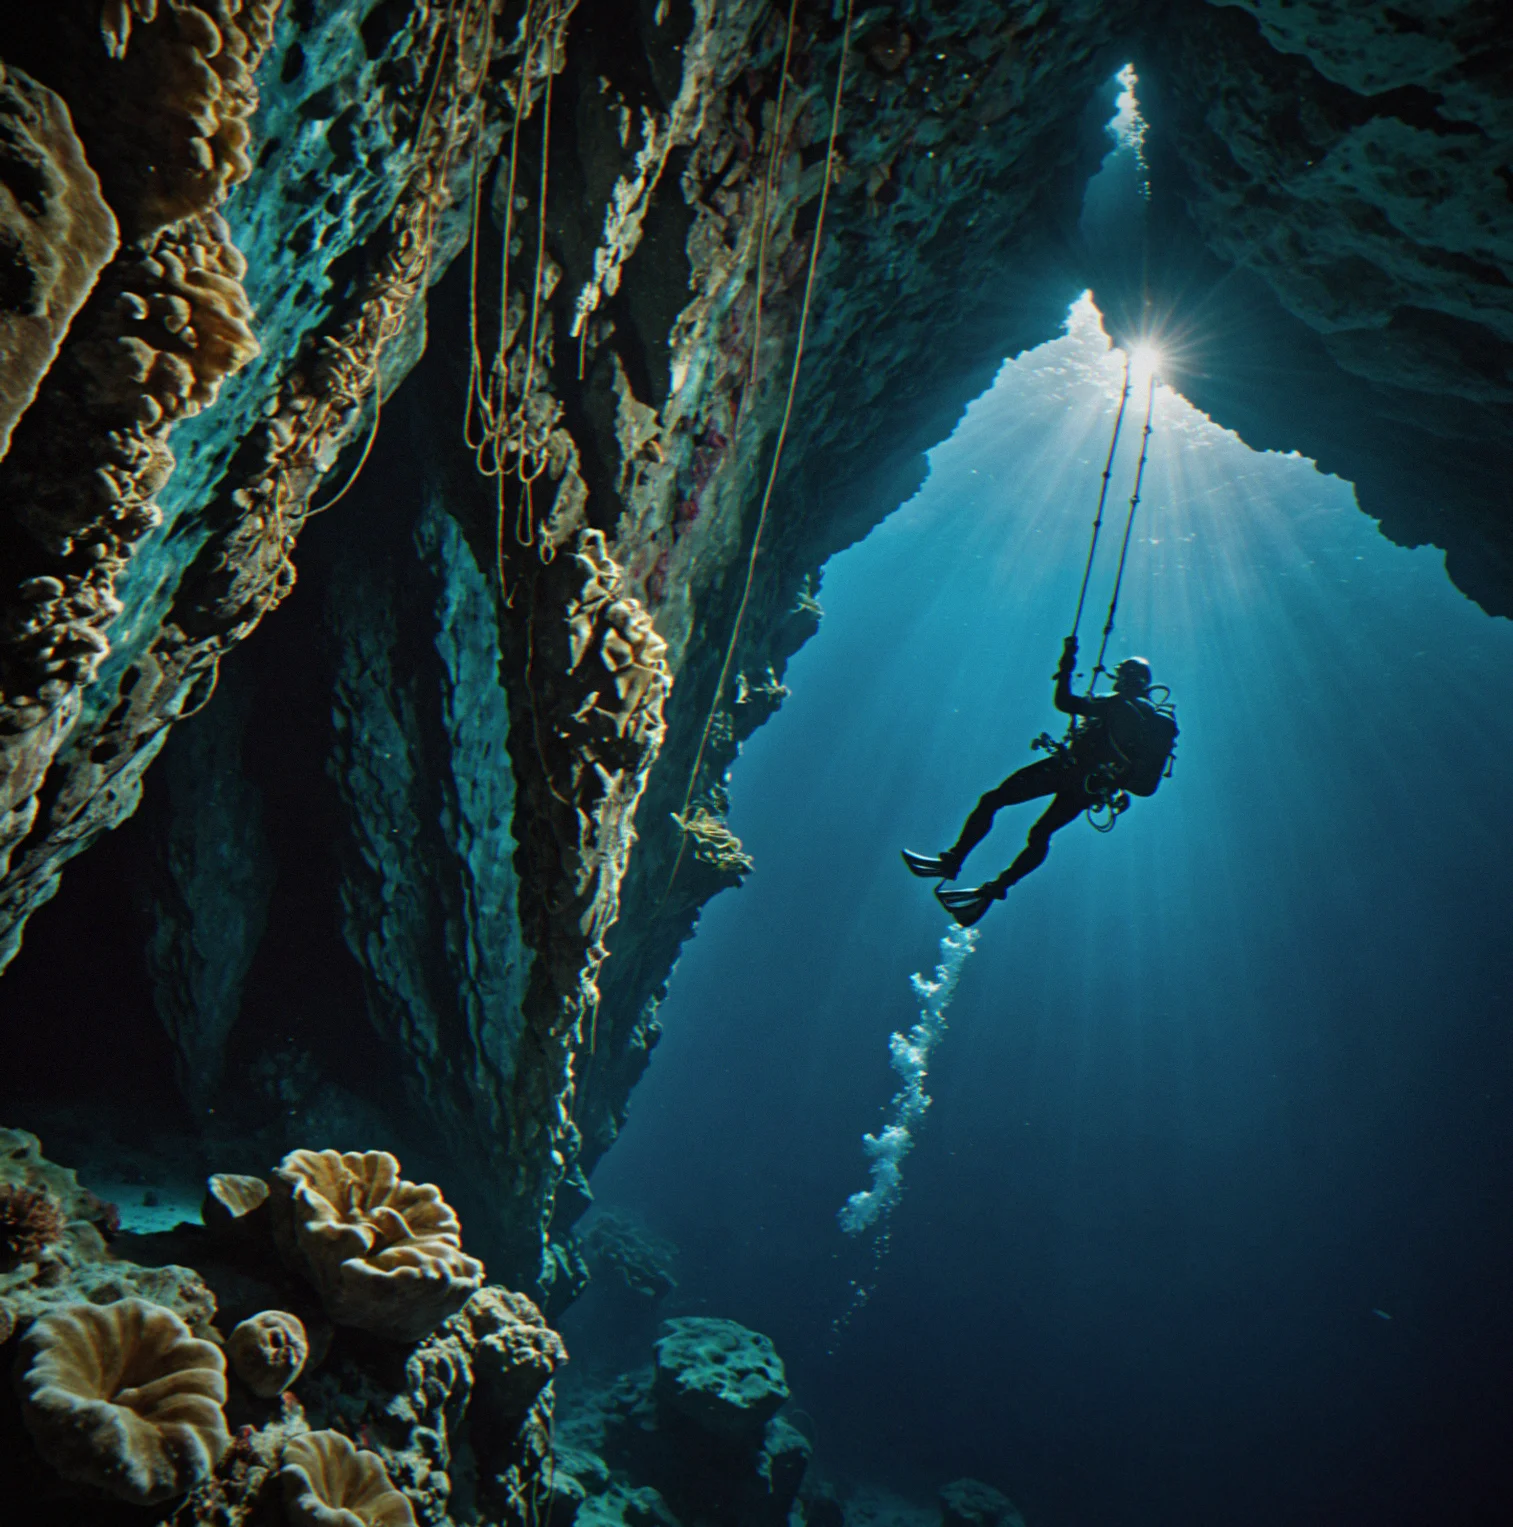
The rope is anchored at a 45-degree angle, phlling tight across the crystal ledge as the diver descends

SEQUENCE 3
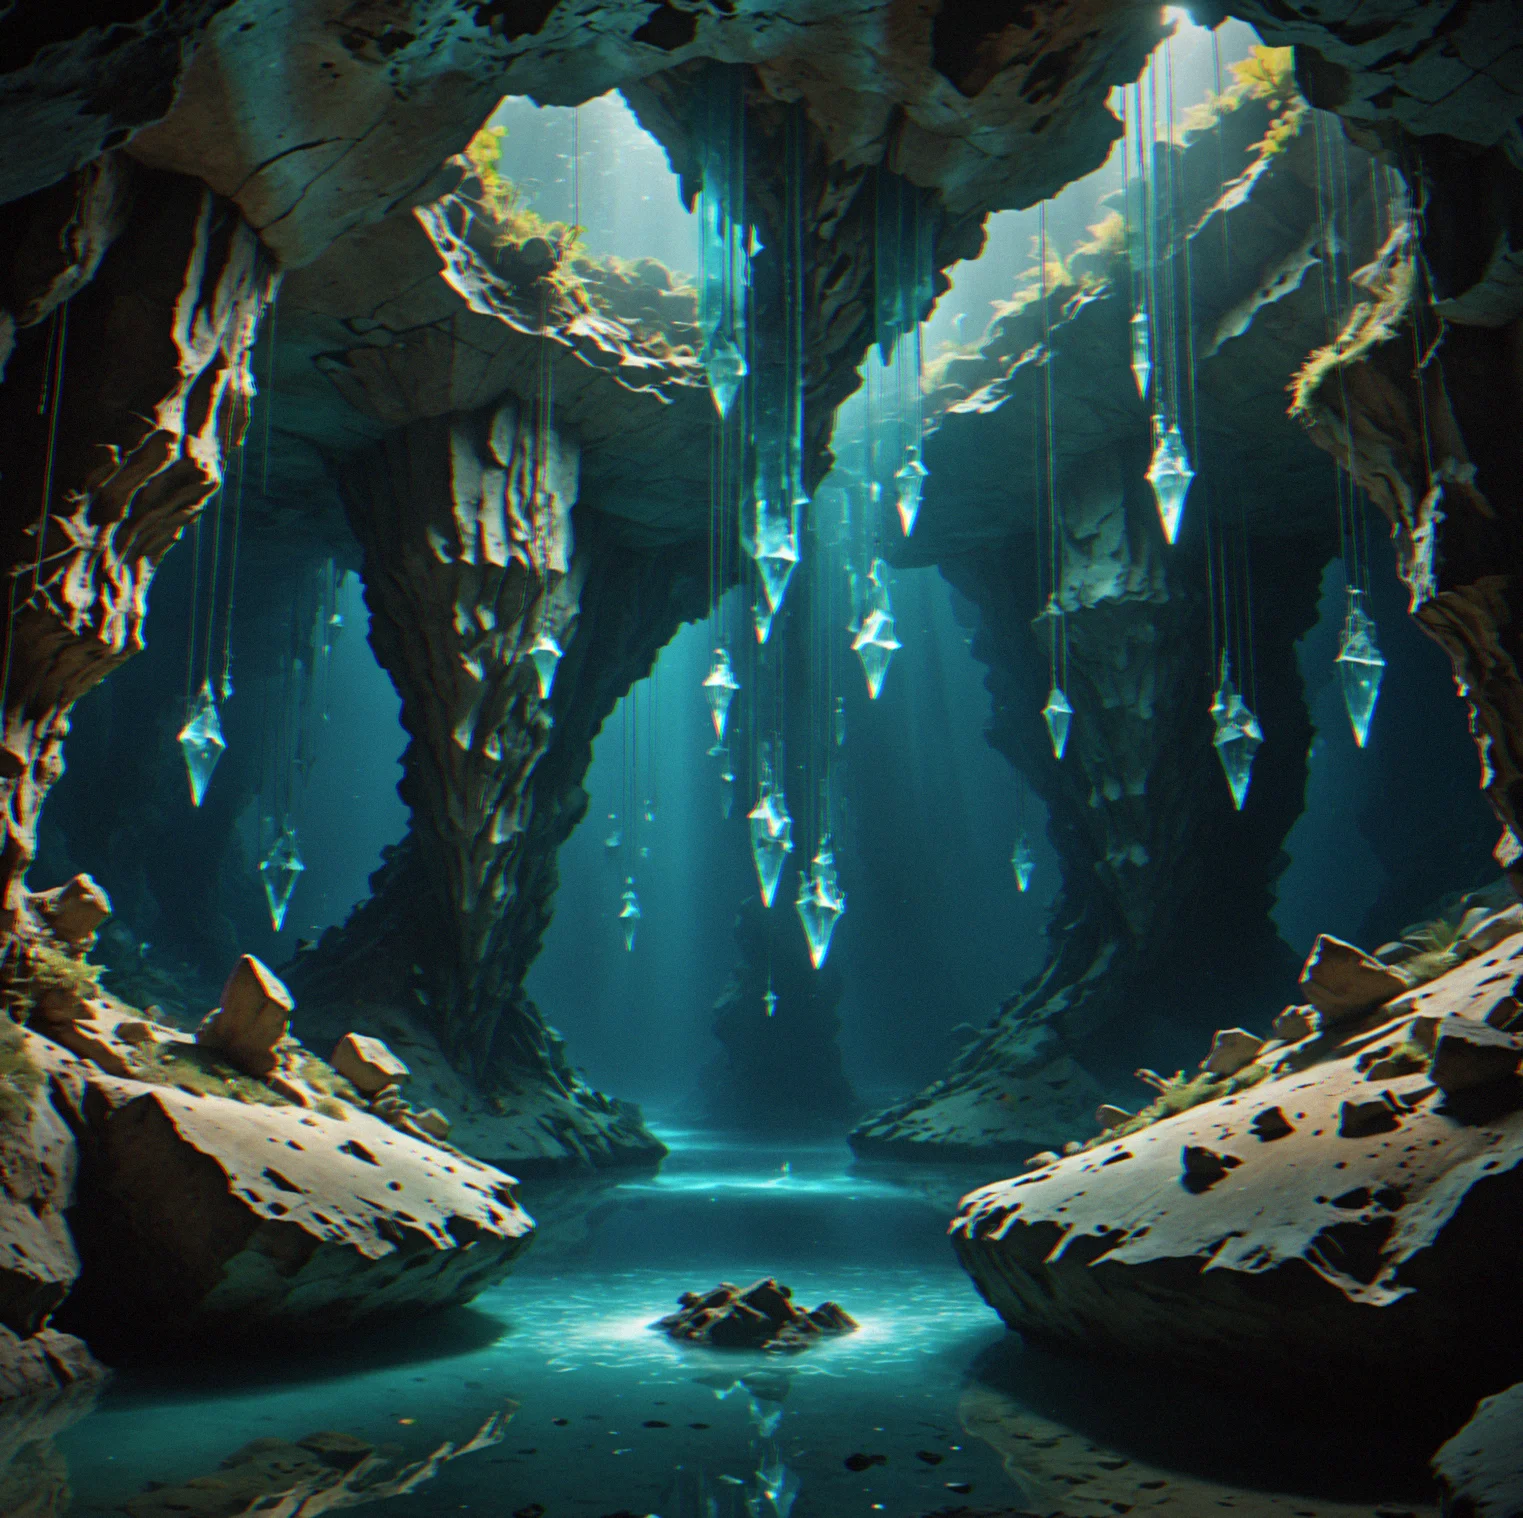
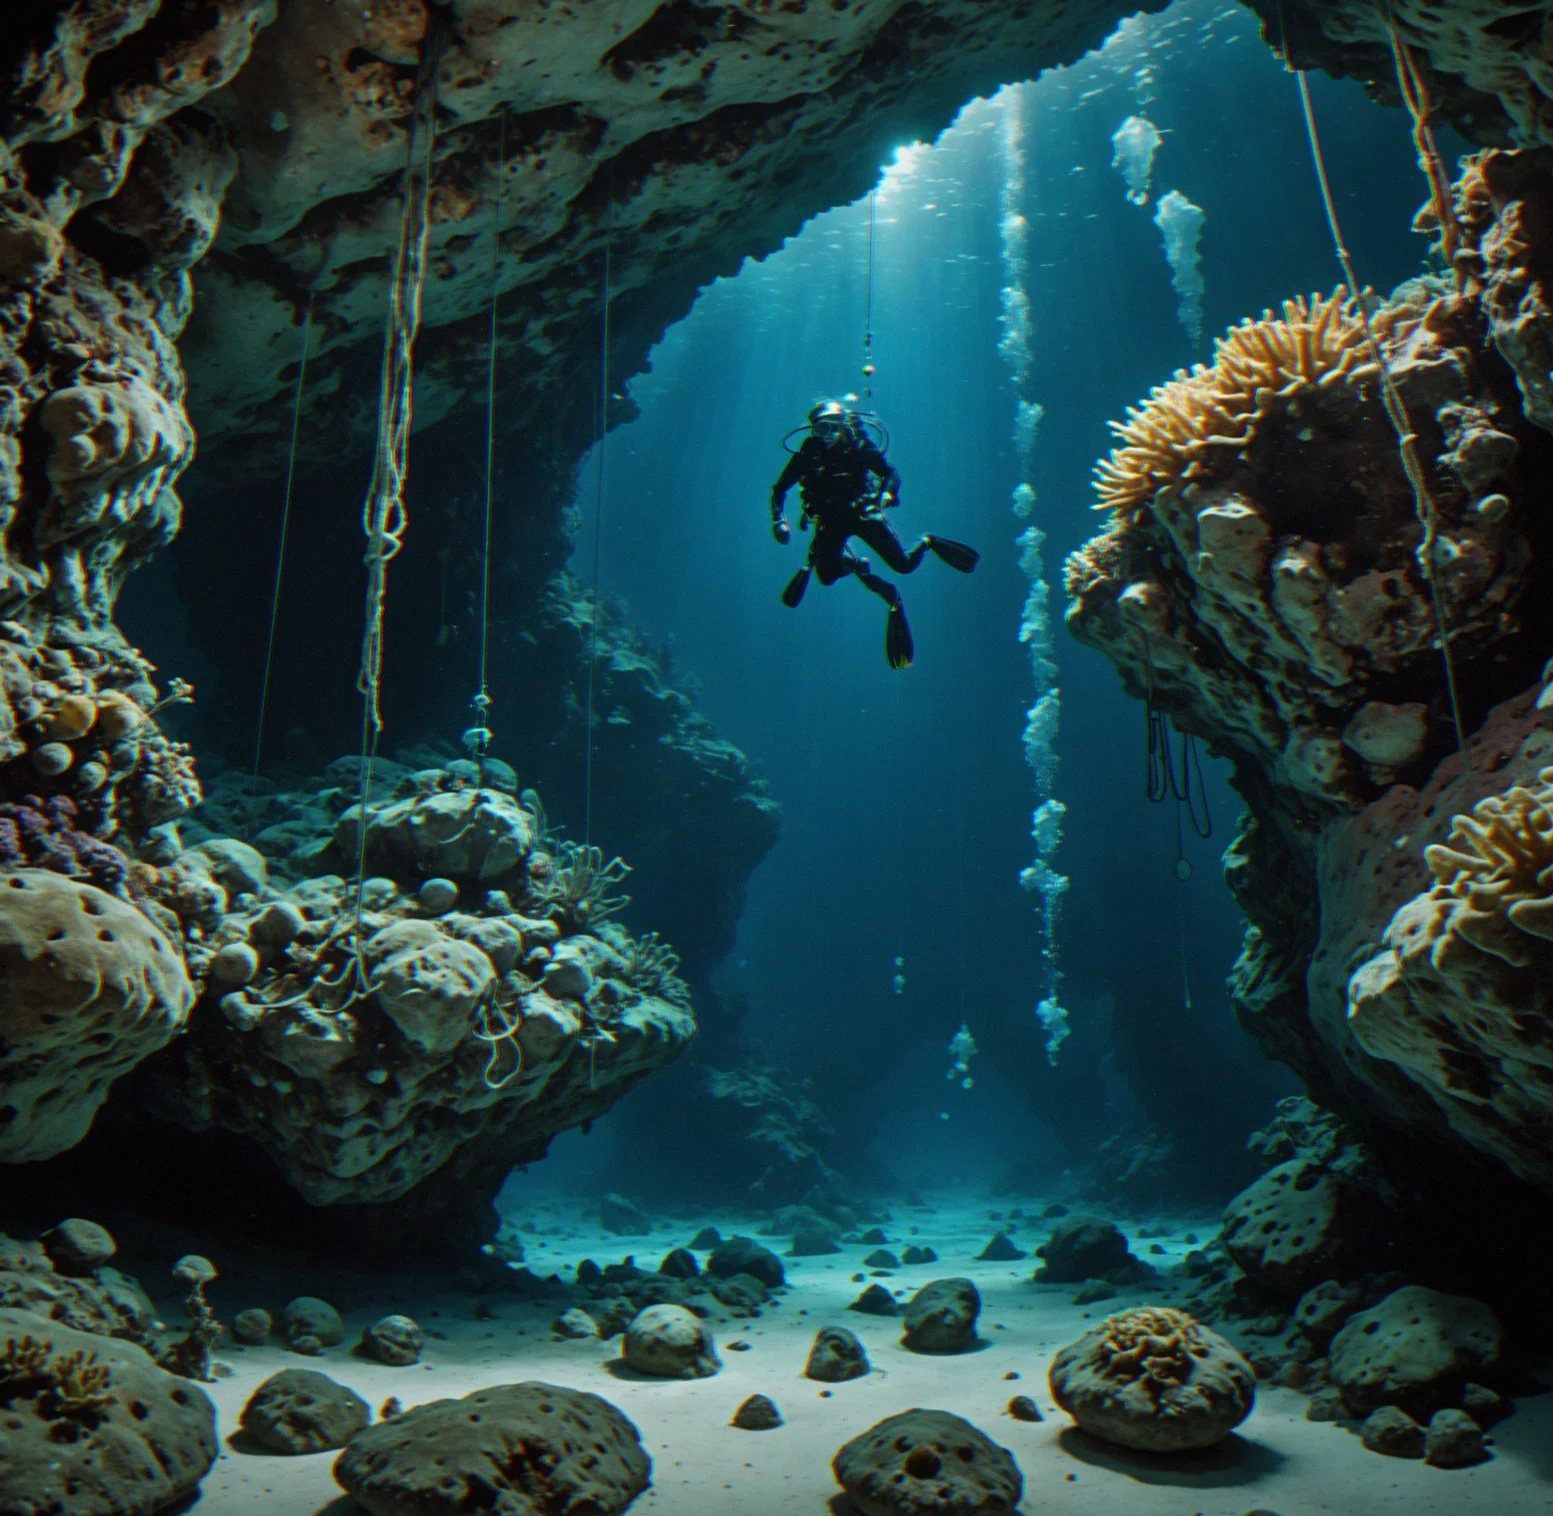
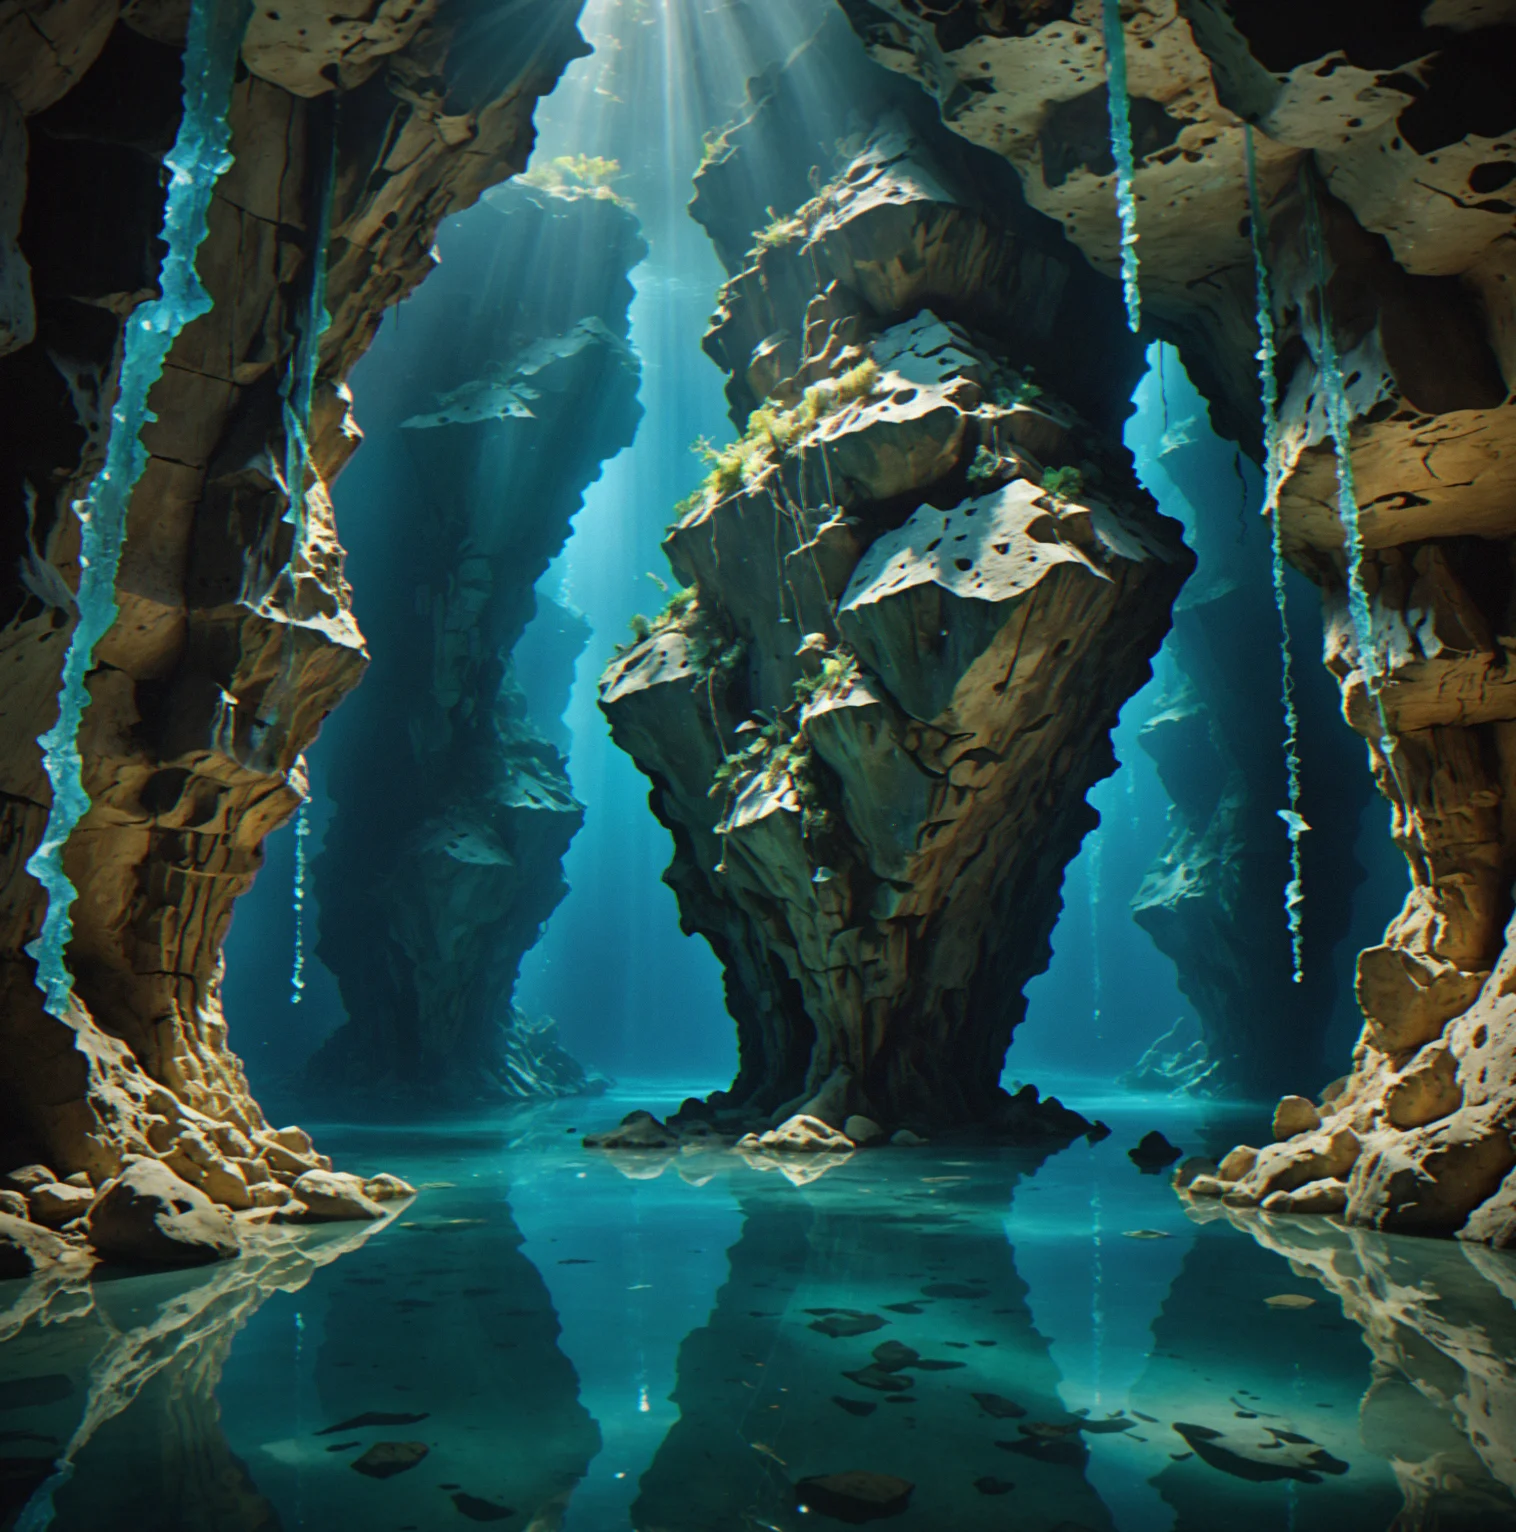
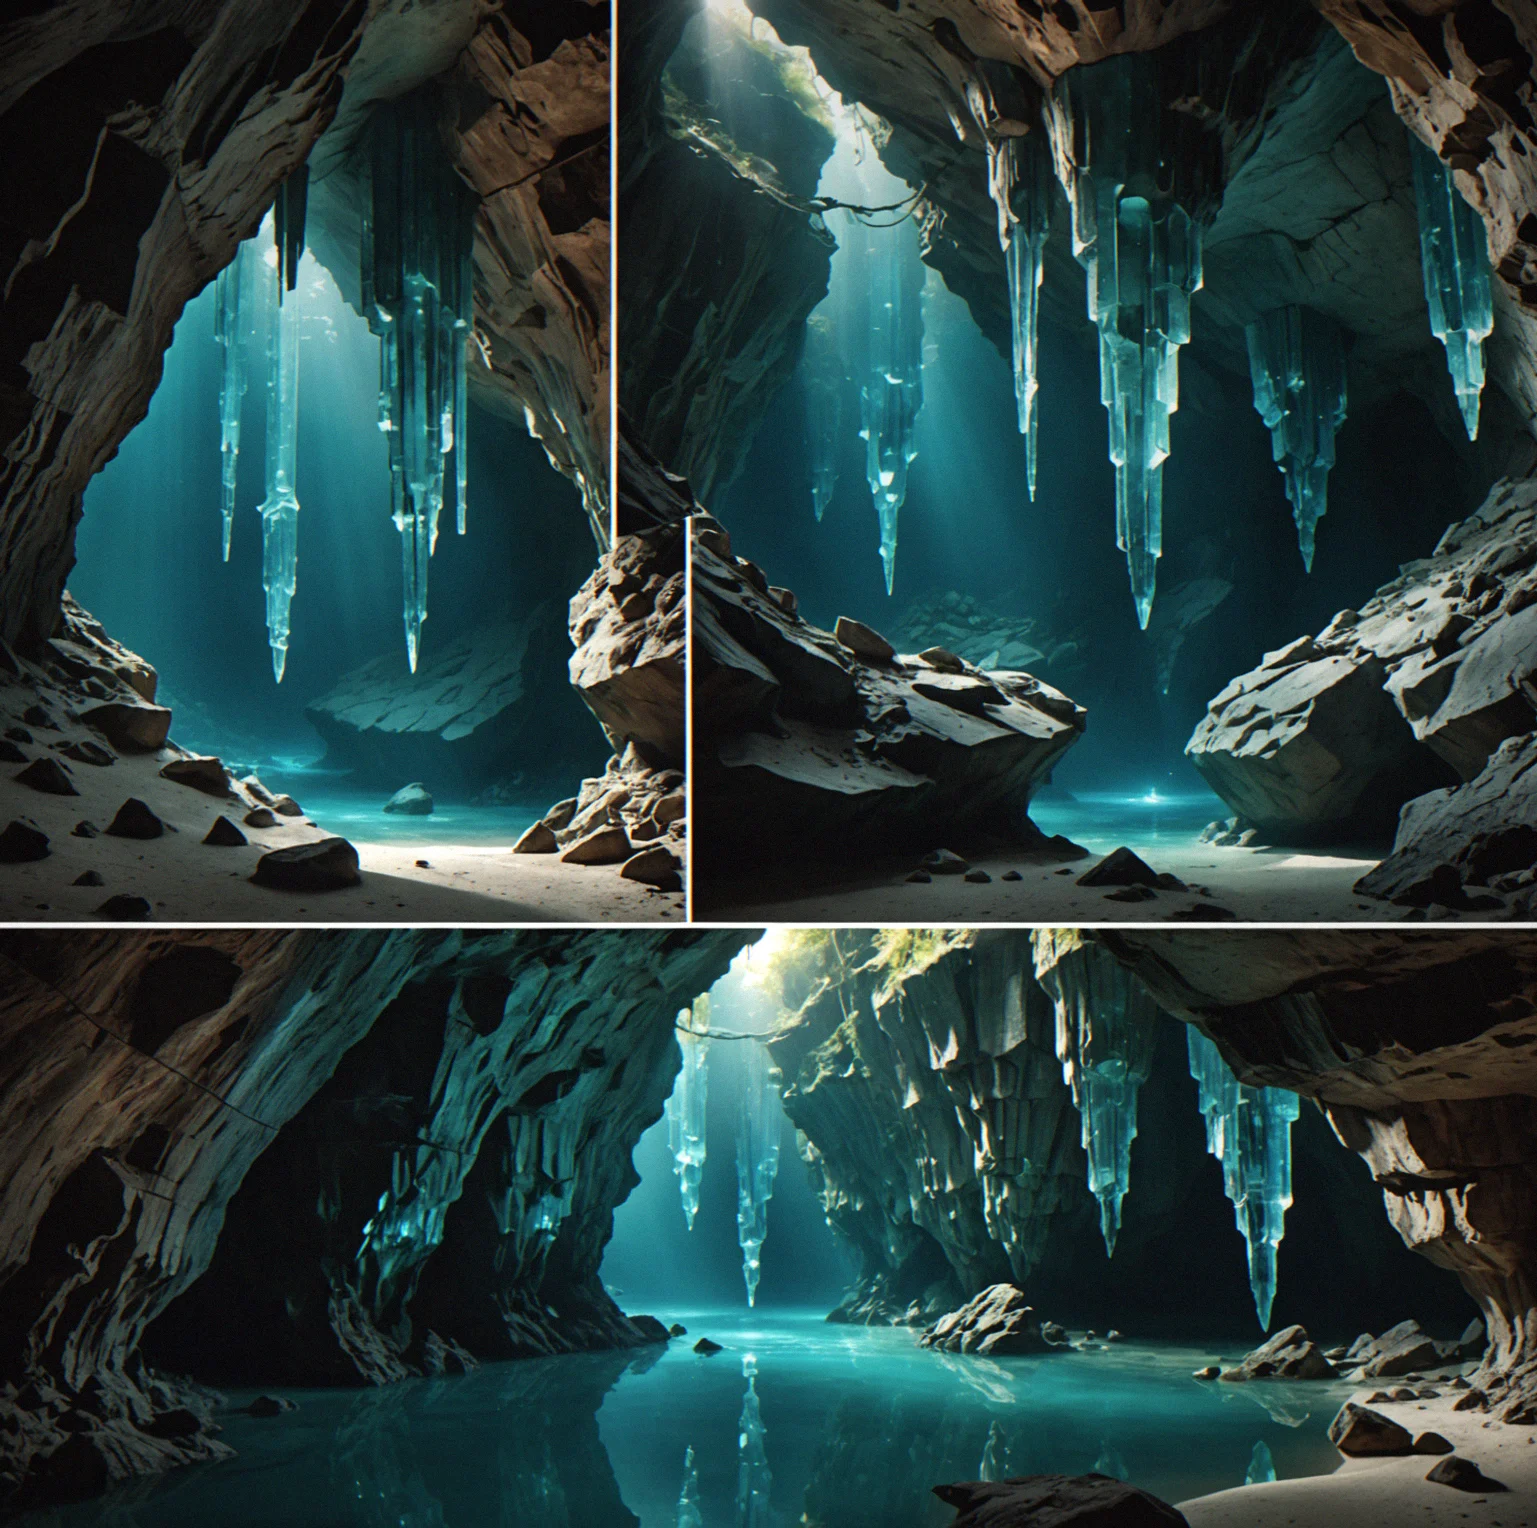
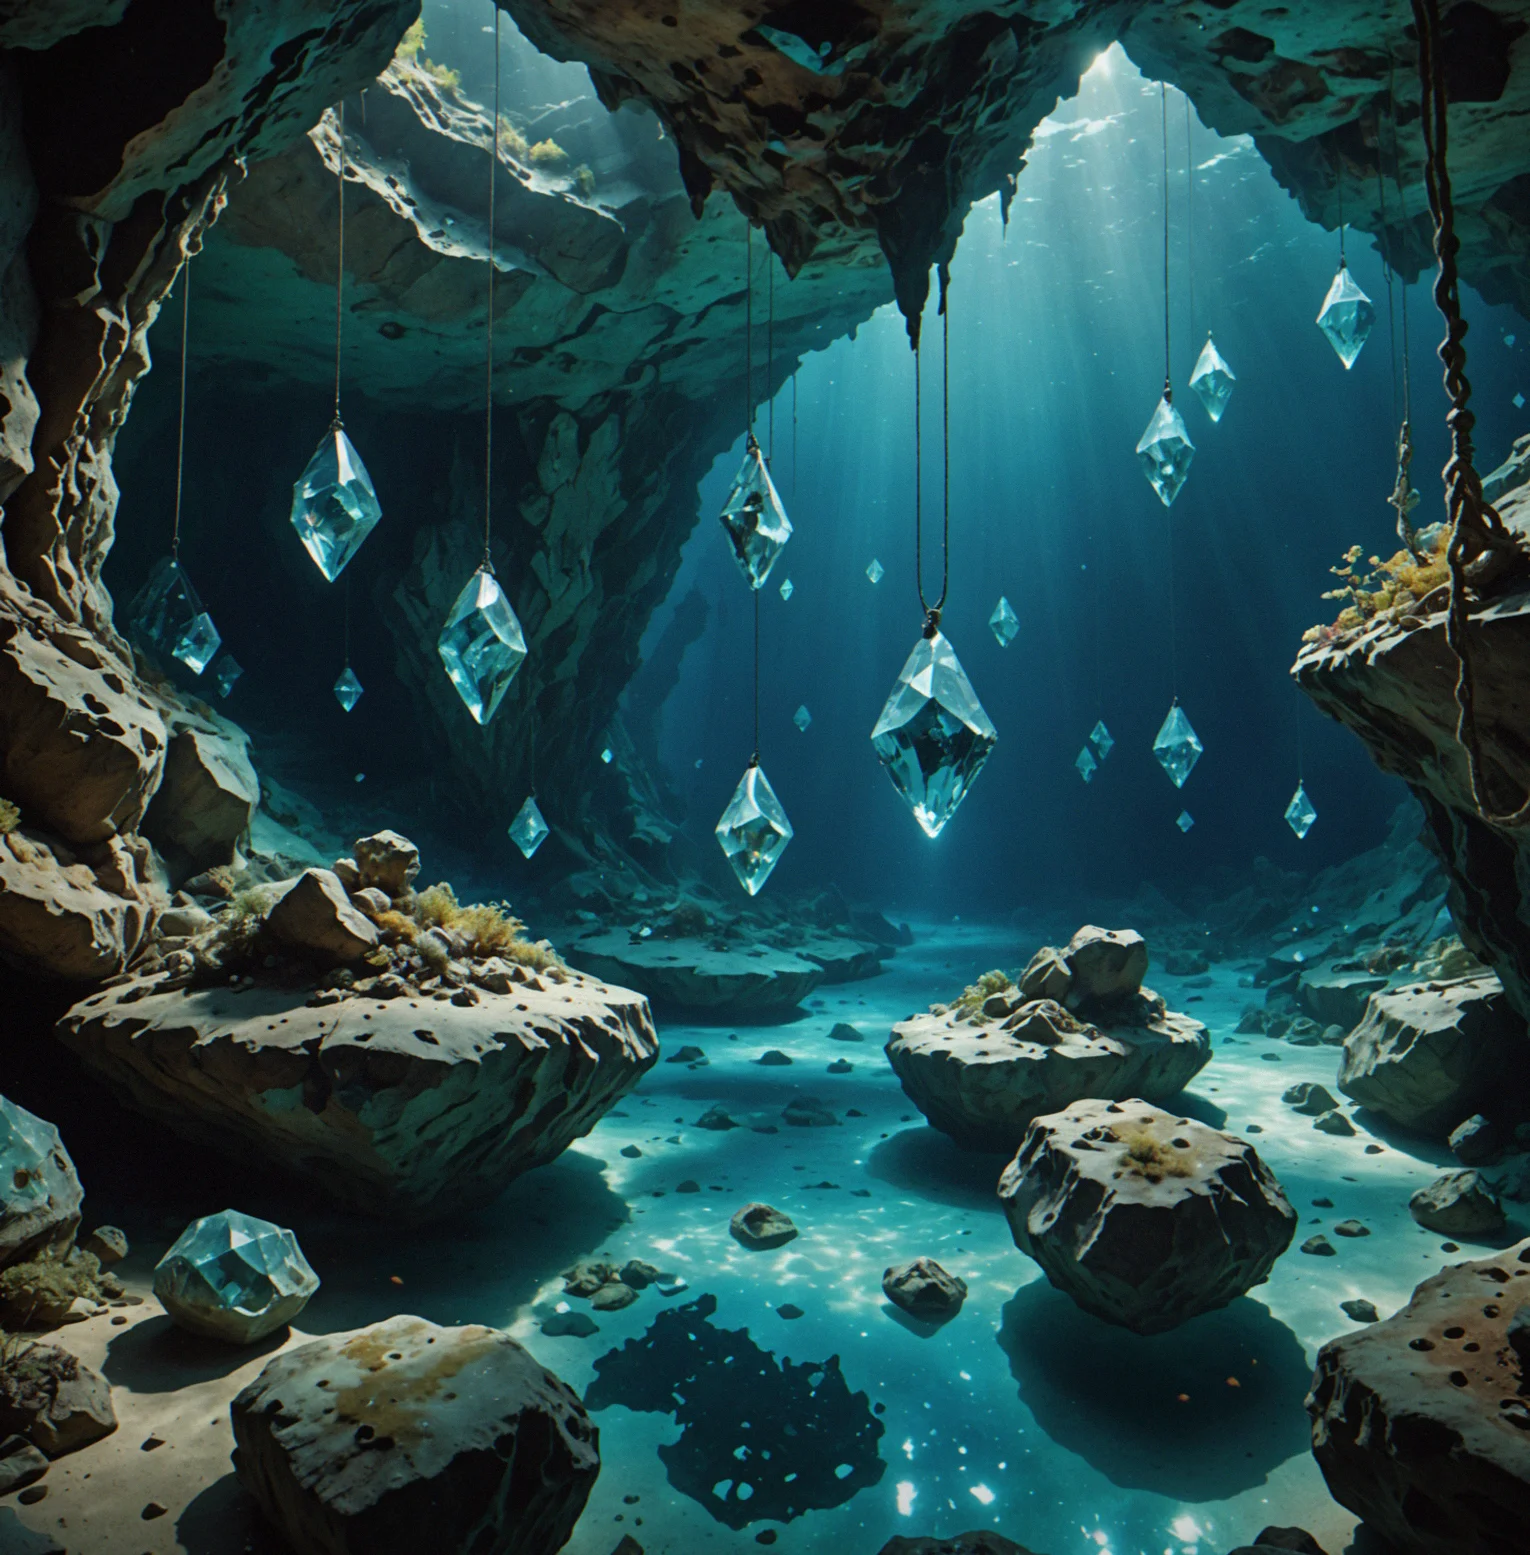
A wide open chamber splits into several different passages, with crystal formations hanging overhead that you have to navigate around

SEQUENCE 4
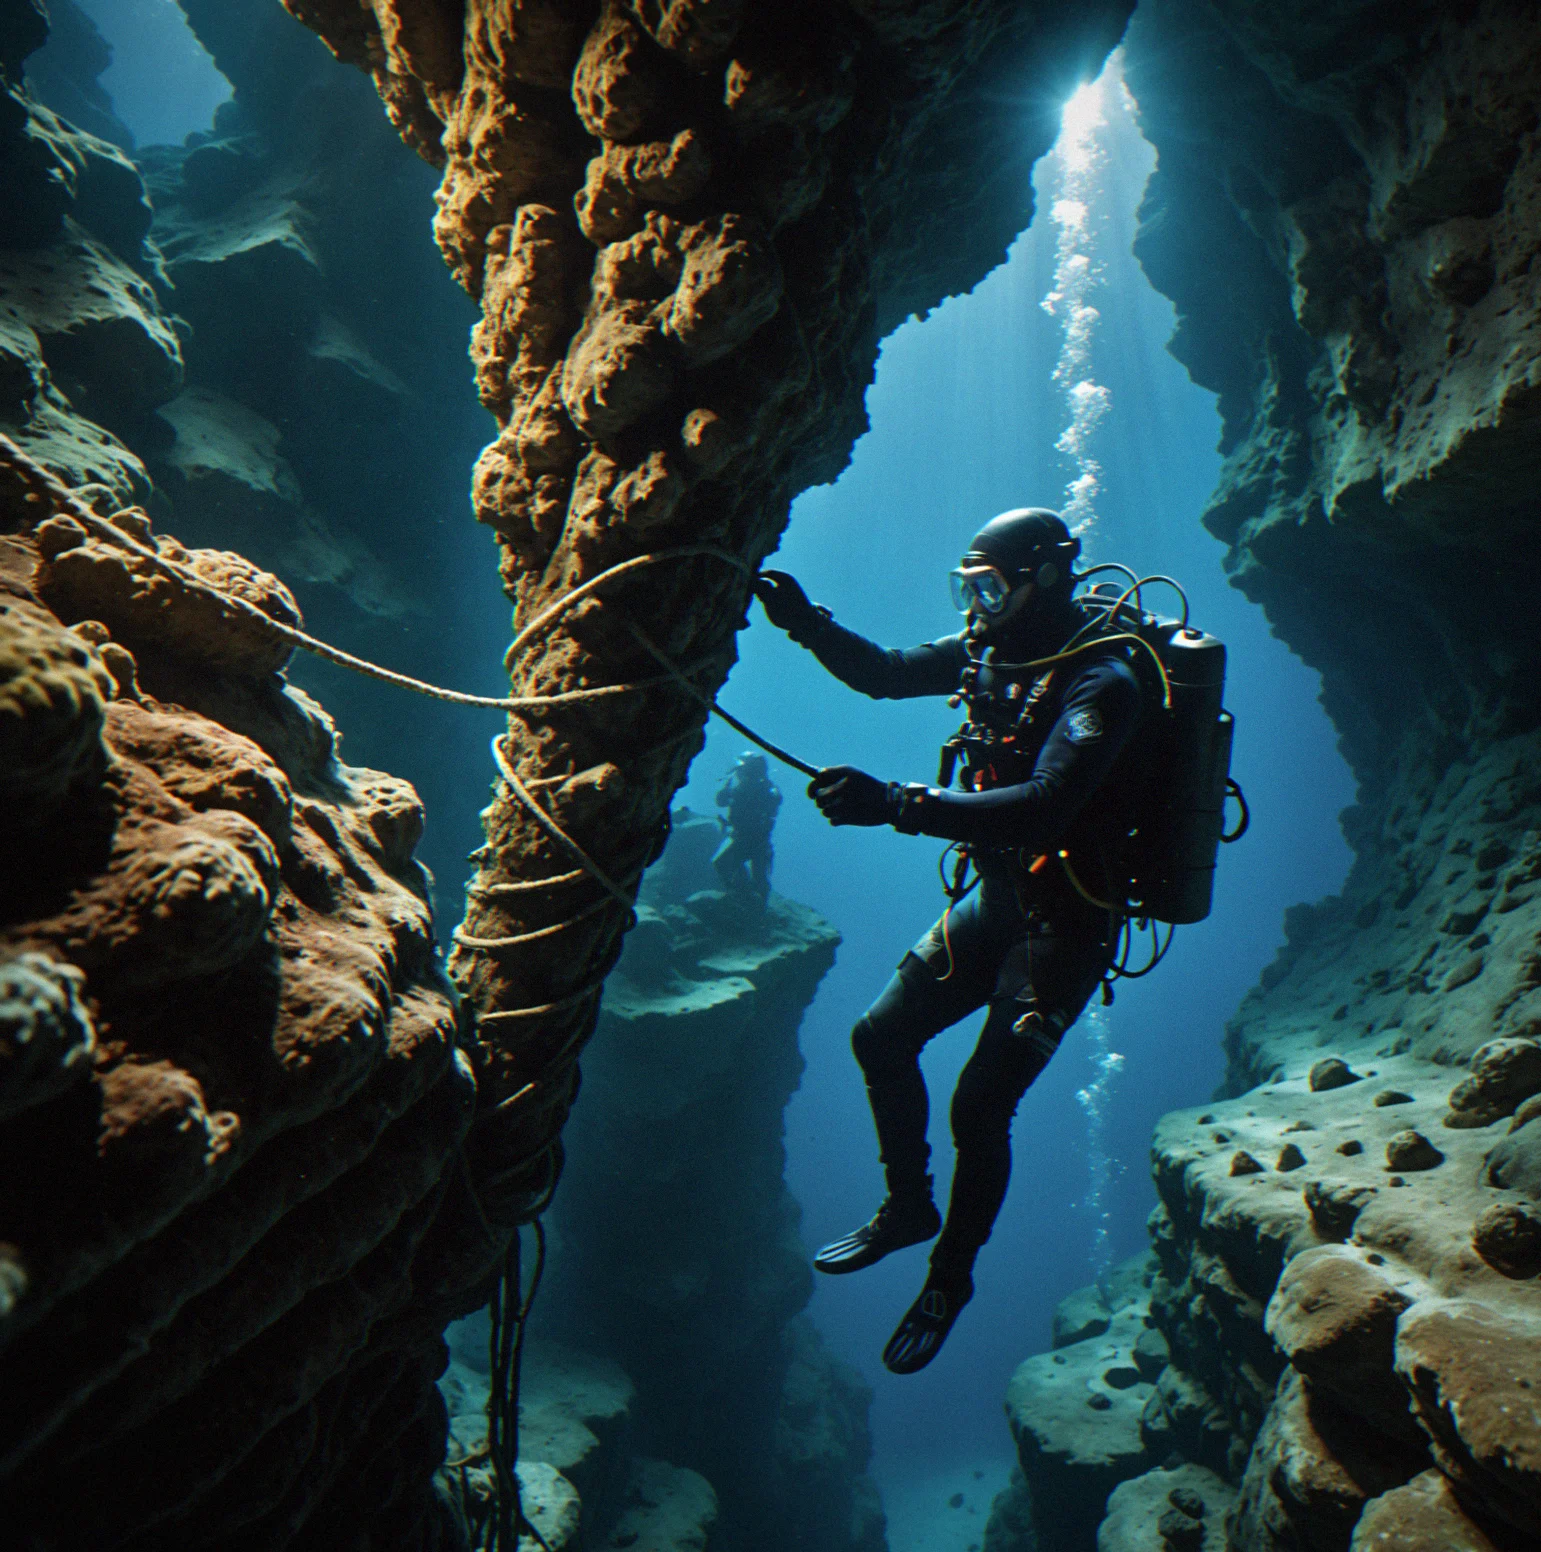
The diver is managing a coiled rope in a narrow chimney with barely any room to squeeze through

SEQUENCE 5
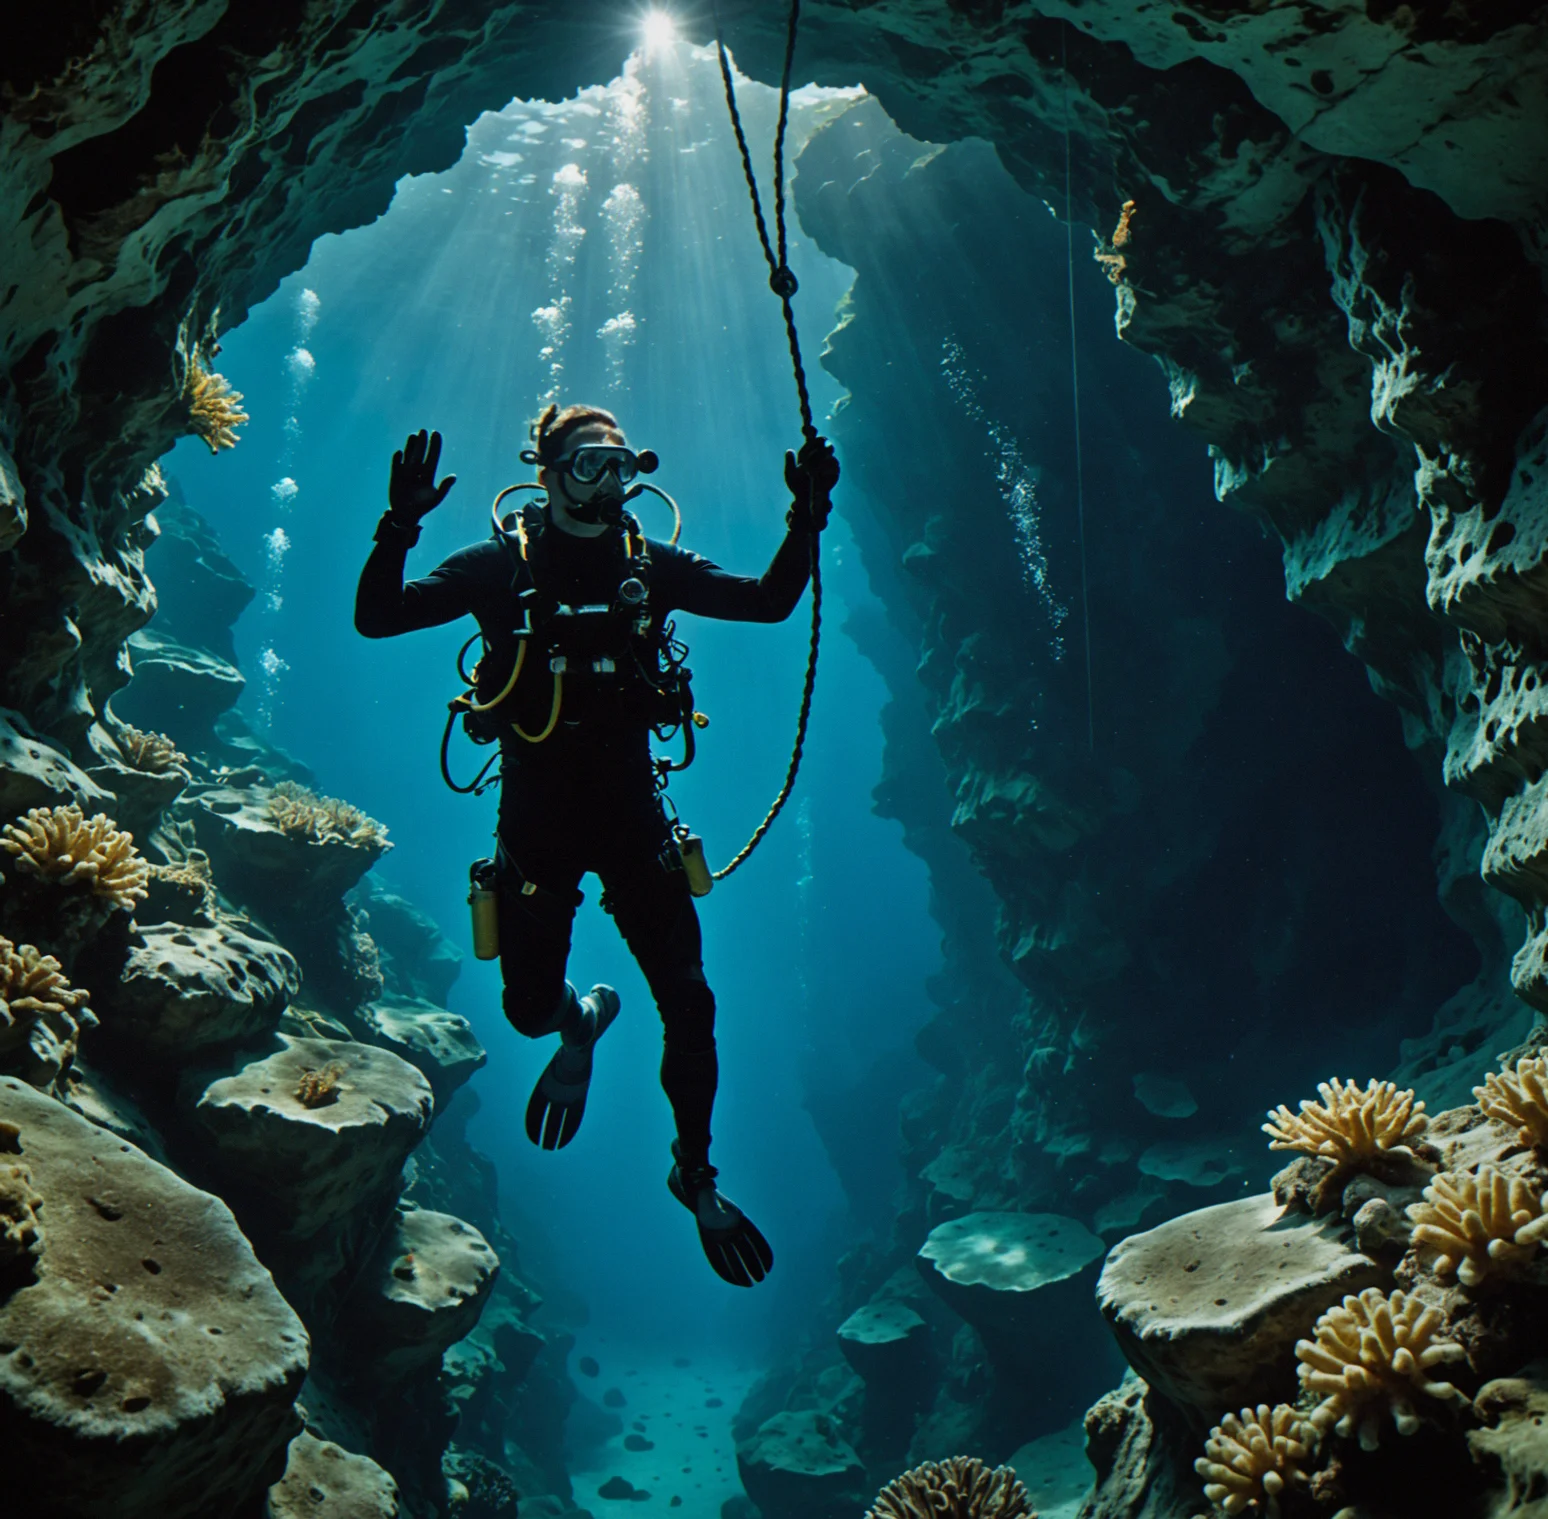
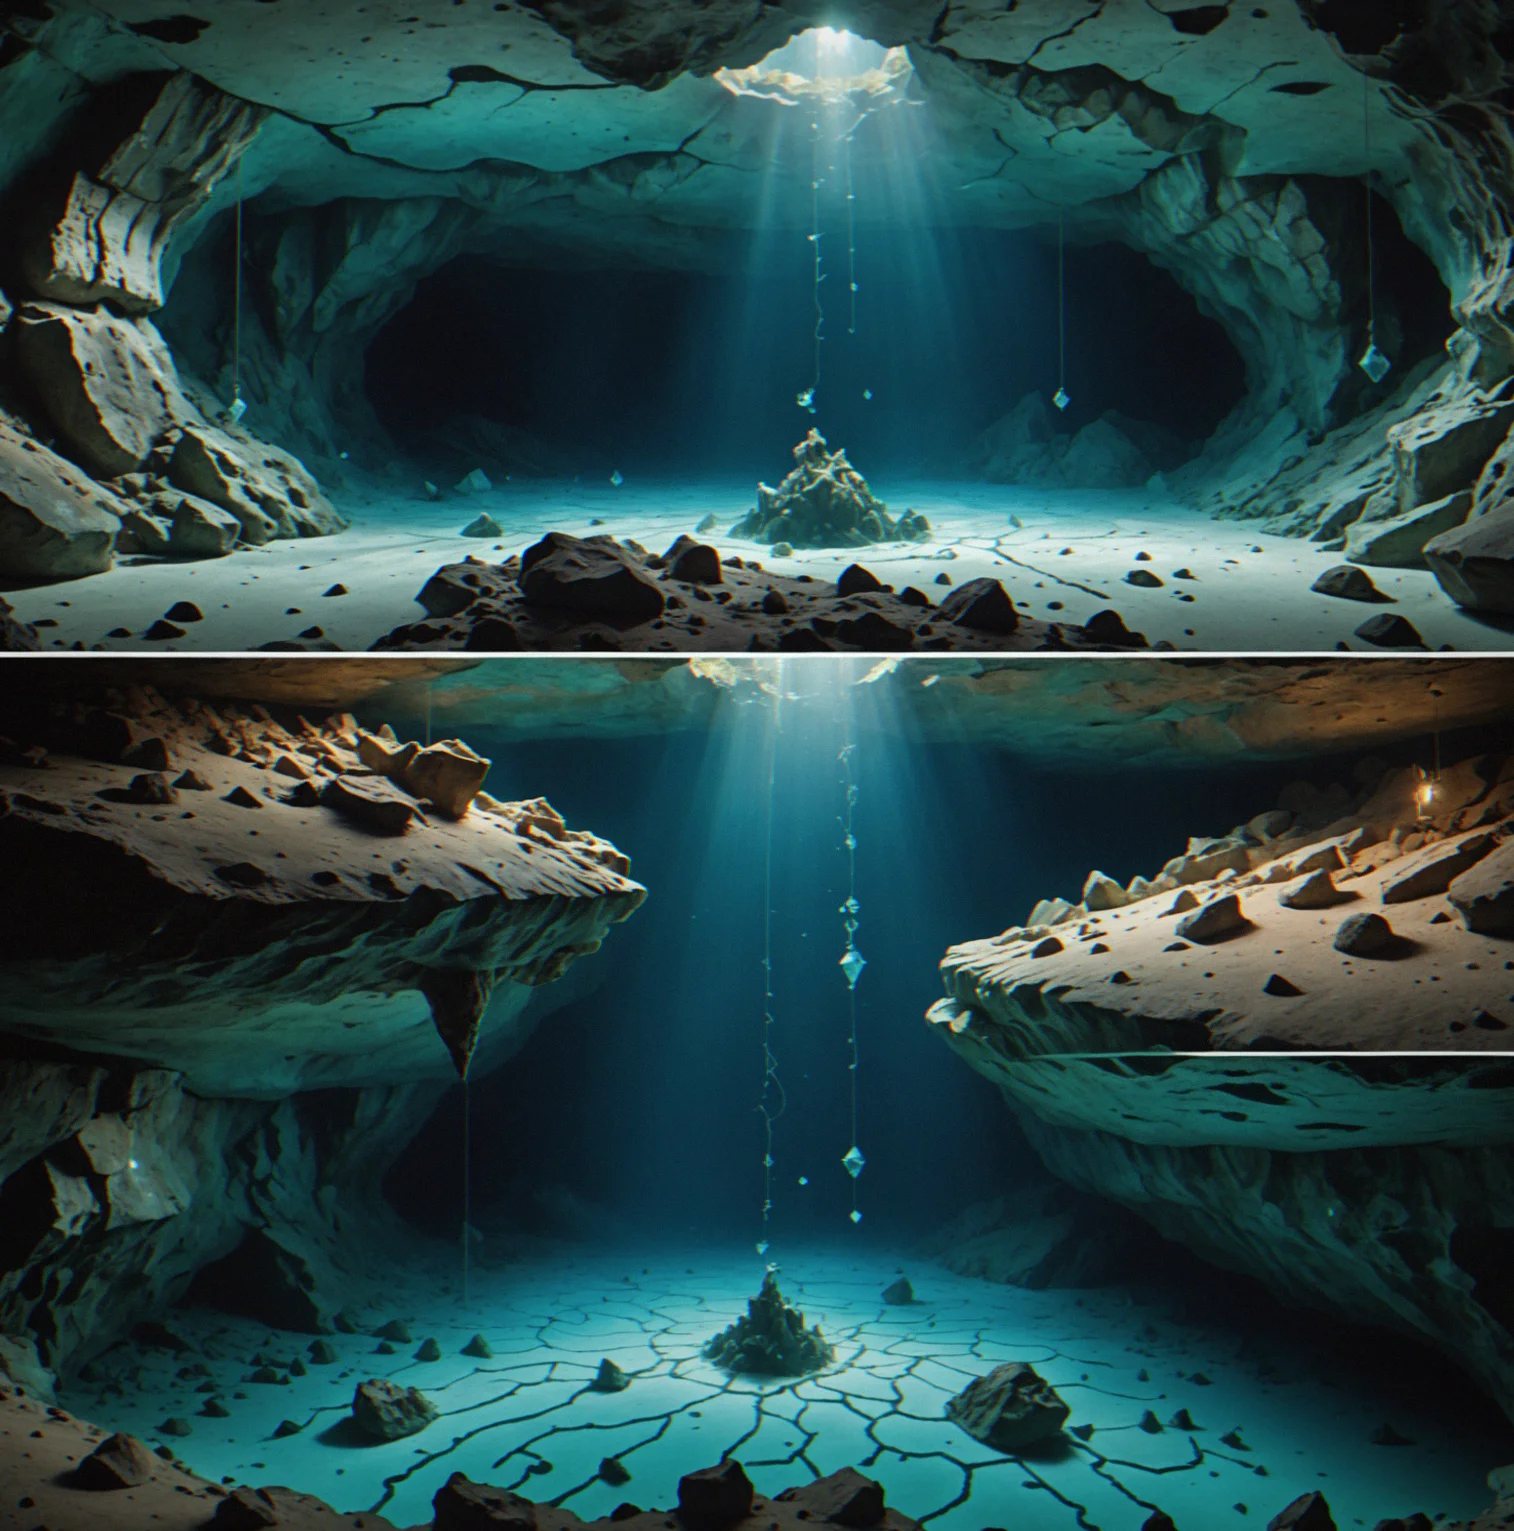
A wide chamber has a marked decompression zone where the diver is holding steady near the rope

SEQUENCE 6
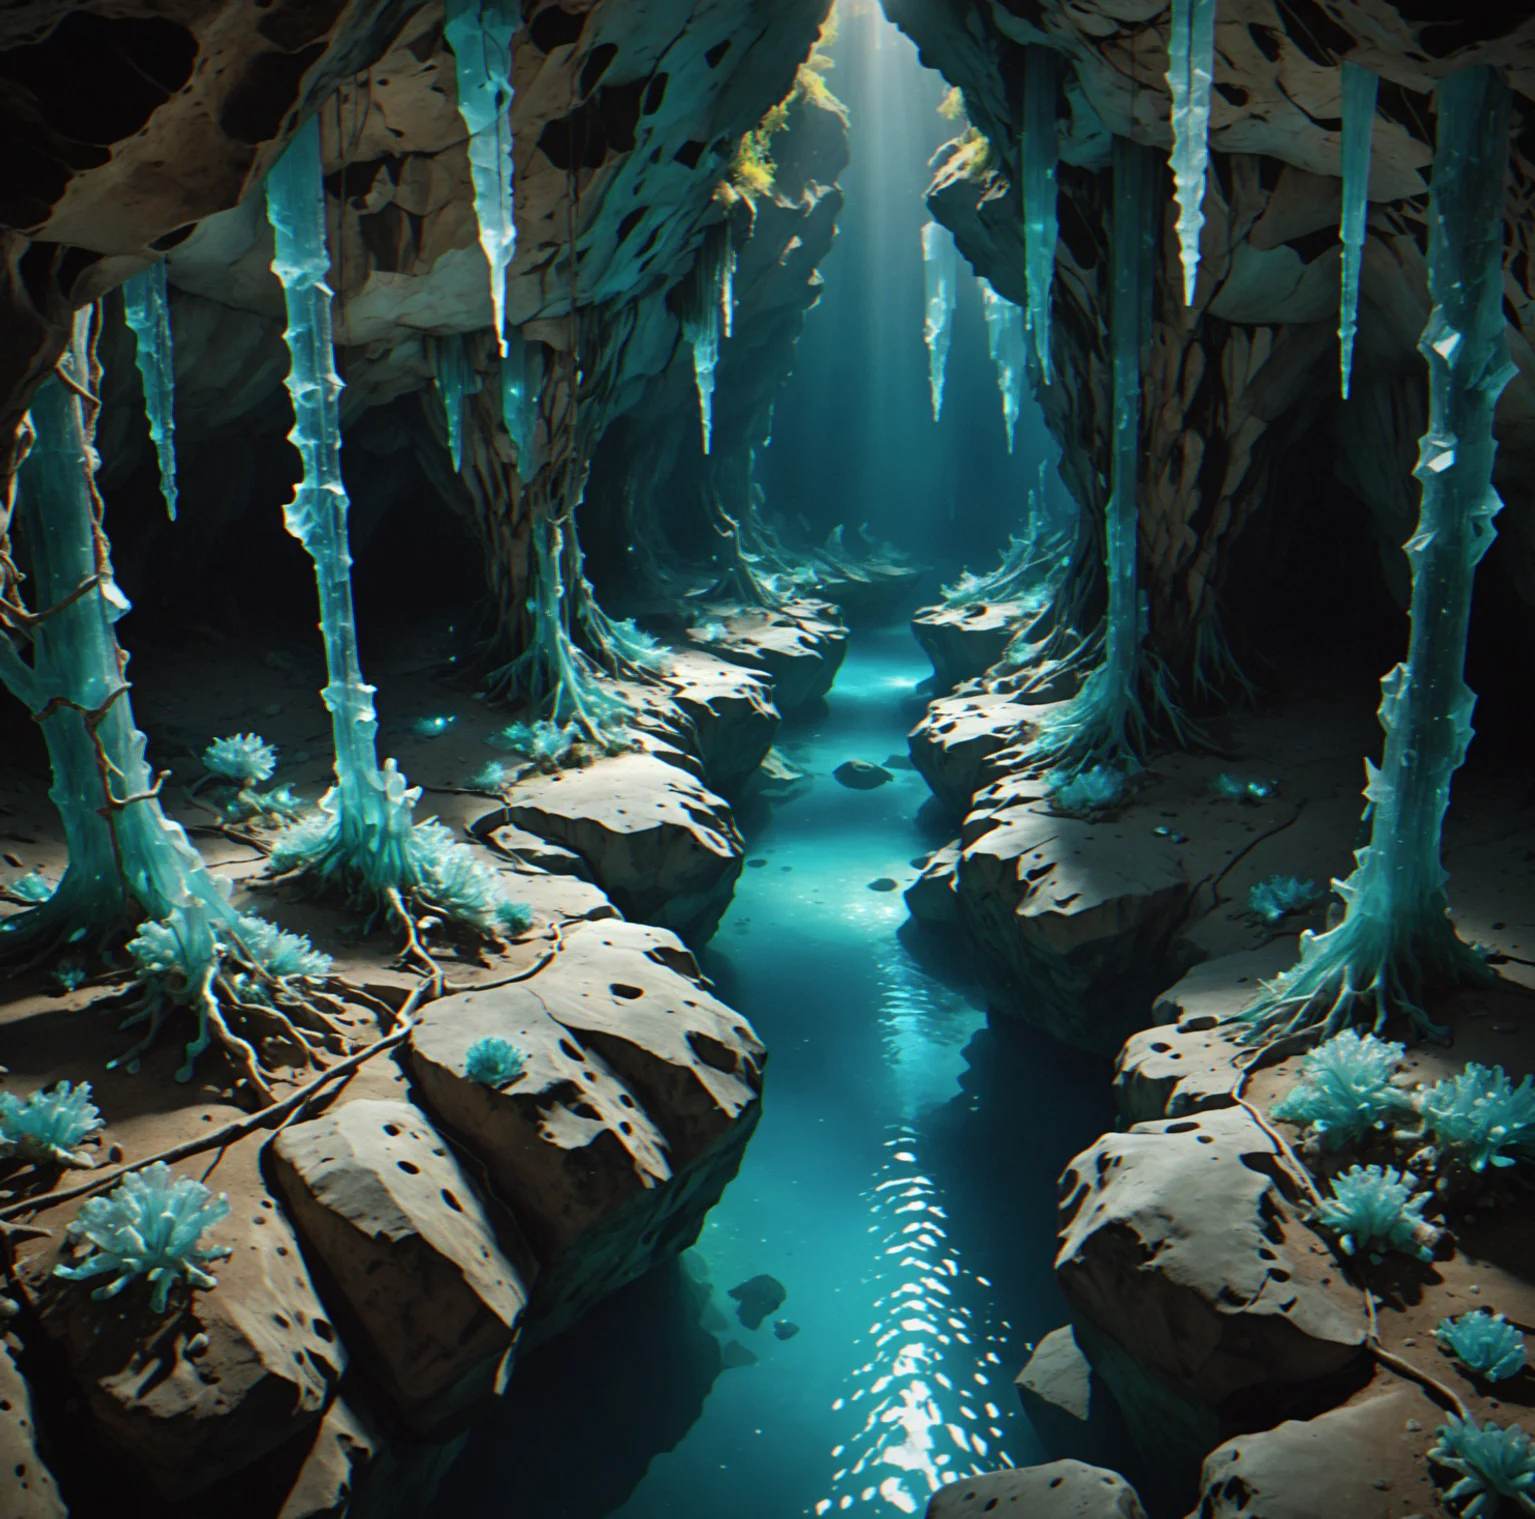
Crystal structures jut out everywhere, creating a maze where only one path gets you through safely

SEQUENCE 7
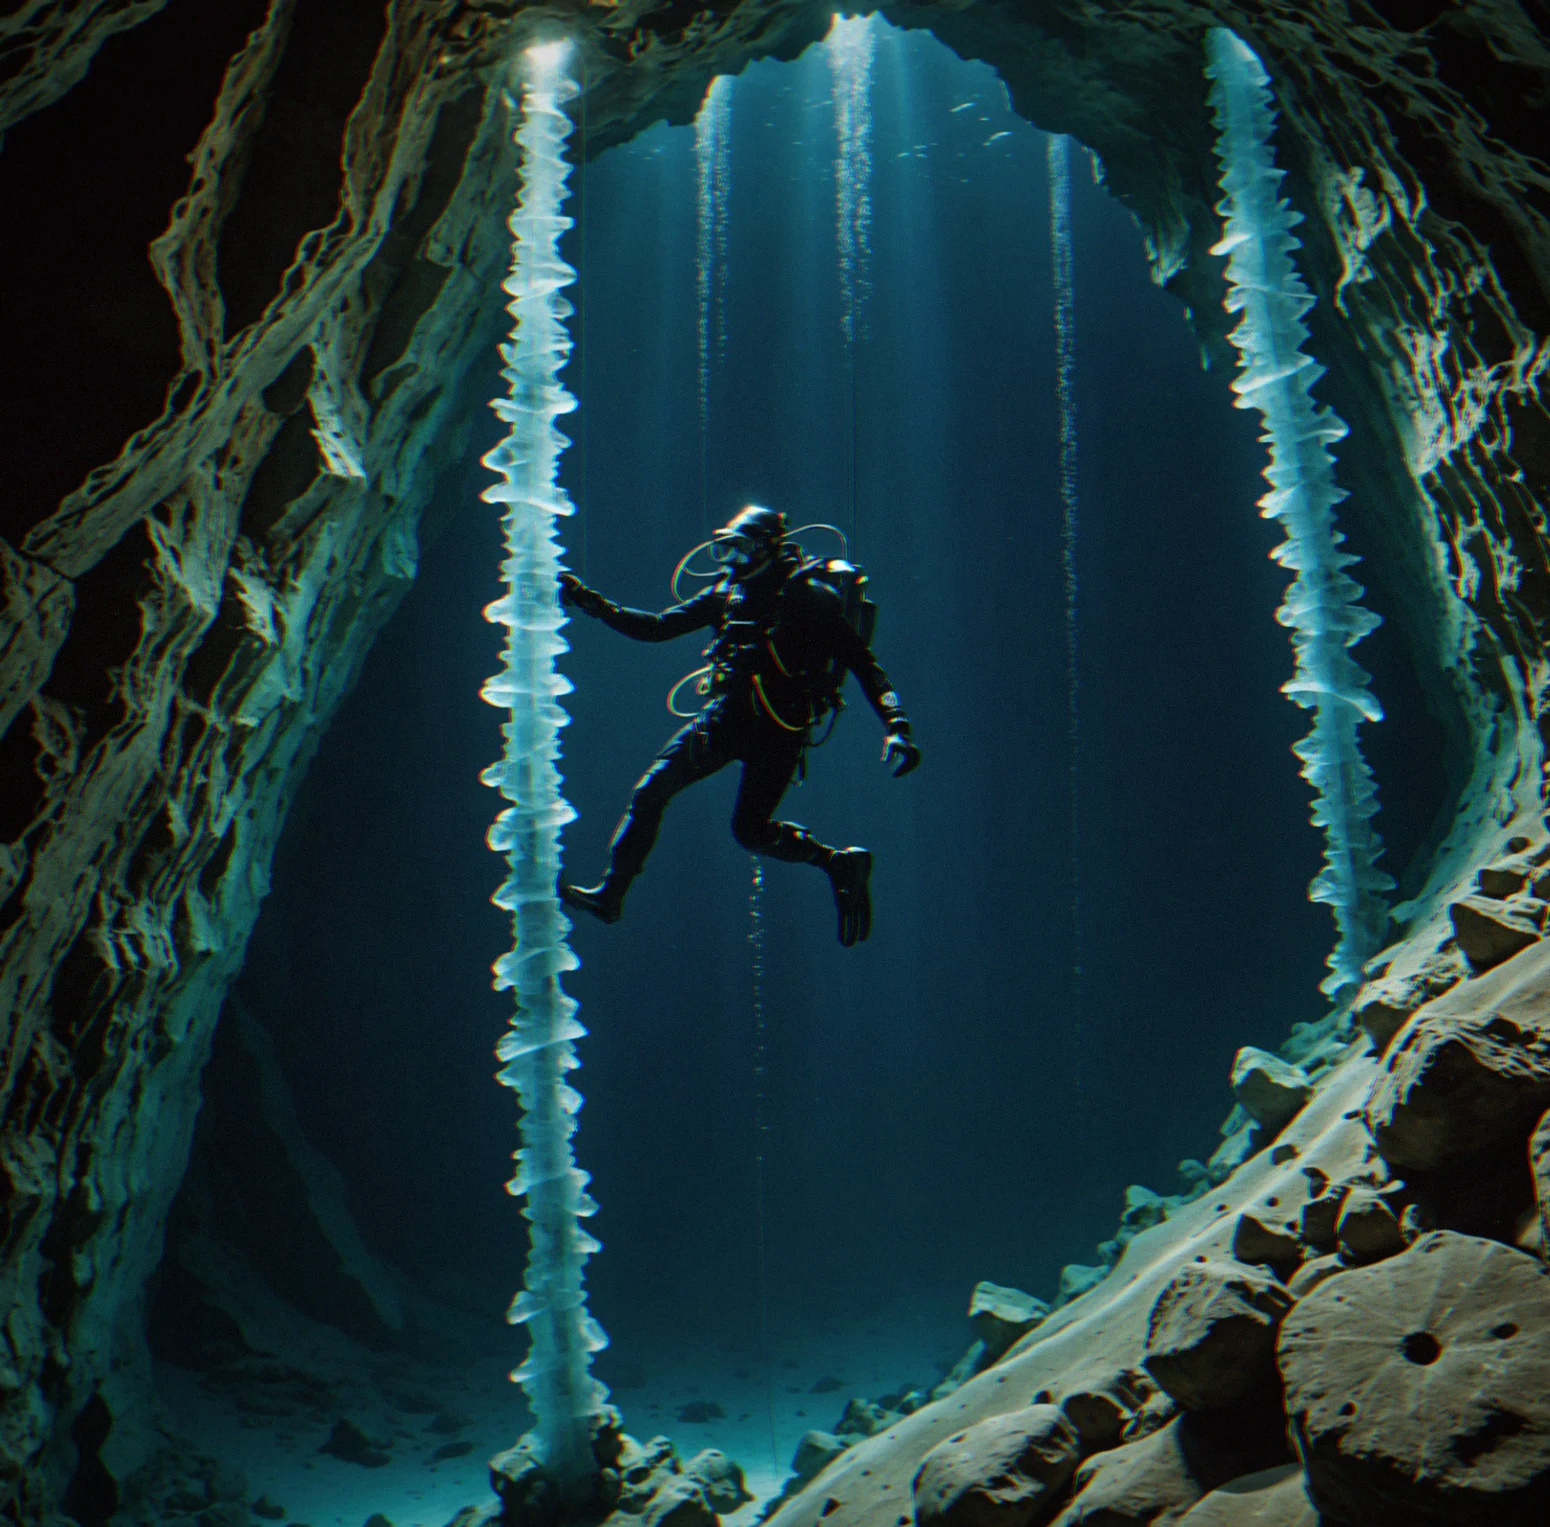
Two anchor points are holding the line taut, spreading the load across crystal formations at different depths

SEQUENCE 8
The diver is haeding back up toward the exit with the rope hanging below, decompression done
Step 1
Each one was built to teach you something different. Passage Maze forces you to navigate tight spaces. Grand Chamber is about finding the most efficient path. The layouts stay the same every time you play, which actually matters. You're learning an actual place instead of just pushing through random generated stuff.

Step 2
Your line weighs something. It stretches and drags against surfaces. Change your anchor angle and the tension shifts. Go at 45 degrees versus straight down and the forces distribute completely differently. The game actually does the math on this, so you watch the rope react based on where you place it.

Step 3
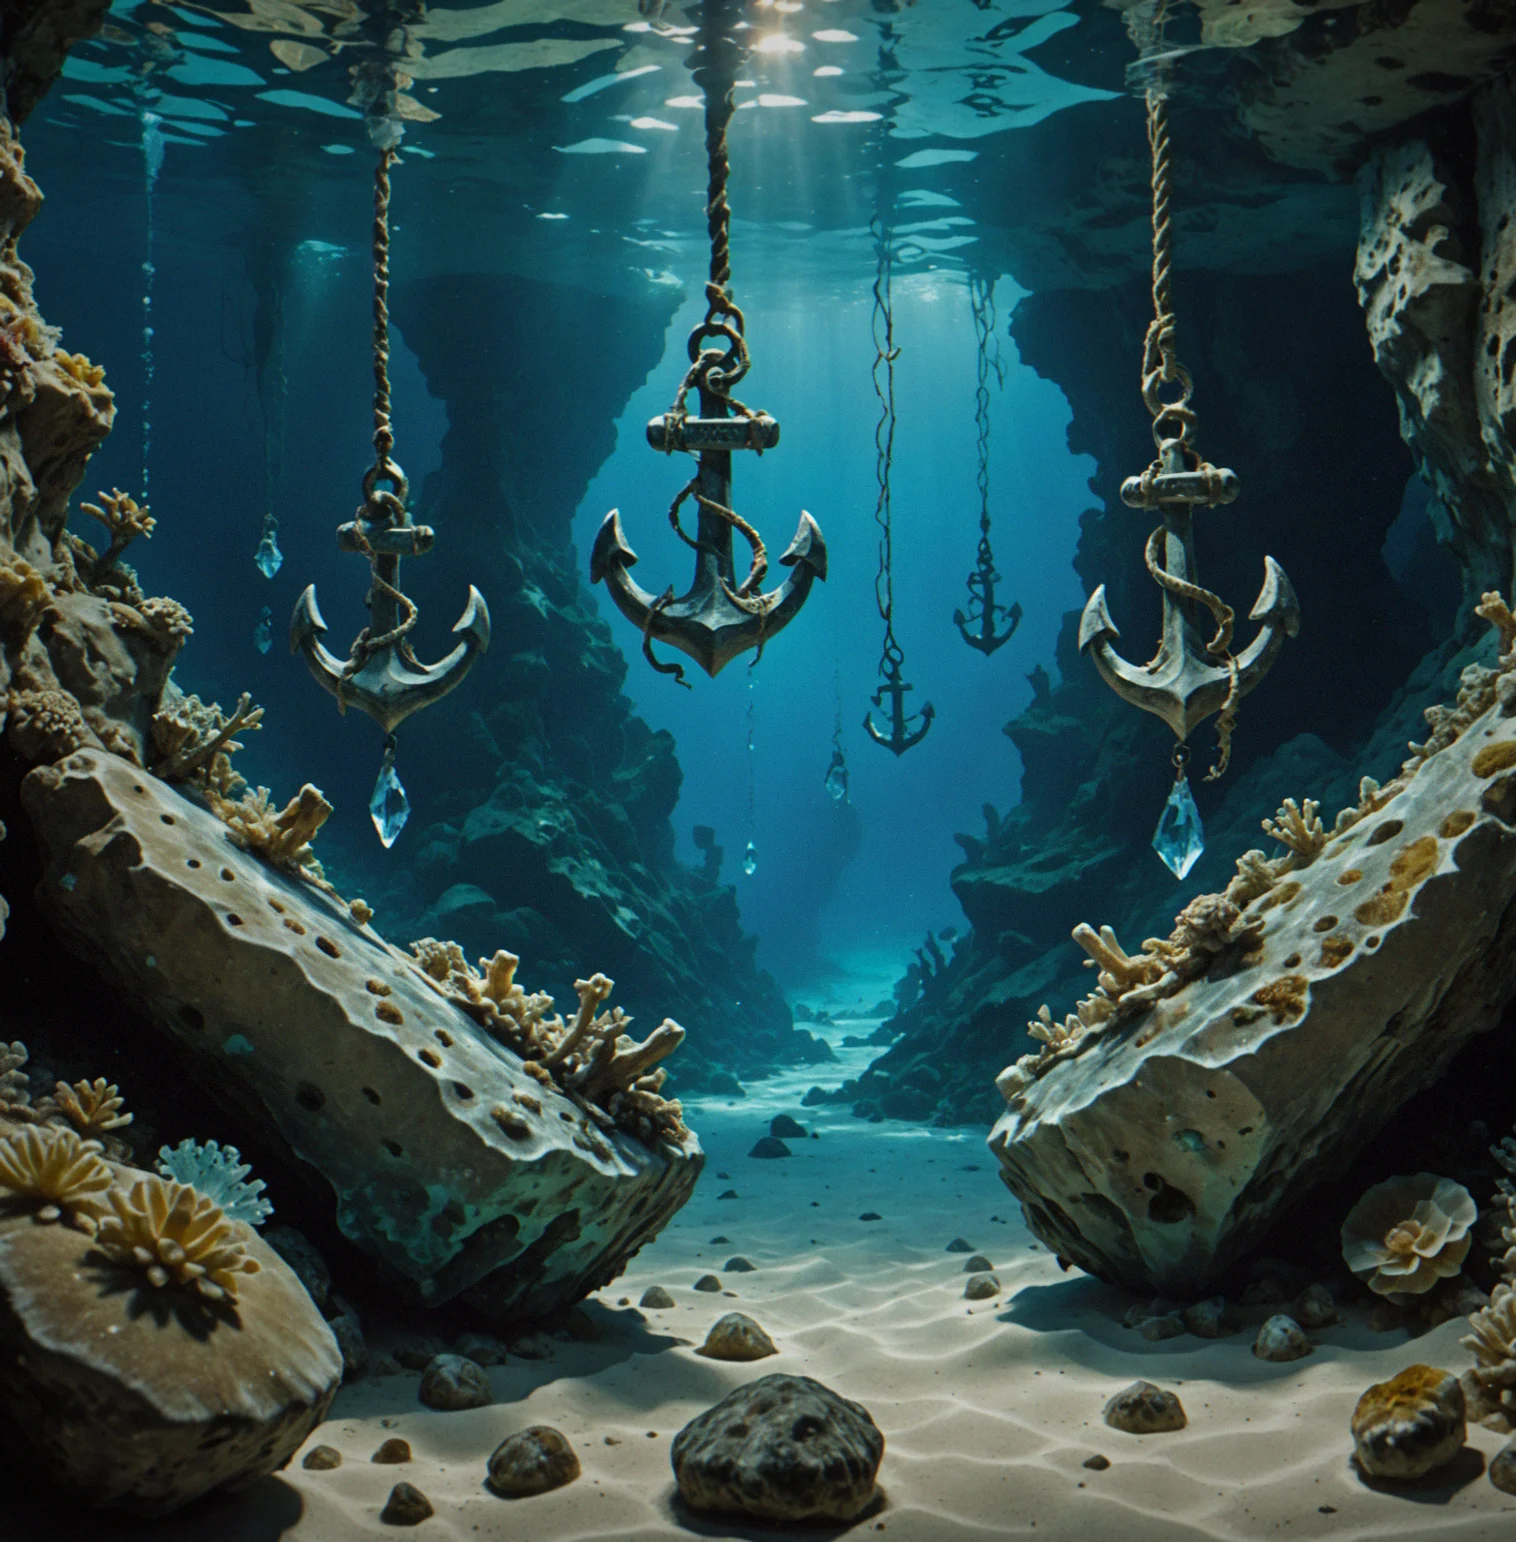
You can't just tie off anywhere. The crystal density changes. How exposed it is to the current makes a difference. So you look at what the cavern offers, figure out what might actually work, and pick placements that'll hold when you're hanging on them and won't snag you on the way back.

Step 4
The real puzzle is managing slack. Too much and it catches on everything in the cavern. Too little and you're putting stress on your gear. Route planning becomes half the challenge because you're solving a three-dimensional puzzle while you've only got so much line to work with.

Step 5
How long you stay down determines where you have to stop on the way up. Go deeper or stay longer and your decompression obligations get worse. You need to hold position in those marked zones while managing your air supply. Getting back fast doesn't help if you've run out of gas.

Step 6
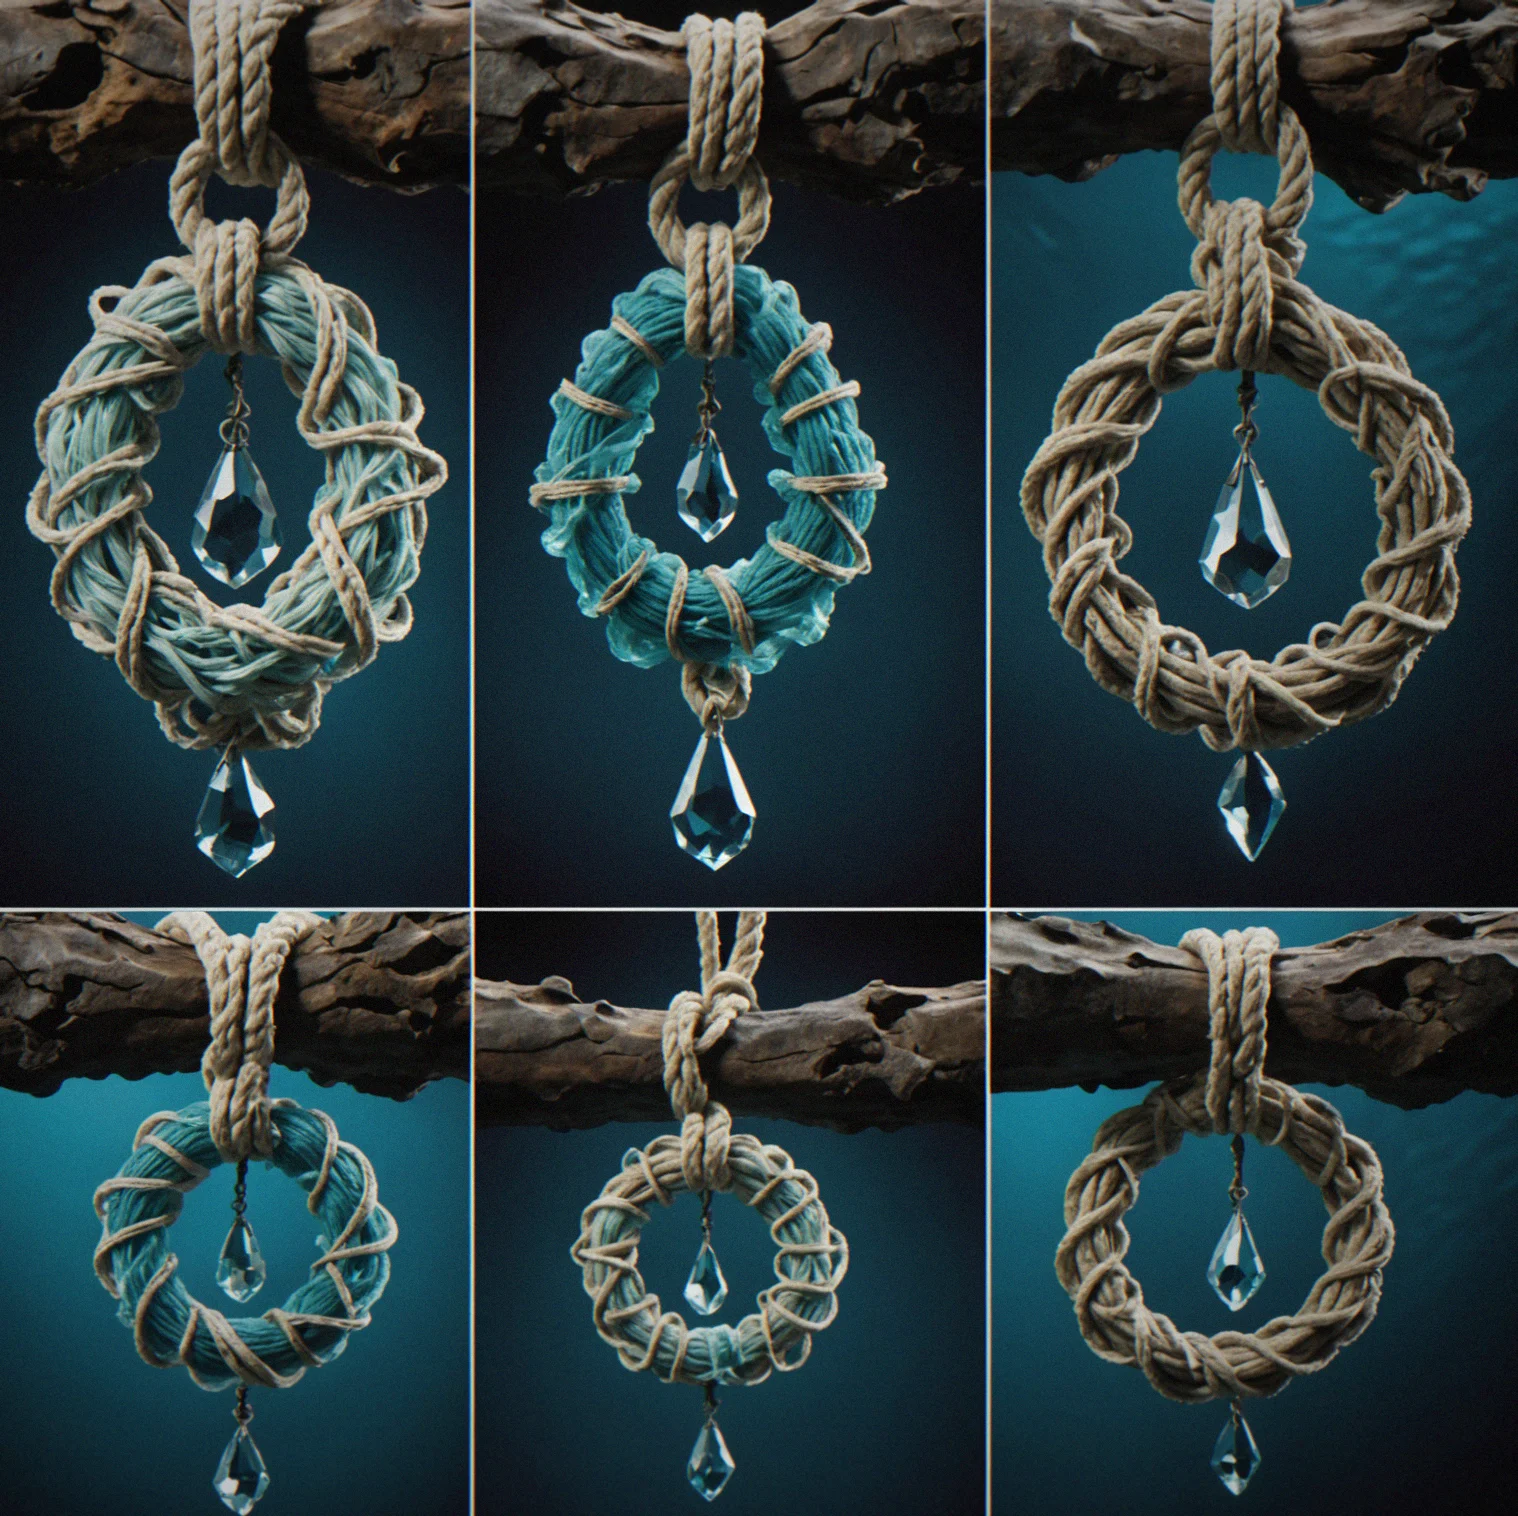
Different knots keep different amounts of the line's strength. A bowline holds about 95% of it. Other types lose a bit more, somewhere in the 80 to 90 range. You pick based on what formation you're tying to and how hard you're going to pull on it, and it actually matters.

Step 7
You start with the basics: getting in, placing an anchor, getting out. As you move forward the caverns demand more precision and planning. Flooded Gallery throws uneven floors and overhead hazards at you. Crystalline Cathedral pulls everything together and makes you do it under real pressure.

Fourteen different layouts. All hand-designed anchor challenges. Every dive feels different because you adapt as you get better.

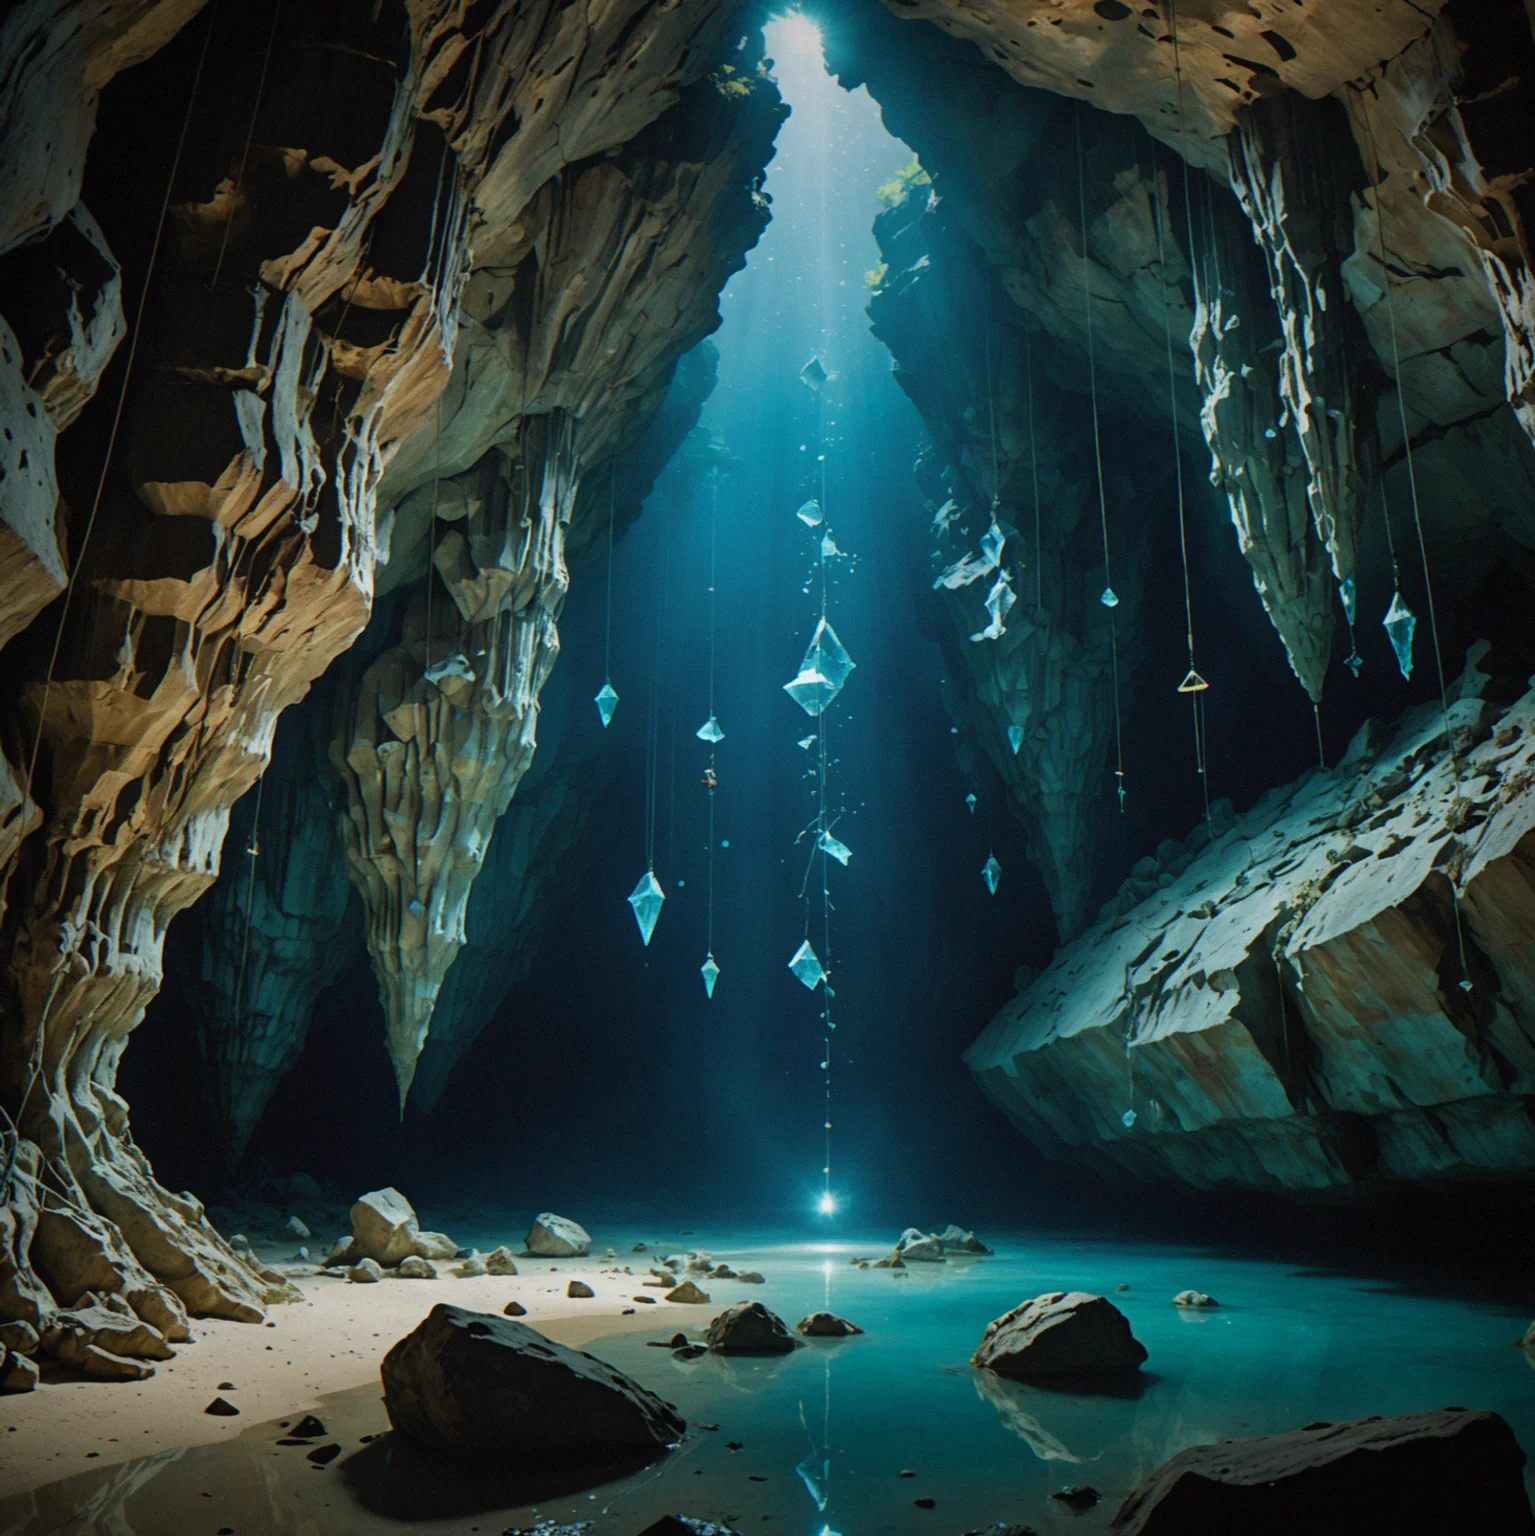
Passage Maze cavern with tight corridors, sparse anchor points, and crystal walls forcing you through a narrow route

Grand Chamber opening up with plenty of space and anchor options scattered across the formation, forcing you to choose your path

Chimney Complex rising vertically with narrow passages where the diver has to manage rope in extremely tight quarters

Flooded Gallery with an uneven bottom, overhanging rock, and anchor points at different depths spread across the chamber

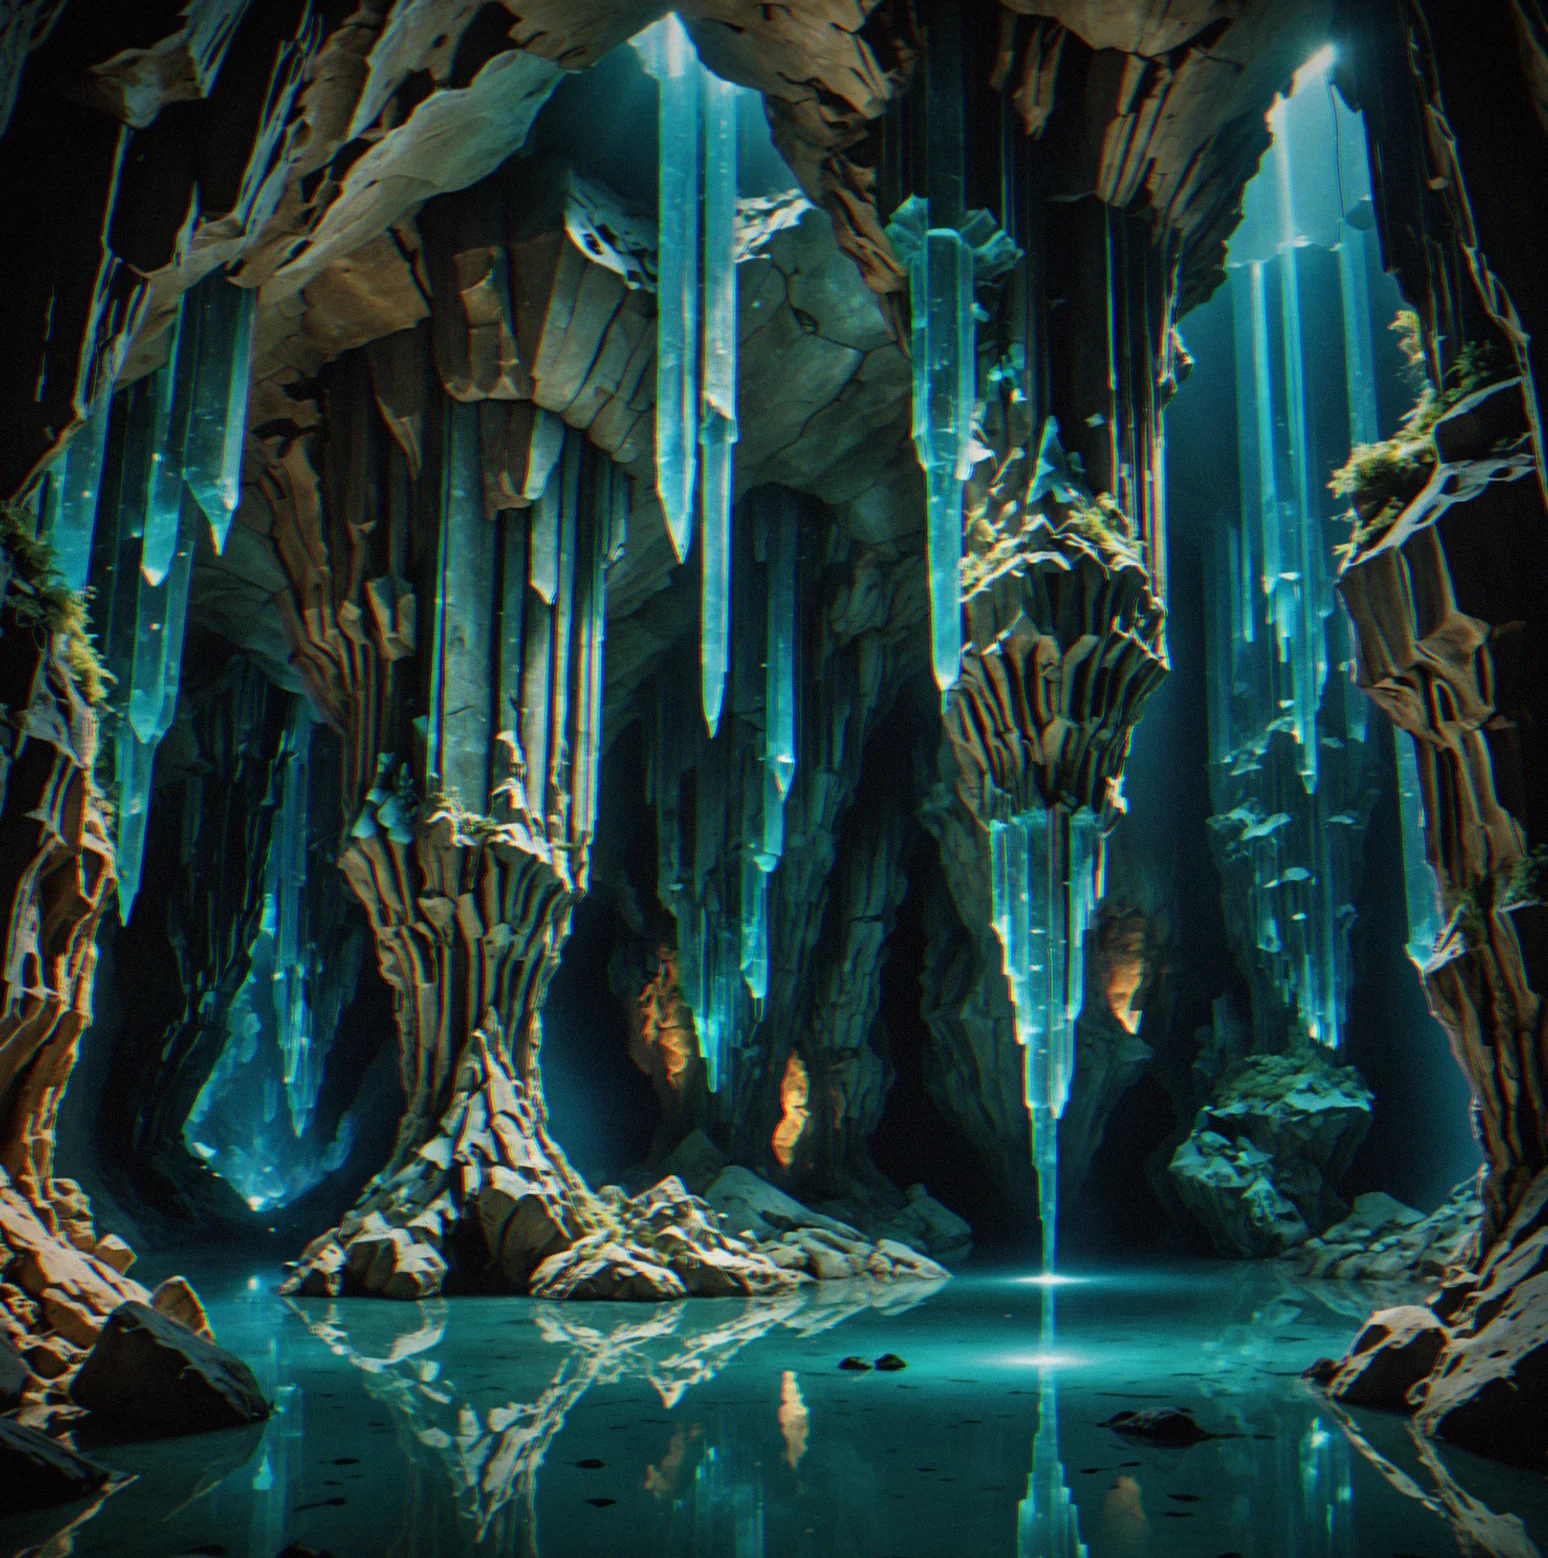
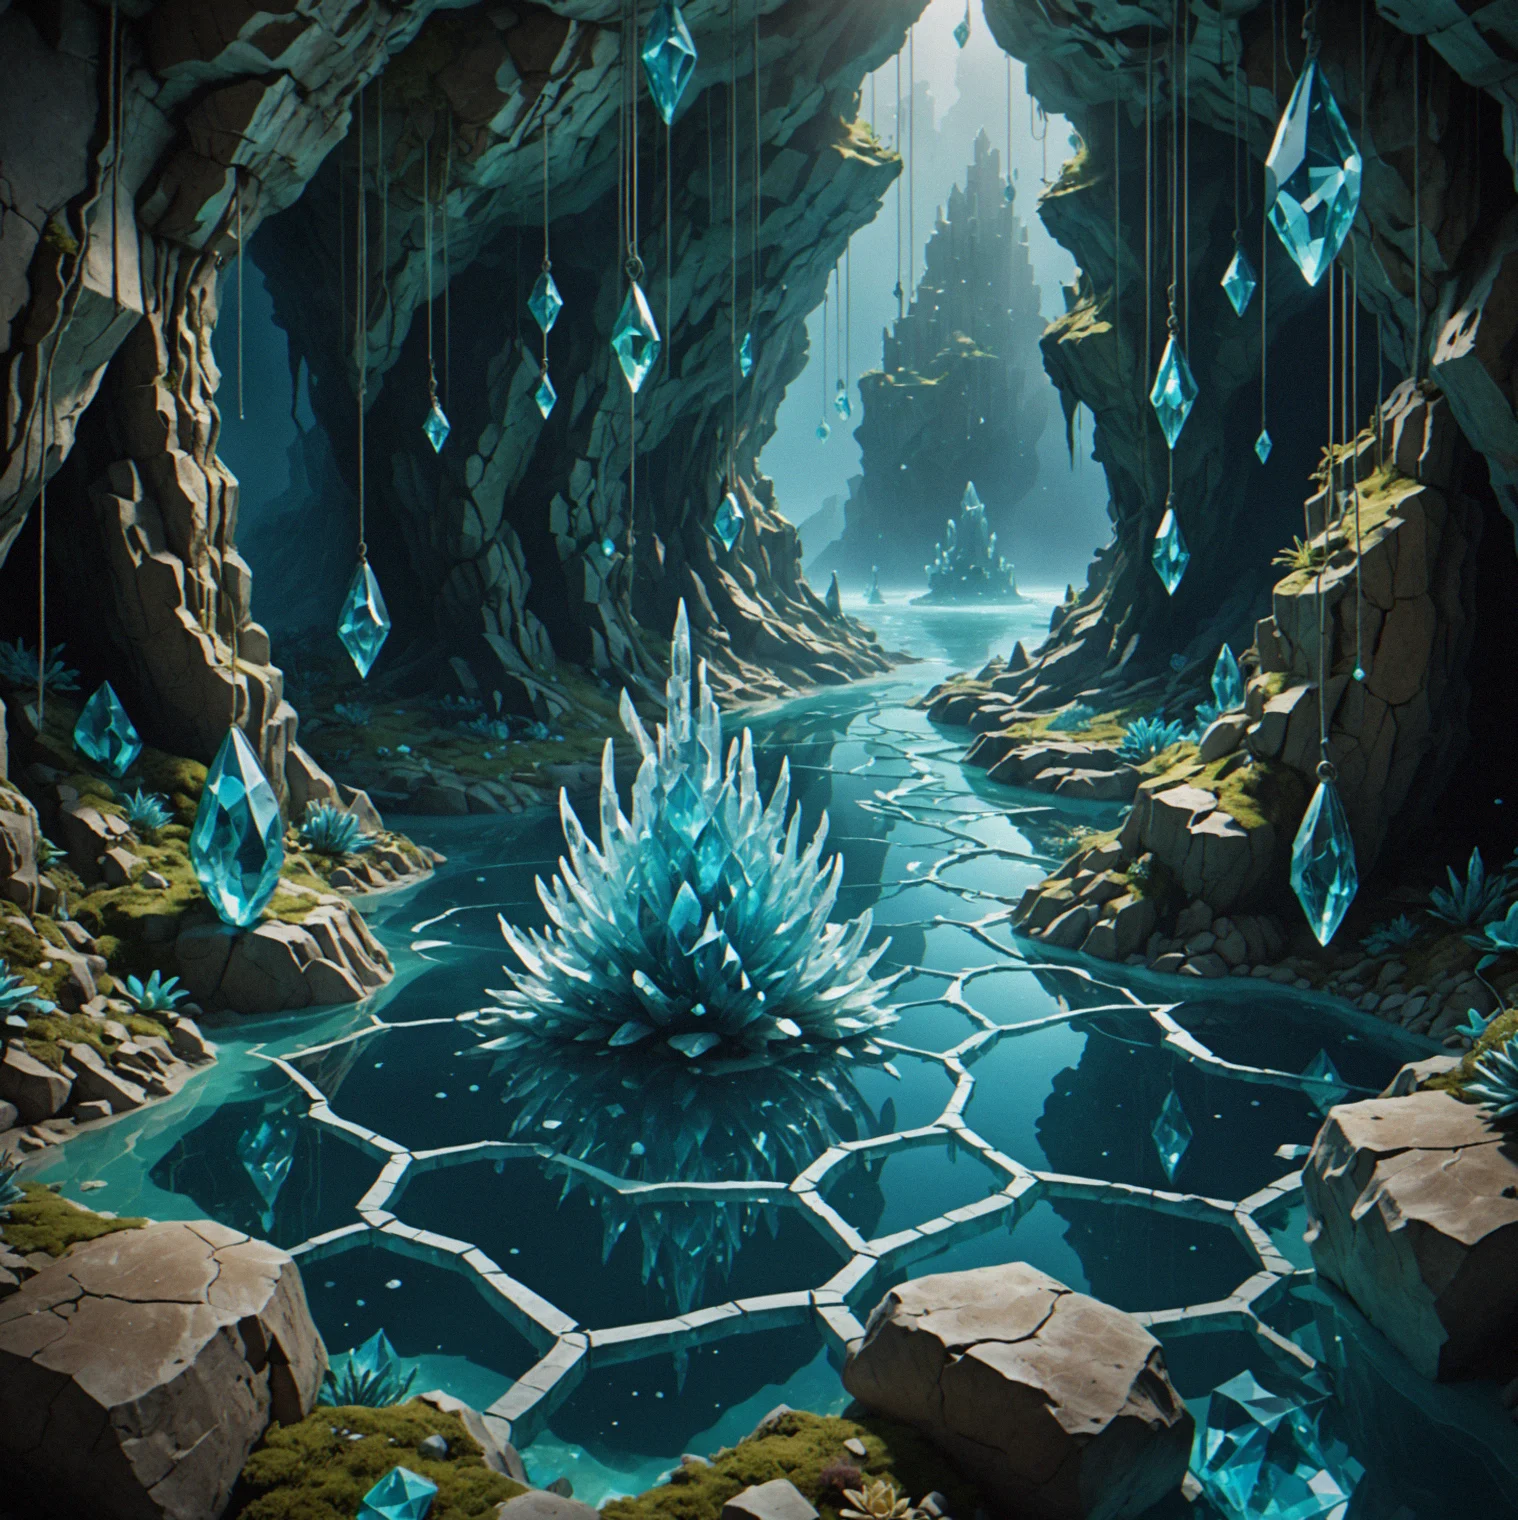
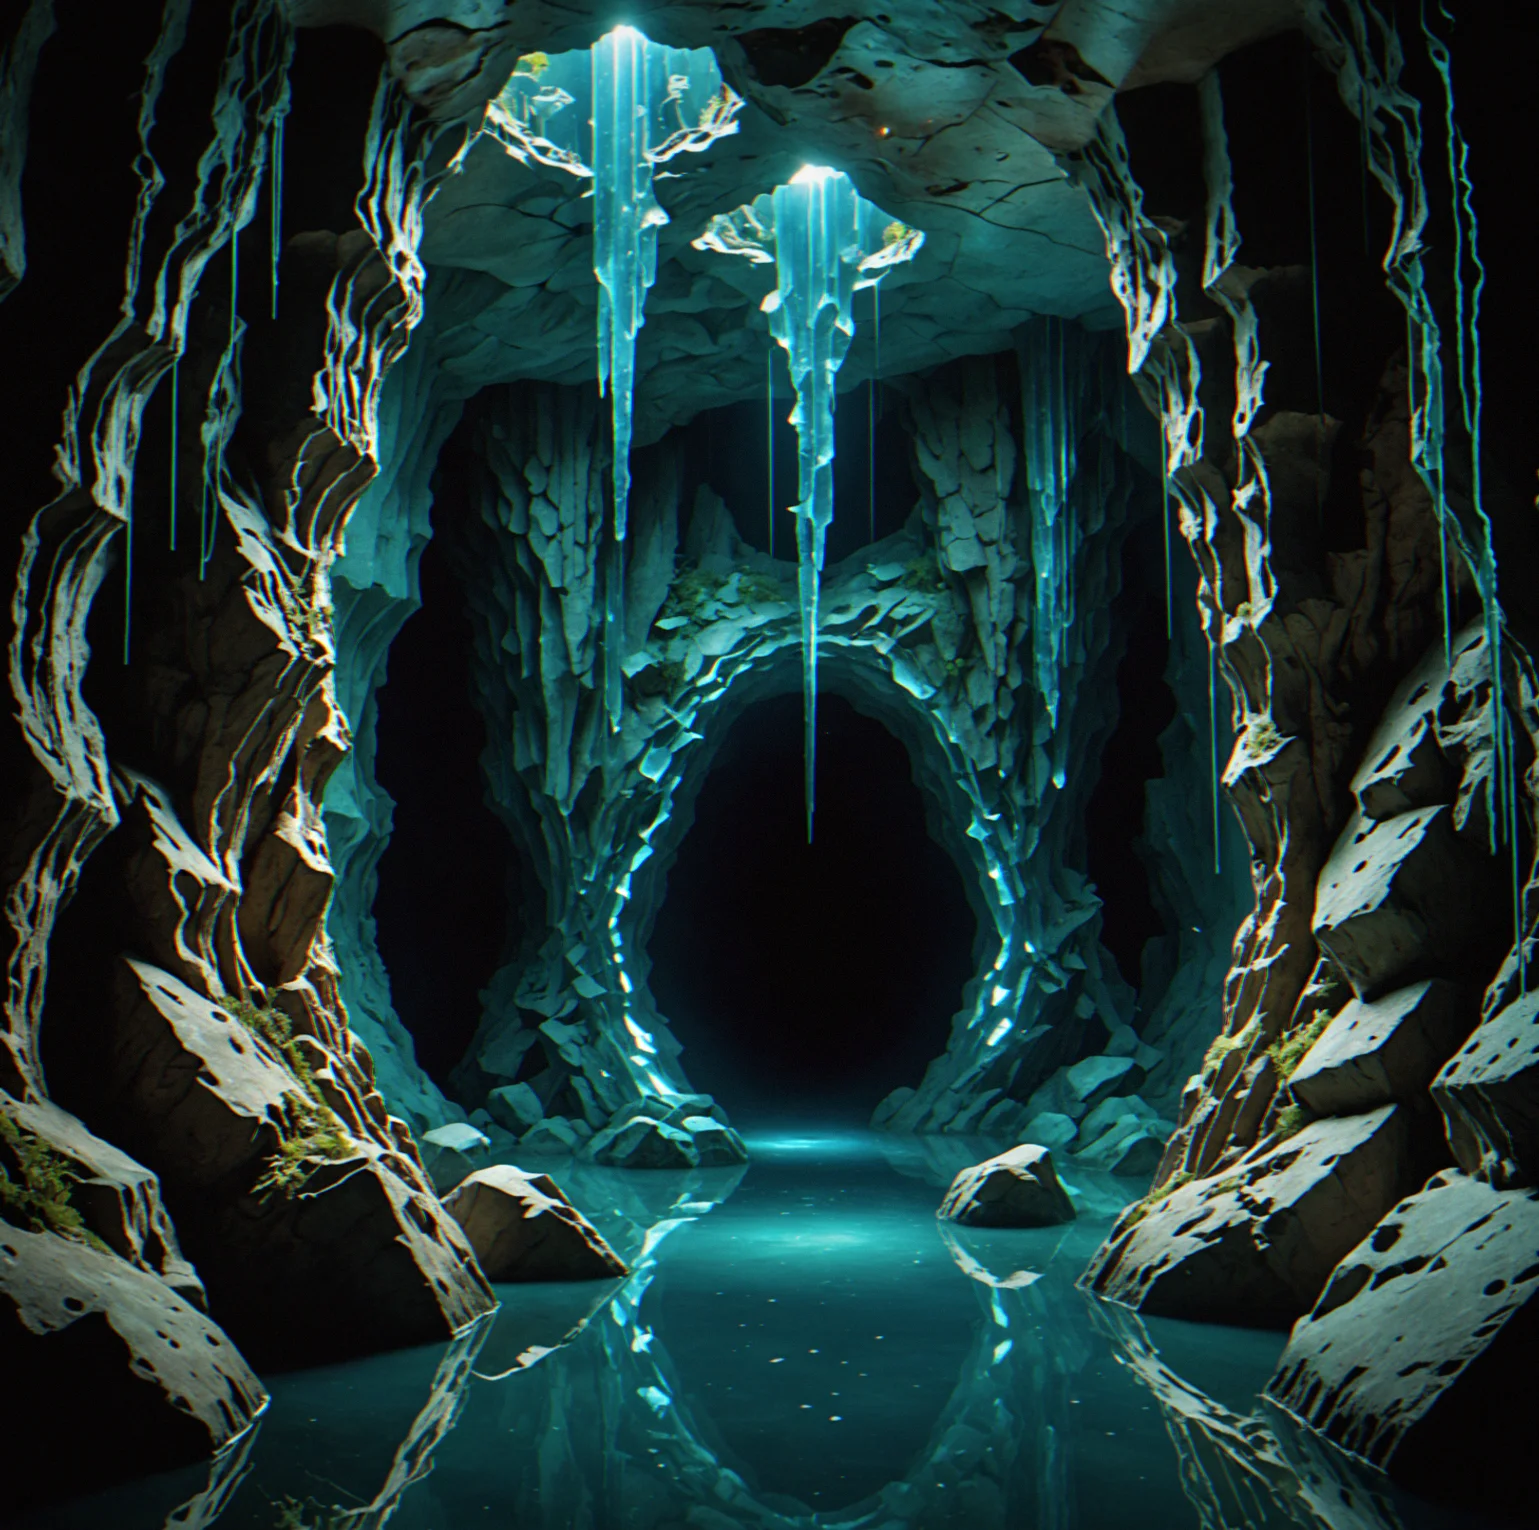
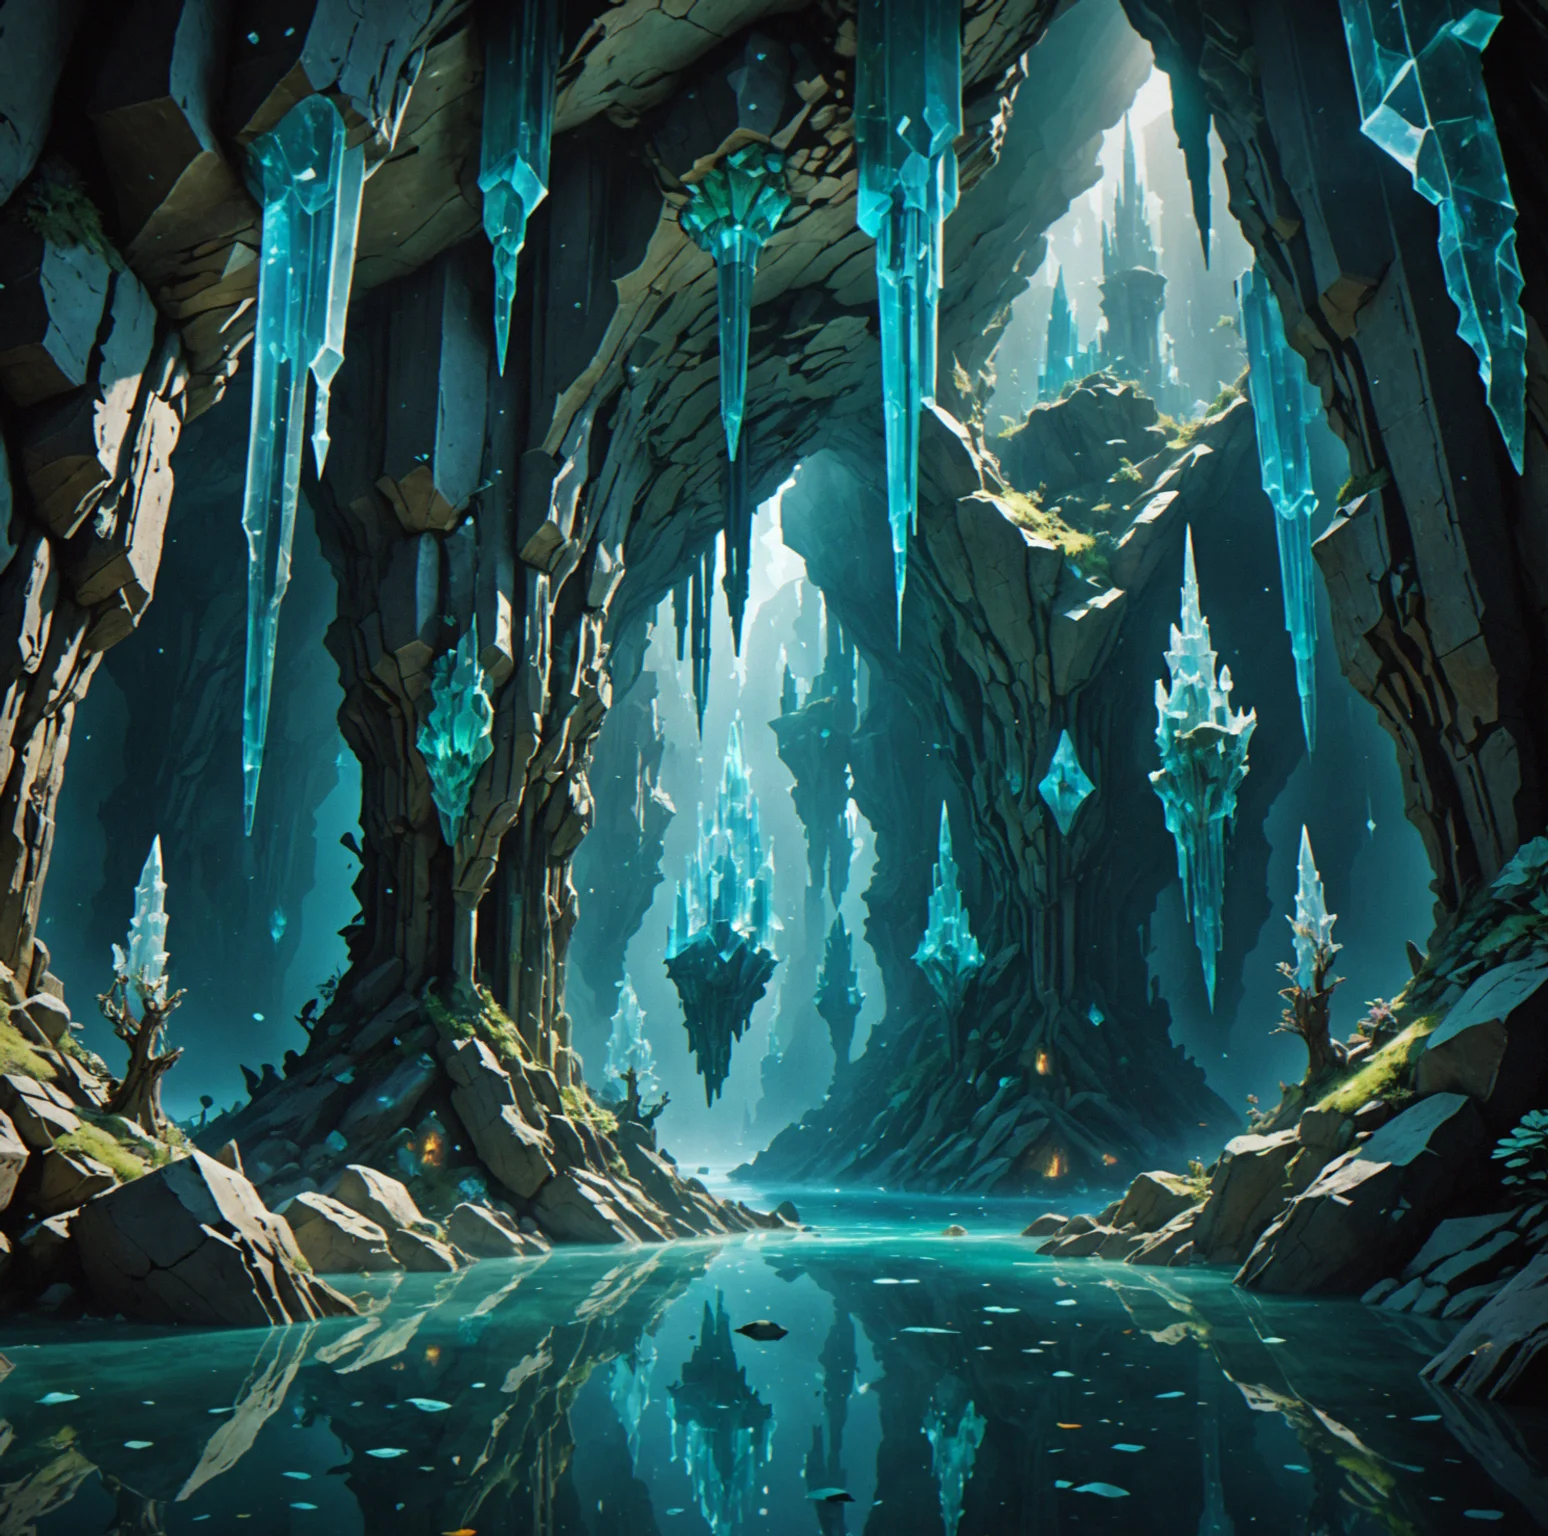
Crystalline Cathedral packed with crystal formations inside a large chamber, with multiple ways to rig your route

Rope pulled tight against a crystal formation showing the angle of the line, how the load distributes and where the diver sits relative to the anchor
Crystalanchor isn't about following a story. There's no plot to push through, no character development arc waiting for you. The cavern itself is what you're engaging with. Pick a layout, descend, and work through it until you've really solved it — and that means more than just finding the exit. You need to understand every anchor placement decision and pull it off without hesitation. The hand-crafted layouts each focus on teaching something specific. Passage Maze drills tight navigation in constrained spaces. Grand Chamber makes you think about how loads distribute across your anchor points. Crystalline Cathedral throws spatial complexity at you. So when you come back to an earlier cavern after picking up new techniques, it plays completely differently.
The rope physics actually feel like rope. Your 100-meter primary line has real weight and stretch and friction. Change your anchor angle even slightly and the load distribution shifts across the formation. A 45-degree descent behaves nothing like a straight drop. Knot choice matters too — some hold 95% of the line's breaking strength while others drop to 80%, and you'll feel that difference when you're pushing things to their limit. The game doesn't just tell you yes or no — it calculates actual tension vectors. You learn to read what the rope is telling you and adjust your placement to match. Takes longer to internalize than most people figure on.
The caverns are procedurally varied but structurally consistent. You're learning an actual place, not memorizing a single solution path. Details shift between dives — where the crystals scatter, sediment patterns, which areas have good visibility. So you can't just script your way through. Decompression zones keep real diving constraints in play. Gas doesn't magically refill. When something goes wrong, you don't teleport back to the start — you either managge the recovery or you restart. That generates real pressure without needing combat or a countdown timer.

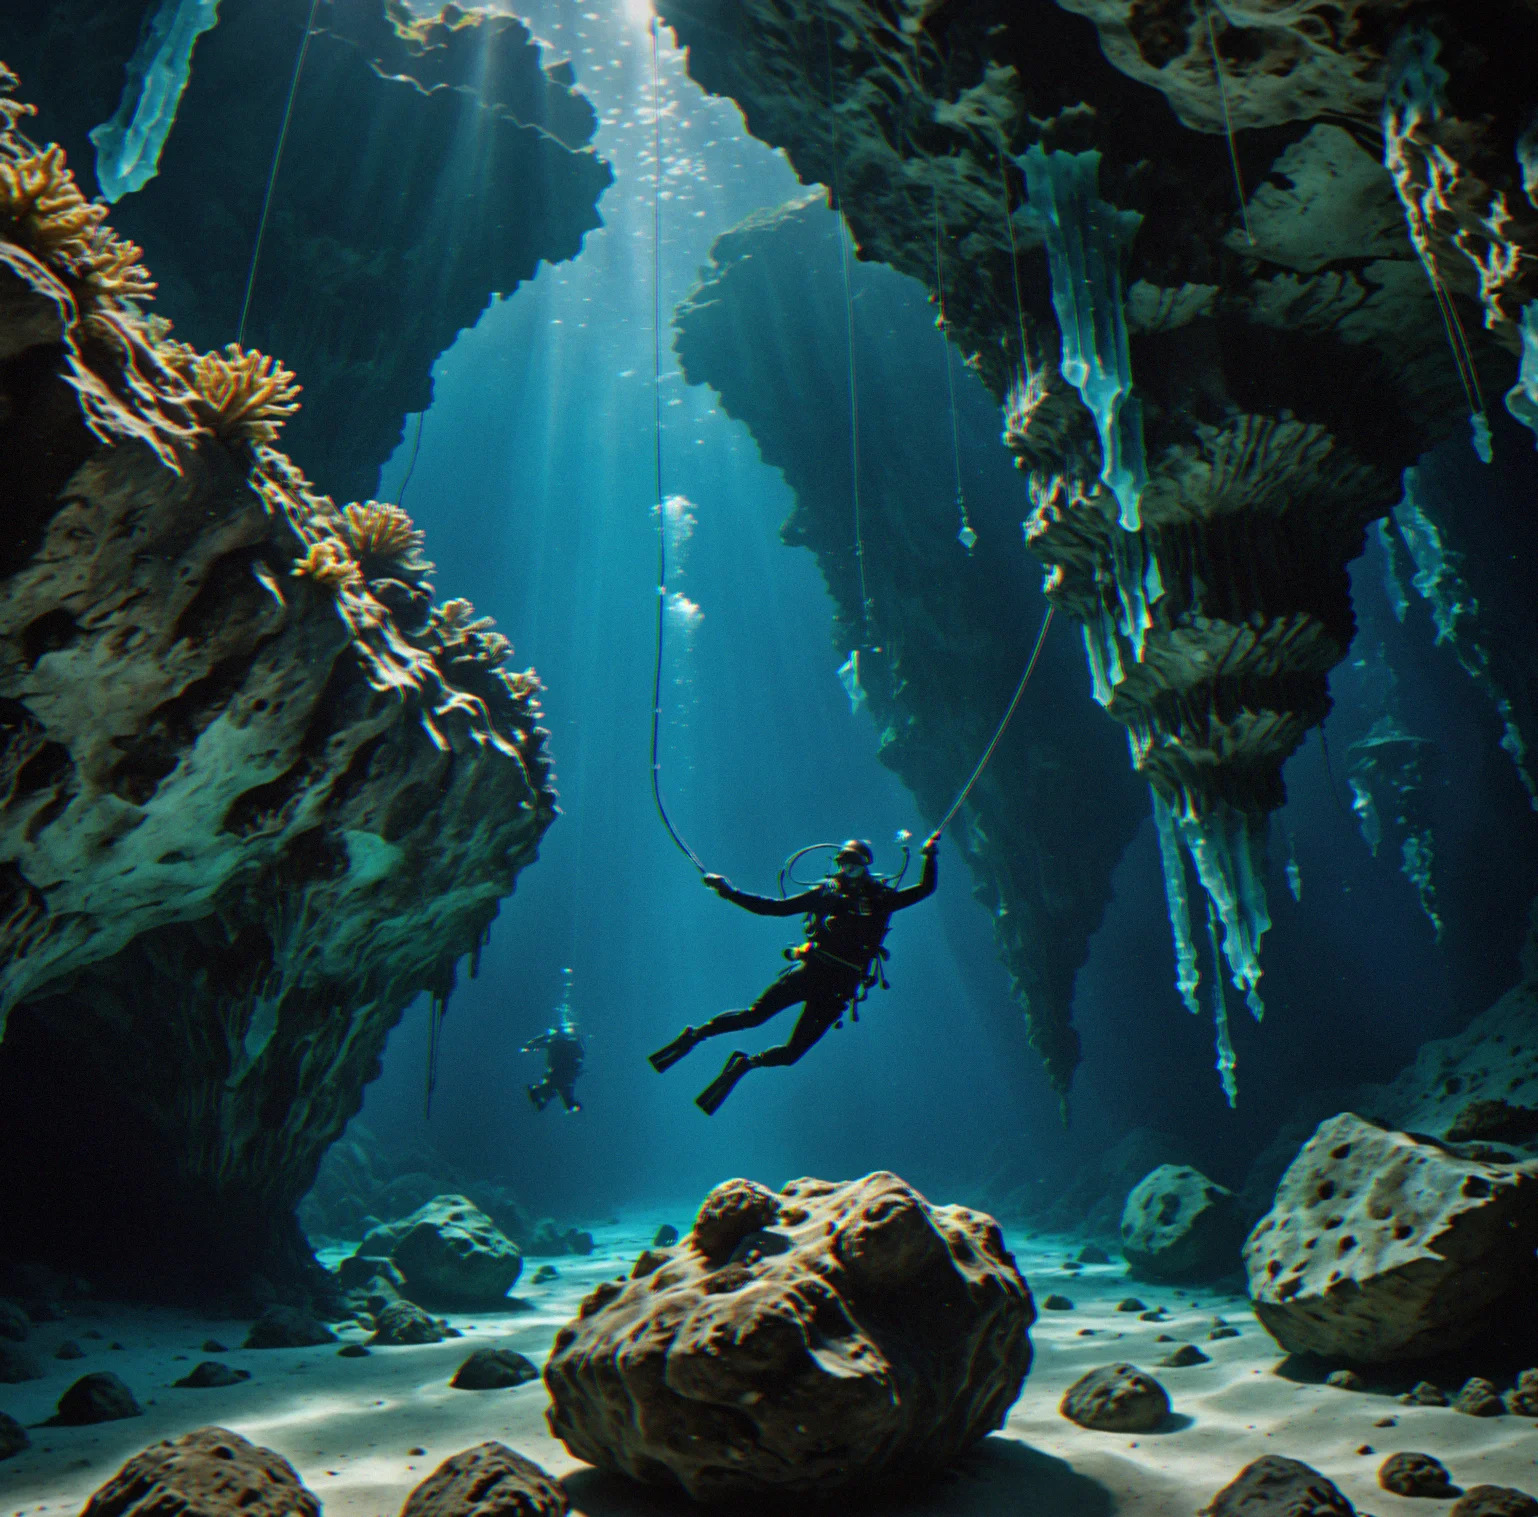
Super tight corridors with very few places to anchor. You're navigating by feel and rope feedback, figuring out how to move through spaces so confined you could snag your line if you're not careful. It forces you to think ahead and plan every move from start to finish.

Wide open space where anchor options are scattered throughout the formations. You're learning how to pick between different routes and spread the load across distance — some paths are viable, but they'll feel different on the rope. There's no one correct choice here.

Vertical shafts and passages you can barely squeeze through. Working rope in this kind of constraint teaches you to stay efficient without sacrificing the actual physics. How you route your line matters just as much as how fast you're descending.

The floor's uneven and there are formations hanging overhead. Anchors sit at different depths, which means you're solving a trickier problem about how to distribute load across formations that aren't in obvious positions. Harder than it looks at first.

Big, intricate, packed with formations everywhere. You're juggling everything from before — picking anchors carefully, threading rope through obstacles, navigating the space, managing your air — all at the same time. This is where it all comes together.
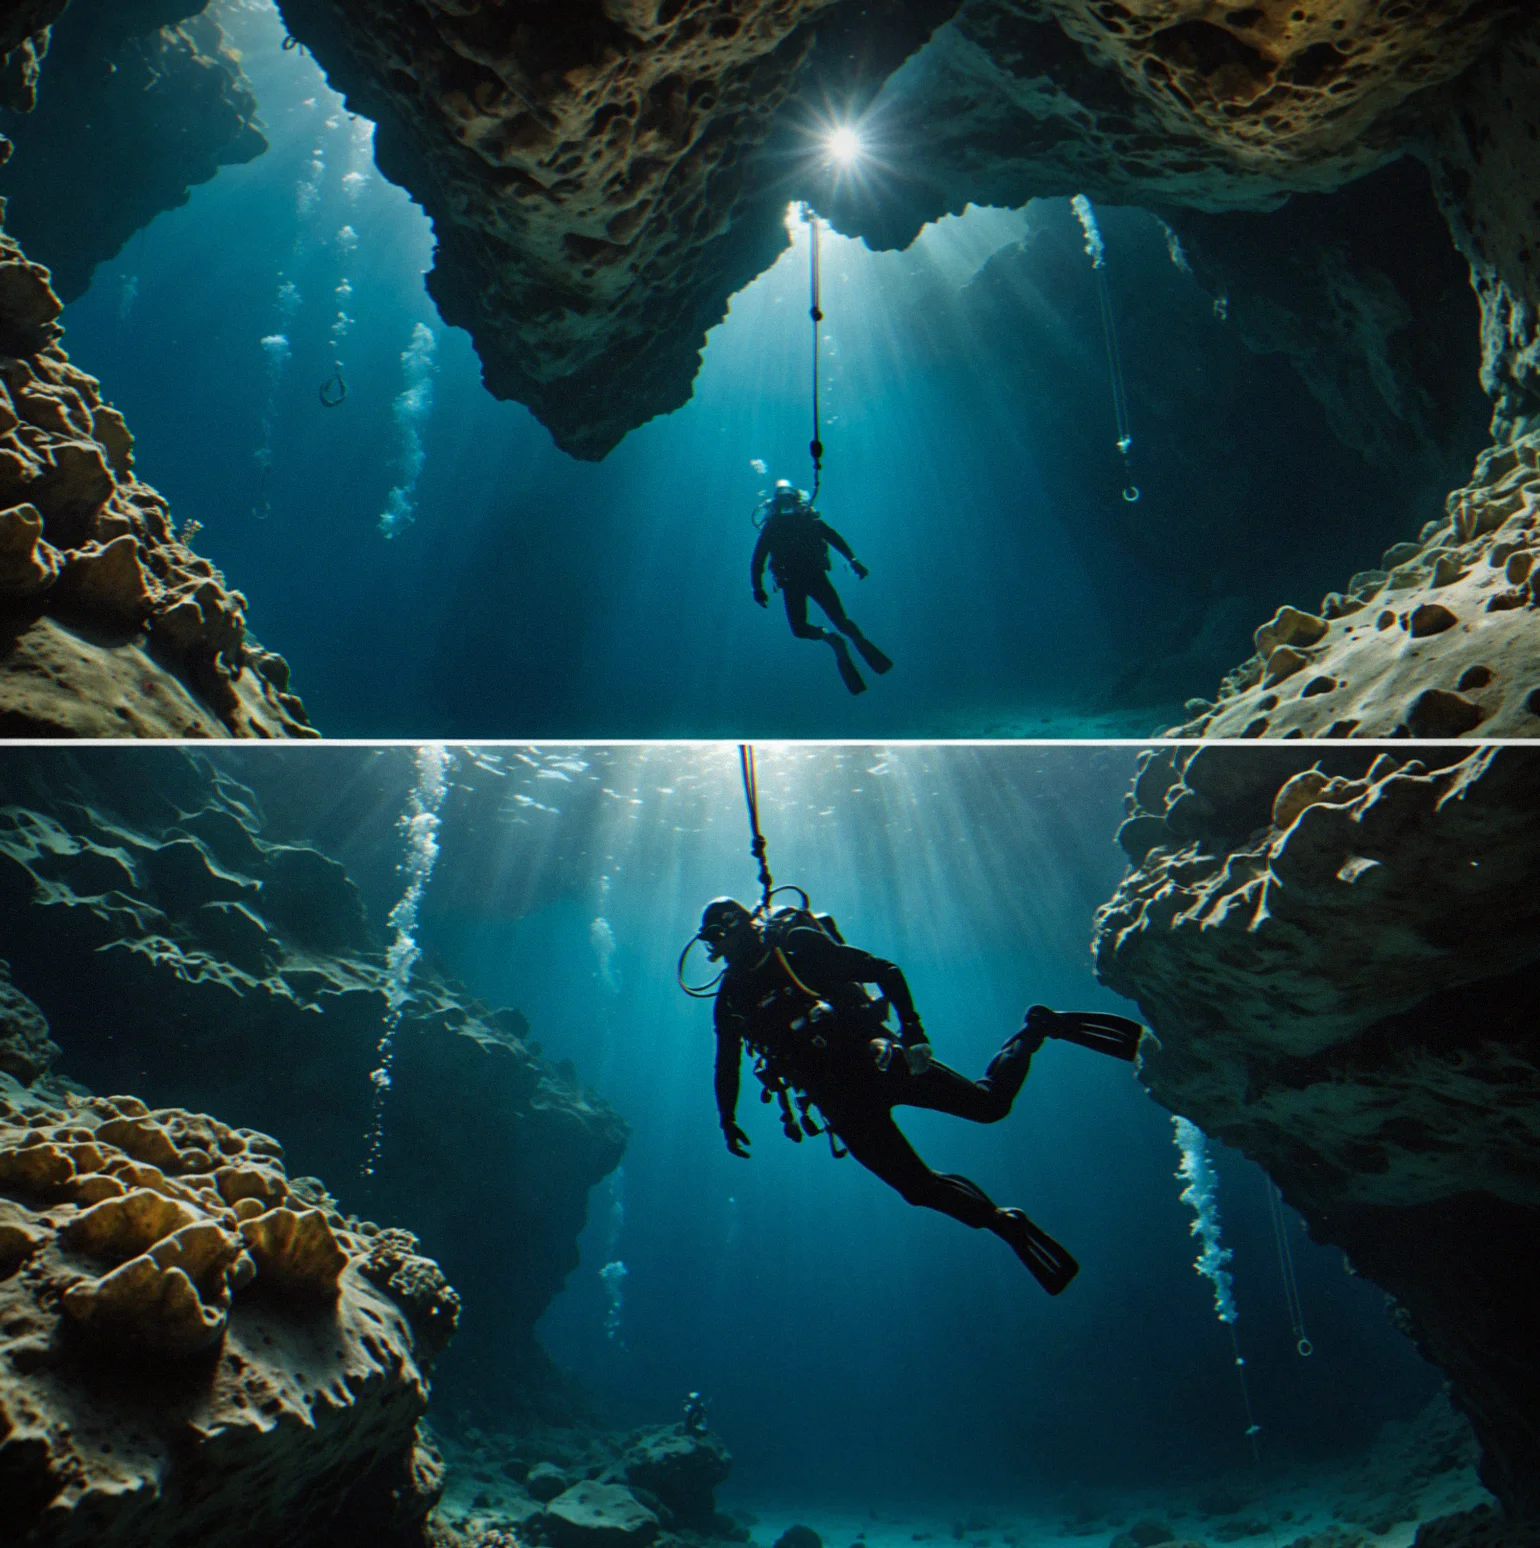
Each cavern teaches you something different. Go back to earlier ones after you've learned new techniques and you'll handle them completely differently. Since the layouts stay the same, you can actually see yourself getting better — you're making smarter choices, not just grinding through randomness.
COMMON QUESTIONS
Not every game clicks for everyone. Here's what matters before you decide to buy.